The first step in troubleshooting fire alarm equipment is to contact the proper authorities and notify your central monitoring station.
You’ll need to place the system into test mode to prevent false alarms and unwanted dispatches during maintenance.
Confirm that the monitoring station acknowledges this status and document all communications for legal compliance.
This guarantees safety and coordinated response if a real event occurs. Following this, you can confidently proceed to inspect hardware and power systems for issues.
Key Takeaways
- Contact authorities and notify the central monitoring station before starting any troubleshooting to prevent false alarms or dispatches.
- Place the fire alarm system in test mode and confirm the central monitoring station acknowledges this status.
- Document all communications and actions for legal compliance and accountability during the troubleshooting process.
- Conduct a thorough visual inspection of the fire alarm control panel and hardware for obvious damage or faults.
- Verify stable power supply and battery condition before proceeding with detailed diagnostics or hardware testing.
Contact Authorities Before Testing Fire Alarm Equipment
Before you begin troubleshooting fire alarm equipment, you should always notify the central monitoring station and fire department. This step guarantees the system is placed on test mode, preventing false alarms from triggering emergency responses during maintenance.
Contacting these authorities is vital for legal compliance and safety protocols. It also guarantees coordinated action if an actual issue arises while you’re working. You’ll need to confirm that the central monitoring station acknowledges the test mode status.
Failing to notify could lead to unnecessary dispatches or penalties. Always document your communications for accountability. By following this protocol, you maintain system integrity and protect building occupants while troubleshooting.
This assures the process proceeds smoothly without triggering unintended alarms or emergency responses. Monitored systems use verification procedures at supervising stations to reduce false dispatches during such tests.
Inspect the Fire Alarm Control Panel for Visible Damage
Once the system is confirmed to be on test mode with authorities notified, you can begin a detailed visual inspection of the fire alarm control panel.
Start by examining the panel’s exterior for cracks, dents, or signs of impact that could impair operation. Open the panel door carefully and inspect internal components for burnt areas, discoloration, or corrosion.
Begin with a careful exterior and interior inspection for physical damage or signs of wear and corrosion.
Check all wiring connections to make certain they’re tight, undamaged, and free from fraying or exposed conductors. Verify that indicator lights and displays are intact and functioning.
Look for any missing or loose fuses and confirm the panel is powered on. Identifying visible damage or irregularities early helps target further diagnostics effectively and prevents overlooking hardware faults that could compromise system reliability.
Also, ensure the panel’s power source is stable, as hardwired systems provide stable power with automatic battery backup to minimize risks of failure during outages.
Test Fire Alarm Power Supply and Backup Battery
First things first, you’ll want to check the AC power supply. Grab your voltage tester to make sure everything’s running smoothly. It’s crucial for the system’s stability!
Once you’ve done that, let’s move on to the backup battery. Use your multimeter to test its voltage and check if it meets the manufacturer’s specifications.
If you find any batteries that are below the recommended levels, it’s a good idea to replace them. Keeping those batteries in top shape is key for reliable fire alarm functionality.
Regular battery maintenance and replacement are essential to ensure uninterrupted protection during power outages and to comply with building codes.
Power Supply Verification
Verify the fire alarm’s power supply and backup battery to guarantee continuous system operation.
Begin by inspecting AC power connections for secure, undamaged wiring. Confirm the panel receives proper voltage using a voltage tester.
Check all terminal blocks and wiring harnesses for corrosion or looseness that might disrupt power flow.
Next, assess the backup battery’s presence and physical condition, ensuring no swelling, leakage, or corrosion at terminals. While you won’t measure voltage here, confirm the battery is correctly connected and shows no visible defects.
Ensuring the power supply and backup battery are intact and correctly connected prevents system downtime and false alarms.
This step establishes a reliable foundation before proceeding to detailed battery voltage testing or further diagnostics.
Regular maintenance and testing are critical because central system maintenance includes monthly tests and inspections to ensure reliable operation.
Battery Voltage Testing
Regularly testing the battery voltage guarantees the fire alarm’s backup power remains reliable during outages.
First, disconnect the battery from the control panel to isolate it.
Use a calibrated multimeter set to DC volts to measure the battery voltage across its terminals.
Compare readings against the manufacturer’s recommended voltage range, typically 12 to 13 volts for a fully charged 12V battery.
If the voltage falls below this threshold, replace the battery immediately to avoid system failure during power loss.
Simultaneously, verify the power supply’s charging voltage to make certain it maintains the battery charge correctly.
Document voltage readings and battery condition for maintenance records.
Consistent voltage testing is critical to maintaining uninterrupted fire alarm system operation and ensuring compliance with safety standards.
Addressable systems provide device-level fault notifications that can further assist in troubleshooting power supply and battery issues efficiently.
Run Built-In Self-Tests to Find System Issues
To get started, you’ll want to access the panel’s built-in diagnostics. This is where you can kick off those self-tests that help pinpoint any faults in the system.
Once you’ve initiated the tests, keep an eye on the error codes that pop up. These codes are super helpful in identifying specific system issues.
And remember, the better you read those codes, the more efficiently you can direct your troubleshooting efforts. So, take your time with it!
For zone-based systems, understanding the zone alerts can significantly speed up isolating circuit faults during troubleshooting.
Access Panel Diagnostics
To kick off diagnostics, access the fire alarm control panel’s built-in self-test functions designed to quickly pinpoint system faults. These tests facilitate rapid identification of hardware or wiring issues, reducing troubleshooting time.
You’ll want to initiate the self-test via the panel interface, ensuring the system is in test mode to prevent false alarms.
Monitor panel indicators and status lamps during the test for immediate feedback on faults or malfunctions.
Review any diagnostic messages or alerts displayed, noting components flagged for further inspection or replacement.
Using these diagnostics, you can focus your efforts precisely, avoiding unnecessary disassembly or guesswork. Follow manufacturer guidelines closely to execute tests correctly and interpret results within the panel’s operational context.
This step is essential before moving on to detailed error code analysis.
Regular monthly testing and maintenance of fire alarm systems are critical to ensure their continued reliability and effectiveness.
Interpret Error Codes
After running the built-in self-tests, the next step involves interpreting the error codes displayed by the fire alarm control panel.
These codes pinpoint specific system faults, guiding you toward targeted troubleshooting.
Refer to the manufacturer’s manual to decode each numeric or alphanumeric message accurately.
Understanding these codes speeds diagnosis, reducing downtime and preventing false alarms.
Regular maintenance and testing can help identify issues before error codes appear, ensuring reliable alarm performance.
| Error Code | Meaning | Recommended Action |
|---|---|---|
| E01 | Power Supply Failure | Check AC input and battery |
| E12 | Sensor Fault | Inspect and replace sensor |
| E25 | Communication Error | Verify wiring and network |
Interpreting error codes effectively guarantees precise identification of issues.
This allows swift corrective measures that maintain system reliability and compliance.
Identify Fire Alarm Trouble Types Using Panel Diagnostics
Digging into the fire alarm panel’s diagnostics helps you quickly pinpoint the trouble type affecting the system.
Analyzing fire alarm panel diagnostics swiftly reveals the specific issues impacting system performance.
Modern panels often feature LCD displays or LED indicators that provide specific error codes or status messages. By interpreting these diagnostics, you can classify troubles into categories, streamlining your troubleshooting process.
Focus on these key diagnostic elements:
Error Codes and Status Indicators: Identify exact fault locations or circuit issues.
Built-in Self-tests: Use these to isolate hardware from wiring or sensor problems.
Real-time Diagnostics Access: Leverage cloud or network capabilities for remote troubleshooting.
This approach ensures you address the root cause efficiently, minimizing downtime and preventing unnecessary component replacements.
Understanding panel feedback is essential before moving to hardware inspections or field wiring checks. Additionally, regular centralized control panel monitoring is crucial for maintaining system integrity and compliance in commercial installations.
Rule Out Fire Alarm Control Panel Hardware Failures
Although panel diagnostics can point you toward the trouble type, you must eliminate hardware failures within the Fire Alarm Control Panel (FACP) before investigating field wiring or sensors.
Start by inspecting the power supply and verifying stable AC and battery voltage with a multimeter. Check charging currents to ensure proper battery maintenance.
Examine fuses for continuity and confirm that end-of-line resistors are properly installed on circuits to verify panel functionality.
Visually inspect expansion cards and circuit boards for burnt components, discoloration, or loose connections. Confirm all wiring within the panel is secure and intact.
These steps isolate internal hardware faults, preventing unnecessary field troubleshooting. By thoroughly ruling out FACP hardware issues, you ensure your next diagnostic efforts target actual field problems efficiently and effectively.
Additionally, understanding the control panel’s role in processing signals instantly can help prioritize which hardware components to test first.
Plan Field Troubleshooting Based on Diagnostic Results
Use the diagnostic data gathered from the control panel to prioritize your field troubleshooting efforts. Focus on the specific trouble type and location indicated by the system’s diagnostic codes to streamline your workflow.
Before heading into the field, organize your plan around these key activities:
- Verify wiring integrity and connections at the trouble point.
- Inspect associated devices for physical damage or contamination.
- Confirm power supply and battery status at affected circuits.
This targeted approach minimizes unnecessary checks and accelerates fault isolation. Use the system documentation and error codes as your roadmap, ensuring you address the root cause without overlooking secondary issues.
Planning field work based on diagnostics enhances efficiency, reduces downtime, and helps maintain compliance with safety protocols.
Frequently Asked Questions
How Often Should Fire Alarm System Troubleshooting Be Performed?
You should perform fire alarm system troubleshooting at least annually, aligning with local codes and manufacturer guidelines.
More frequent checks, quarterly or semiannually, are advisable in high-risk or high-occupancy environments.
Regular testing guarantees early detection of faults, maintaining reliability and compliance.
Don’t neglect immediate troubleshooting whenever alarms or trouble signals arise.
Staying proactive minimizes false alarms and system failures, keeping occupants safe and systems fully operational.
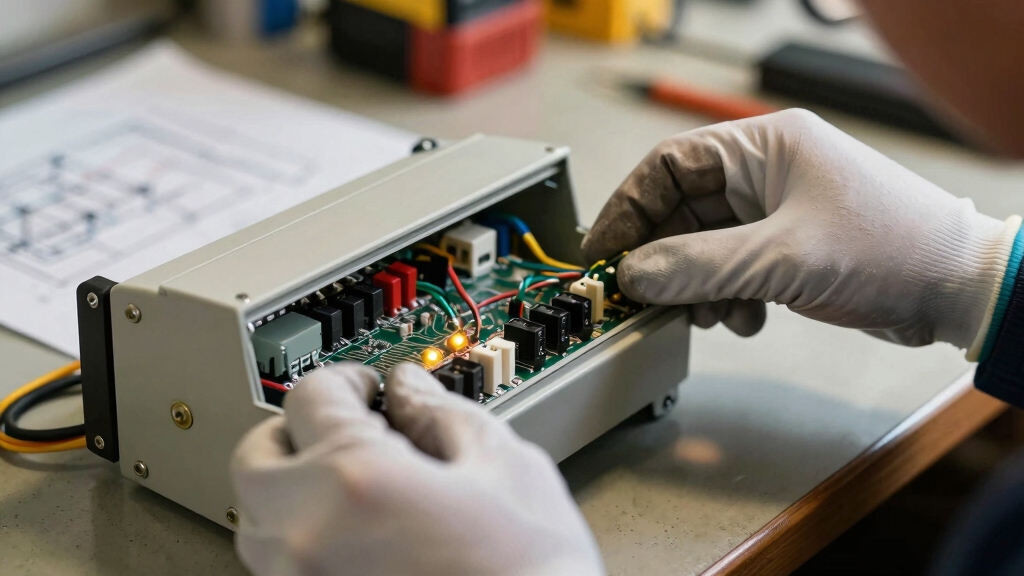
What Tools Are Essential for Fire Alarm Troubleshooting?
You’ll need a multimeter to test voltage and battery charge, a voltage tester to verify AC power, and a screwdriver set for panel access.
A handheld diagnostic tool or laptop with manufacturer software helps read error codes.
Don’t forget insulated gloves for safety and a flashlight for detailed inspections.
These tools guarantee you can accurately identify and address wiring issues, power supply faults, and component malfunctions during fire alarm troubleshooting.
Can Fire Alarm Troubleshooting Be Done Without Professional Certification?
You shouldn’t attempt fire alarm troubleshooting without professional certification. These systems have strict legal and safety requirements. Improper handling can cause false alarms or system failures.
Certified technicians understand complex diagnostics and proper testing protocols. They also coordinate with authorities. Without certification, you risk non-compliance and jeopardize occupant safety.
Always rely on trained professionals to guarantee accurate troubleshooting. This helps maintain system integrity in accordance with regulations and manufacturer guidelines.
How to Document Fire Alarm Troubleshooting Procedures Correctly?
You document fire alarm troubleshooting by recording each step clearly and chronologically.
Note the date, time, system status, and specific issues found. Include diagnostic codes, tools used, and corrective actions taken.
Use manufacturer guidelines to guarantee accuracy. Capture communication with authorities and system tests performed post-repair.
Maintain organized logs to support compliance and future reference. Always use precise technical language and avoid ambiguous terms for clarity and professionalism.
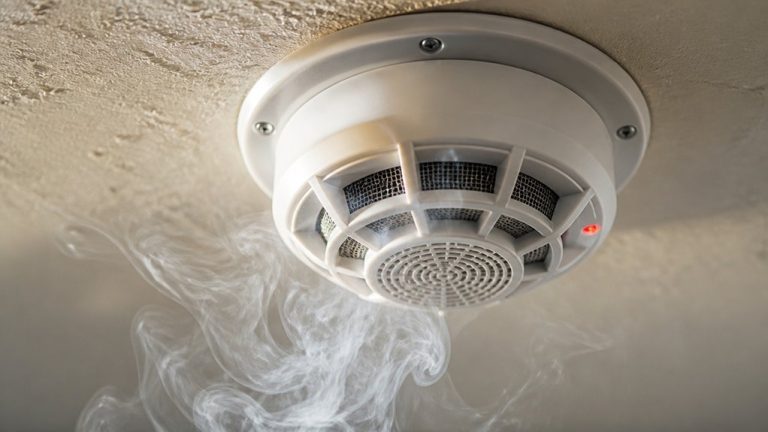
What Are Common Causes of False Fire Alarm Activations?
You mightn’t expect it, but common causes of false fire alarms often hide in plain sight.
Dust and dirt can clog detectors, triggering alarms unnecessarily.
Electrical issues, like power surges or wiring faults, also cause false activations.
Humidity and steam can confuse sensors, especially heat or smoke detectors.
Even insect infestations or expired detector components create false signals.
Identifying these factors helps you maintain reliable fire alarm performance and prevent disruptions.
Start Smart: The Right Way to Test and Troubleshoot Your System
Before you plunge into testing, you’ll want to contact the authorities, just like checking the fire alarm control panel for visible damage first.
These initial steps coincide, ensuring safety and system integrity before troubleshooting. By aligning communication with inspection, you create a clear path to efficiently test power supplies, run diagnostics, and plan repairs.
Following this sequence keeps your troubleshooting precise, minimizing risks while maximizing system reliability.