You need a security camera with adjustable IR settings to reduce glare and reflections caused by infrared light bouncing off glass at night.
Position your camera at a 45-degree angle close to the glass and avoid indoor light sources behind it to minimize backscatter and whiteout.
Using external IR illuminators positioned outside the window enhances visibility and cuts through glass interference.
Combining visible light and IR sensors also improves clarity. Explore how camera choice, positioning, and lighting solutions optimize night vision through glass barriers.
Key Takeaways
- Use cameras with adjustable or external IR illuminators to minimize reflections and glare caused by glass at night.
- Position cameras at a 45-degree angle to glass surfaces to reduce IR reflection and backscatter effects.
- Opt for dual-sensor or fused visible and infrared cameras to improve clarity and motion detection through glass.
- Place IR illuminators and cameras outside the glass to prevent internal reflections and enhance night visibility.
- Select IP cameras with advanced processing algorithms and customizable IR settings for better image quality through glass barriers.
Challenges of Night Vision Cameras Behind Glass
When you set up a night vision camera behind glass, you quickly run into significant challenges caused by infrared light reflecting off the glass surface.
This reflection generates glare and whiteout effects, severely degrading image quality. Ambient or indoor lighting further compounds the problem by creating backscatter, which obscures details.
Double-pane or coated glass intensifies these issues by adding reflective layers and diminishing infrared transmission. The camera’s motion detection also suffers, as glass interference creates false triggers or missed events.
Standard infrared cameras struggle the most, as their emitted IR light bounces back into the lens, overwhelming the sensor. Even tinted glass can block IR wavelengths entirely, limiting visibility.
To maintain effective surveillance, you must understand these core challenges before attempting any setup behind glass. Choosing cameras with reduced IR glare can help improve image quality in these scenarios.
How Infrared Reflection and Glare Affect Night Vision?
Although infrared cameras are designed to capture low-light scenes, the emitted IR light often reflects off glass surfaces, creating glare that overwhelms the sensor and degrades image quality.
Infrared cameras capture low-light scenes but glare from glass reflections can overwhelm sensors and reduce image clarity.
This reflection, known as backscatter, reduces visibility by flooding the camera with scattered IR photons. Double-pane or coated glass exacerbates this effect by increasing reflective interfaces and attenuating IR transmission.
Additionally, ambient indoor lights reflect within the glass, compounding glare and further diminishing contrast. You’ll notice motion detection accuracy suffers since false reflections trigger alerts.
To maintain image fidelity, it’s critical to understand that IR wavelengths interact differently with various glass types. Reflections can saturate the sensor, causing whiteout.
Managing these optical challenges requires precise camera placement and awareness of glass properties to mitigate reflection-induced glare in night vision scenarios.
Using cameras with large-aperture lenses and advanced image processing can help improve performance despite IR reflection challenges.
Choosing Night Vision Cameras With Adjustable IR Settings
Since infrared reflection can severely degrade image quality through glass, selecting night vision cameras with adjustable IR settings becomes essential for peak performance.
You’ll want cameras that let you control IR intensity to minimize internal reflections and glare from glass surfaces. By reducing IR power or disabling built-in IR illuminators, you avoid backscatter and whiteout effects common with standard fixed-output IR cameras.
Look for models offering variable IR range or external IR control compatibility to optimize illumination based on glass type and thickness. Adjustable settings reassure motion detection accuracy by preventing false triggers caused by IR reflections.
Incorporating cameras with customizable IR settings lets you adapt to environmental factors, including tinted or double-pane glass, improving image clarity and reliability in challenging night-time glass scenarios.
Additionally, understanding the impact of small sensors on low-light performance helps in choosing cameras that maintain image clarity despite environmental limitations.
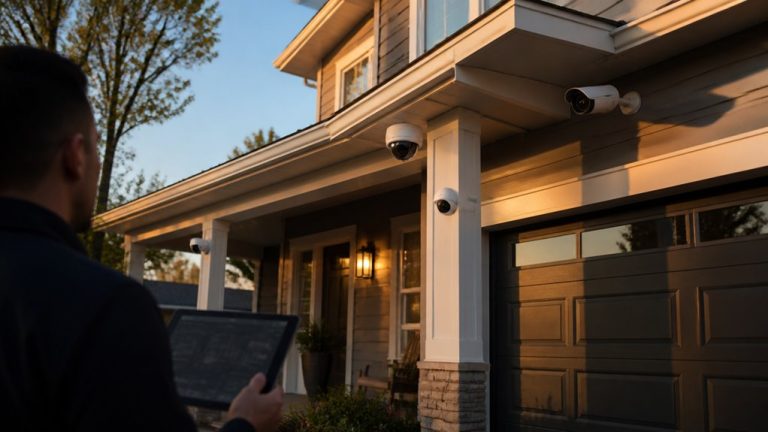
Positioning Cameras to Reduce Glass Interference
Adjusting IR settings improves image quality, but camera placement plays an equally important role in reducing glass interference at night. Position your camera lens close to the glass surface to minimize the distance where IR reflections can occur.
Avoid mounting directly opposite indoor light sources, as these create backscatter that degrades image clarity. Angling the camera approximately 45 degrees relative to the glass reduces direct IR reflection off the pane.
For double-pane or tinted glass, which further impede IR transmission, precise alignment becomes critical. Utilize window or wall mounts that enable stable positioning without gaps, preventing stray IR light from reflecting internally.
Consistently clean glass surfaces to eliminate smudges that scatter IR light. By optimizing these factors, you effectively suppress glare and improve night vision clarity through glass barriers.
Additionally, mounting cameras at the recommended height of 8–10 feet with a slight downward angle can further enhance infrared effectiveness and reduce potential reflections.
Using External IR Lights to Boost Night Vision Through Glass
By placing infrared (IR) illuminators outside the glass, you eliminate internal reflections that typically degrade night vision quality. This external setup prevents IR light from bouncing off the glass surface inside, which usually causes glare and whiteout.
You’ll improve the camera’s effective range and image clarity by ensuring IR light directly illuminates the area beyond the glass. Position the external IR lights near the camera’s line of sight but outside the window for best results.
| Benefit | Reason | Result |
|---|---|---|
| Eliminates glare | IR light doesn’t reflect inside | Clearer night images |
| Extends IR range | Illuminates farther outside | Improved detection distance |
| Reduces backscatter | Avoids internal light sources | Enhanced contrast and detail |
This method is essential for overcoming glass interference in night surveillance. Using external IR lights combined with offline recording ensures continuous footage capture even when WiFi is unavailable.
Best Glass Types for Night Vision Cameras
When selecting glass for night vision cameras, you need to prioritize materials that maximize infrared (IR) transmission while minimizing reflective interference.
Single-pane glass is your best bet, as it allows partial IR passage with fewer reflective surfaces compared to double-pane or laminated glass.
Single-pane glass offers better infrared transmission with less reflection than double-pane or laminated alternatives.
Avoid tinted or coated glass since these treatments markedly reduce IR transmissivity, impairing night vision performance.
Low-emissivity (Low-E) glass can help by reducing interior light reflections, but you must verify its IR transparency before use.
Opt for optical-grade glass specifically designed for high IR transmission when possible.
Also, make certain the glass surface is clean and free from smudges, which scatter IR light and degrade image clarity.
Choosing the right glass type improves IR camera efficacy by reducing glare, backscatter, and signal loss, vital for accurate night-time surveillance.
Additionally, using tempered or laminated glass can enhance safety without significantly compromising infrared transmission.
Combining Visible Light and IR Cameras for Clearer Night Images
Although infrared cameras excel in low-light conditions, combining them with visible light cameras greatly enhances image clarity and detail during nighttime surveillance. Infrared cameras detect heat signatures but often suffer from glass reflections and glare.
Visible light cameras capture color and finer textures, improving identification accuracy. Integrating both systems leverages their complementary strengths, allowing you to mitigate IR glare and compensate for visible light’s low sensitivity in darkness.
| Feature | Benefit |
|---|---|
| Infrared Imaging | Detects heat signatures in darkness |
| Visible Light Imaging | Captures color and fine details |
| Combined Output | Enhances overall image clarity |
| Dual Sensors | Reduces glare and reflection issues |
This approach guarantees reliable monitoring through glass barriers at night. Using IP cameras with advanced processing algorithms can further improve visibility across varying lighting conditions.
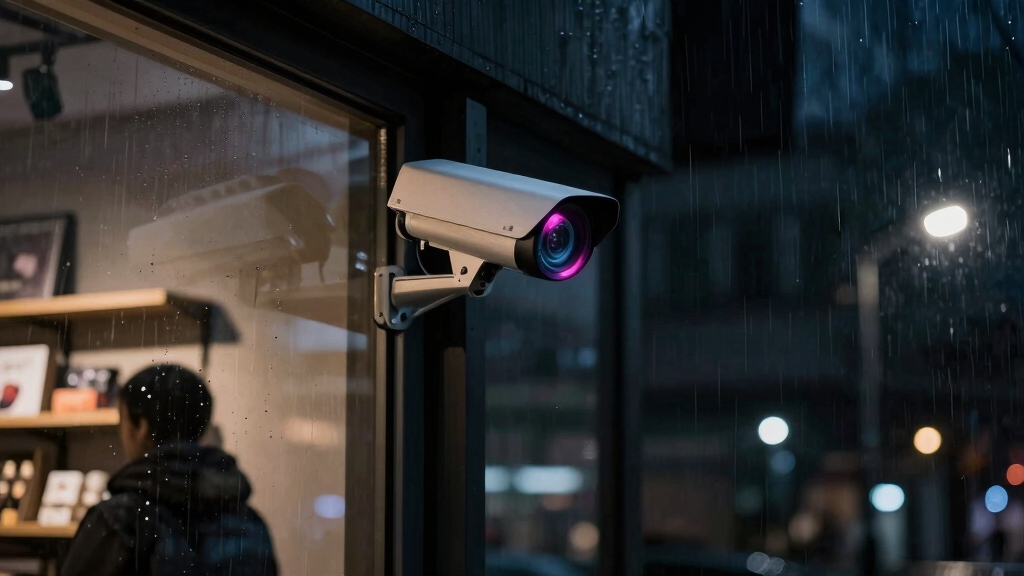
Outdoor Camera Options That Bypass Indoor Glass Barriers
Integrating visible light and infrared cameras improves night surveillance through glass. However, indoor placement still suffers from reflection and glare issues.
To bypass these barriers, consider mounting cameras outdoors in weatherproof enclosures with IR-pass glass. This ensures direct line-of-sight without indoor glass interference.
Position external IR illuminators alongside the camera to enhance night visibility without causing internal reflections. Utilize adjustable IR settings and wide dynamic range (WDR) technology to optimize image clarity under variable lighting conditions.
You can also angle cameras at 45 degrees or use specialized lenses and filters designed to minimize glare. Exterior mounts eliminate complications from double-pane or tinted glass that block IR wavelengths. This provides more accurate motion detection and consistent image quality.
This approach guarantees reliable surveillance unaffected by indoor glass limitations. For optimal performance, use weatherproof models and consider Power over Ethernet (PoE) to simplify outdoor wiring and power delivery.
Frequently Asked Questions
Can Tinted Glass Coatings Be Removed to Improve IR Camera Performance?
You generally can’t remove tinted glass coatings without damaging the glass or compromising its structural integrity.
These coatings are often chemically bonded or baked onto the surface, making removal impractical.
Instead, you should consider replacing the glass with a non-tinted, IR-transmissive type or mounting your IR camera outside the glass.
This preserves IR camera performance without risking glass damage or costly repairs.
How Do Motion Detection Algorithms Adjust for Glass Interference?
You might expect motion detection to work flawlessly, but glass interference throws a wrench in the system.
To adjust, algorithms filter out false signals caused by reflections and glare by analyzing movement patterns and intensity thresholds.
They use adaptive background modeling to distinguish genuine motion from noise.
Some even incorporate machine learning to improve accuracy over time.
You’ll want to fine-tune sensitivity and position the camera strategically to minimize glass-induced errors.
Are There Specific Camera Brands Known for Better Glass Night Vision?
You’ll find brands like Axis Communications and Hikvision offer cameras with advanced IR adjustments and wide dynamic range. This enhances night vision through glass.
Dahua’s models often include specialized lenses and external IR illuminators to reduce glare.
Additionally, FLIR focuses on thermal imaging but isn’t effective through glass.
Prioritize cameras with adjustable IR settings, high resolution, and WDR to improve performance when filming through glass at night.
What Maintenance Is Required for Outdoor IR Camera Enclosures?
Studies show that 30% of camera failures result from poor enclosure maintenance. To keep your outdoor IR camera enclosure functional, you need to regularly clean lenses and IR-pass glass. This prevents dirt and smudges that reduce IR transmission.
Inspect seals and O-rings to maintain waterproof integrity and avoid condensation. Check for corrosion on metal parts and reapply protective coatings if necessary. Finally, ensure ventilation openings remain unobstructed to prevent overheating.
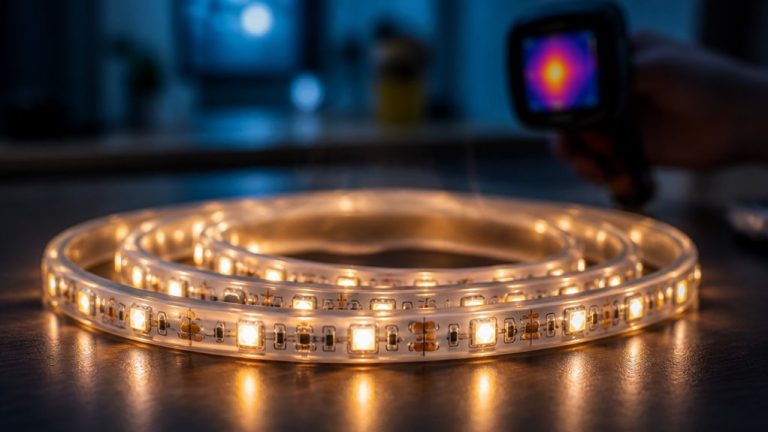
Can Thermal Imaging Complement IR Cameras for Indoor Glass Surveillance?
Yes, thermal imaging can complement IR cameras indoors, but it has limits.
Thermal cameras detect surface heat and won’t see through glass, showing only the glass temperature. You’ll rely on IR for detailed imagery behind glass.
Combining both lets you detect heat signatures near windows while capturing clearer visuals with IR.
Use thermal to monitor activity patterns and IR for identification, optimizing indoor glass surveillance effectively.
Breaking Through Reflections: Smarter Night Surveillance Solutions
You might think night vision cameras behind glass are like trying to see stars through a fogged window. But with adjustable IR settings and strategic placement, you cut through that haze.
By combining external IR lights and selecting ideal glass types, you eliminate glare and reflection, turning a blurred shadow into a sharp silhouette.
Fundamentally, you’re not just capturing images; you’re engineering clarity where darkness and glass once collided.