To deactivate your home alarm system, first enter your exact numeric disarm code at the control panel or via the mobile app if supported, confirming immediately to avoid triggering alerts.
Locate the control panel, usually in garages or basements, and open it with a screwdriver or access key. Before disconnecting power, fully disarm the system.
Then, safely remove the AC power by unplugging and disconnecting the fuse and backup battery wires carefully. Follow proper procedures to avoid false alarms and damage; further details explain each step thoroughly.
Key Takeaways
- Enter the exact numeric disarm code at the control panel or mobile app to deactivate the alarm system promptly and prevent triggering.
- Locate the main control panel in common areas like garages or basements, often a locked white or metal box on the wall.
- Disarm the system before unplugging AC power to avoid false alarms; unplug the power source near the control panel carefully.
- Open the control panel with a screwdriver or access key to disconnect the backup battery by loosening terminal screws safely.
- Consult the system manual for model-specific disarming steps and consider professional help if unsure or complications arise.
How to Use Your Disarm Code to Turn Off the Alarm?
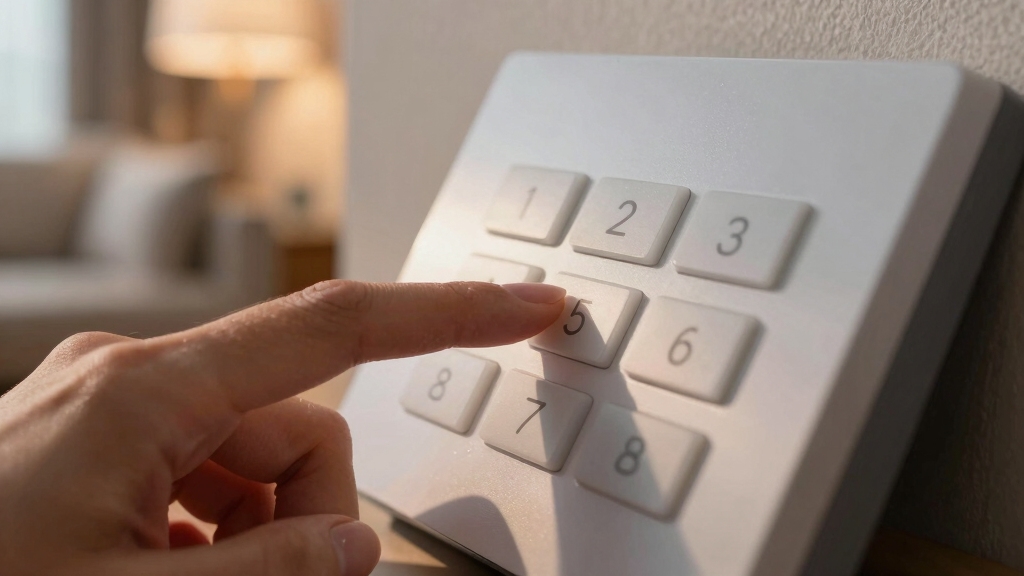
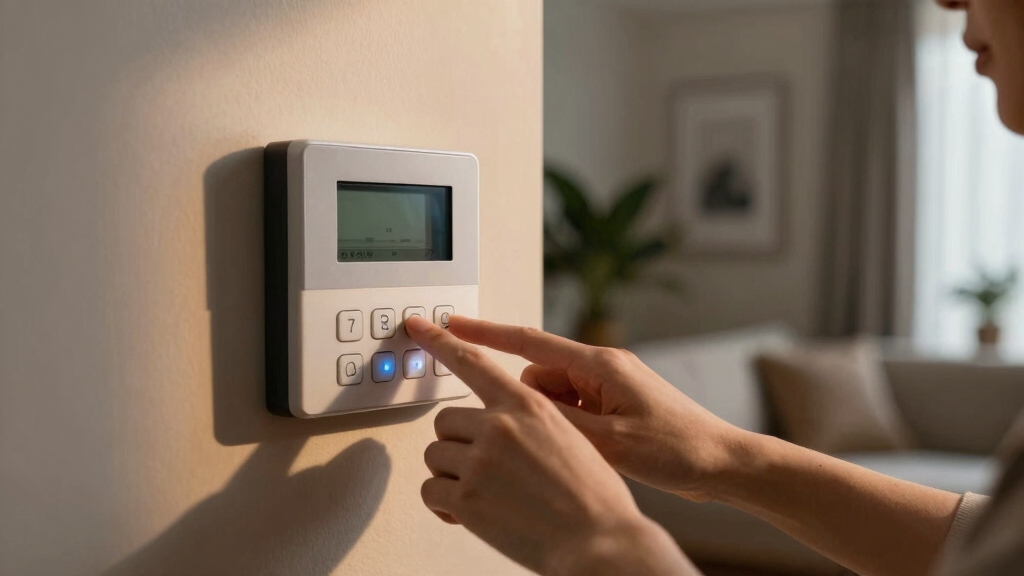
To turn off your home alarm using the disarm code, start by approaching the control panel and entering the exact numeric sequence assigned to you. Make sure your input matches the code precisely to prevent triggering the alarm further.
Approach the control panel and enter your exact disarm code carefully to avoid triggering the alarm.
Most systems require immediate confirmation after code entry, such as pressing a specific function key. If your system supports it, use the mobile app to input the disarm code remotely, allowing quick cancellation.
Remember, knowledge of your disarm code is essential for proper operation and security. Incorrect attempts may alert the monitoring center within seconds.
If monitored, provide your safety password promptly to verify your identity and avoid false dispatch. Maintain confidentiality of your code to ensure system integrity and prevent unauthorized access.
Disarming the system also typically clears any active zone bypasses, restoring full monitoring coverage until the system is armed again.
Where to Find Your Alarm’s Control Panel?
After correctly entering your disarm code, knowing the exact location of your alarm’s control panel allows you to manage the system efficiently.
Typically, manufacturers install the main control panel in discreet, accessible areas such as garages, basements, utility rooms, or washrooms.
Locate it by tracing wiring from sensors or by consulting your system’s installation manual.
The panel usually has a locked backing secured by screws or an access key, which you might need to open for manual adjustments.
Identifying this panel is essential before proceeding with further system management.
If you can’t find it, check near your electrical panel or alarm siren.
Always make certain you have proper tools, like a screwdriver or access key, ready to access the control unit safely.
The alarm panel often appears as a mid-sized white box mounted on a wall, making it easier to identify in your home’s layout as a key component.
How to Safely Disconnect Power From Your Alarm?
First, you’ll want to find the main control panel. This is typically located in places like garages, basements, or utility rooms. Once you’ve found it, the next step is to remove the AC power from the wall outlet. This will help you cut off the mains electricity.
After that, it’s time to tackle the backup power. Carefully disconnect the battery terminals inside the panel. This step is crucial for fully disabling the system. Just take your time, and you’ll do great!
Remember to disarm the system completely via the base unit or app before disconnecting power to avoid triggering accidental alarms.
Locating The Main Panel
Finding the main control panel is essential when you need to safely disconnect power from your alarm system. Typically, you’ll find it in garages, utility rooms, basements, or washrooms.
Begin by locating a rectangular metal box mounted on a wall, often secured with screws or a locking mechanism. Use the console’s access key or a small screwdriver to release the panel’s cover.
Inside, identify the blocky main battery and wiring terminals. Note the fuse spur nearby, which controls mains power. Before proceeding, confirm you have proper access tools and have verified no active break-in is occurring.
Methodically observing these steps ensures safe access to internal components. This sets the stage for controlled power disconnection without triggering false alarms or damaging the system. Pressing *2 on the keypad allows you to access the trouble menu to identify any active issues before disconnecting power.
Removing AC Power
Begin by locating the AC power source connected to your alarm system, typically a wall outlet near the main control panel. Before unplugging, make certain the system is disarmed using your code to prevent triggering alarms.
Carefully pull the plug from the outlet, cutting off mains electricity to the panel. Avoid yanking the cord to prevent damage. Once unplugged, the system will switch to battery power if equipped, so power isn’t fully removed.
Do not open the control panel at this stage to disconnect battery terminals; that comes next. Confirm no active alarms are triggered during this process. If unsure about any step, consult your system’s manual or contact a professional.
Removing AC power safely prevents electrical hazards and prepares your system for full manual deactivation. It is important to verify stable AC and battery voltage before proceeding to ensure the system’s power sources are functioning correctly.
Disconnecting Battery Terminals
Locate the main alarm panel and open its backing using the console’s access key or a screwdriver. Inside, identify the battery, which is typically blocky and easily visible.
You’ll see two terminal wires, usually red (positive) and black (negative). Before disconnecting, make certain you’ve already removed the AC power source to prevent electrical hazards.
Carefully loosen the terminal screws securing the battery wires using your screwdriver. Detach the red wire first, followed by the black wire, to fully isolate the battery.
Be aware that disconnecting these terminals may trigger the alarm bell unless professionally decommissioned. Handle the battery and wires with care to avoid damage.
After removal, close the panel securely. If unsure, consult a professional to prevent liability or system damage.
For complete power isolation, it is recommended to also remove the backup battery and press the test button to drain residual power during the disconnection process, as outlined in hardwired alarm reset procedures.
How to Remove the Fuse and Battery Wires?
First, you’ll want to find the fuse spur close to your alarm panel. Just carefully pull out the fuse to cut off the mains power to the system.
Once that’s done, it’s time to locate the battery terminal wires inside the main control panel. You’ll usually see two wires—one red and one black. Go ahead and disconnect those to fully power down the alarm.
Take your time with this process. Moving too quickly might accidentally trigger the external bell or even damage some components. Just methodically work through each step, and you’ll be all set!
Remember to verify that the system’s clock is reset after power removal, as the backup battery helps maintain accurate time during outages.
Locating The Fuse Spur
The fuse spur, typically positioned near the main alarm panel, controls the system’s connection to mains power. To locate it, first identify the alarm panel, usually found in utility rooms or basements.
The fuse spur is a small switch or box mounted on the wall adjacent to the panel. Use a screwdriver to open its compartment carefully.
Here’s what you need to note:
| Component | Location Detail |
|---|---|
| Fuse Spur | Adjacent to main alarm panel |
| Fuse Compartment | Small box or switch on wall |
| Accessibility | Requires screwdriver to open |
Once located, removing the fuse will disrupt AC power. Battery backup will still operate until you disconnect battery wires inside the panel. Always proceed methodically to avoid triggering alarms. It is important to verify power disconnection with a non-contact voltage detector before working on the system.
Removing Fuse For Power
Begin by carefully removing the fuse from the fuse spur compartment adjacent to your alarm panel to cut off the mains power supply. Use a screwdriver if necessary to open the compartment door.
Once the fuse is removed, mains power to the alarm system will be interrupted. The system will continue to operate on battery power. Avoid touching any wires during this step to prevent accidental shorts.
Confirm that the panel display powers down or shows a battery-only indicator. Don’t proceed to disconnect battery terminal wires yet, as that’s covered in the next section.
Removing the fuse alone is a critical initial step to guarantee the alarm system no longer draws AC power. This minimizes electrical risks before further manual disarming actions. Hardwired systems use a dual-source design with mains power plus battery backup to ensure uninterrupted operation during power outages.
Disconnecting Battery Terminal Wires
Locate the battery terminal wires inside the main alarm panel to safely disconnect them and fully cut off the system’s power source. Open the panel using the access key or a screwdriver.
Identify the red (positive) and black (negative) wires attached to the battery terminals. Using your screwdriver, carefully loosen the terminal screws securing these wires.
Start by disconnecting the black wire first to minimize short-circuit risk, then proceed with the red wire. Once both wires are detached, the battery no longer powers the system, completing the shutdown process.
Be aware that disconnecting battery terminals may trigger the external bell or siren. To avoid damage or false alarms, consider consulting a professional if you’re uncertain about any step during this procedure.
Additionally, ensure you follow proper safe disconnection procedures to avoid damage and maintain system integrity during power shutdown.
How to Fix Beeping and False Alarms?
Frequently, persistent beeping and false alarms result from battery issues or transformer malfunctions within your home security system.
Begin by inspecting the battery’s condition; replace it if voltage is low or corrosion is visible.
Next, verify the transformer’s output to make certain it delivers consistent power to the panel. Fluctuations here often trigger false alarms.
Confirm the landline connection is intact to maintain proper communication with monitoring services.
Before proceeding, perform a safety check to make certain no active break-in is occurring.
If beeping persists after these steps, review your system’s manual for model-specific troubleshooting.
Avoid attempting complex repairs without professional guidance, as improper handling can cause further malfunctions or system damage.
Methodically addressing these components will typically resolve beeping and false alarm issues efficiently.
Tools You’ll Need to Turn Off Your Alarm
To turn off your home alarm system effectively, you’ll need a few essential tools at hand. These enable safe access to the control panel and proper disconnection of power sources without causing damage or triggering false alarms.
- Screwdriver: Required to open the alarm panel’s backing and disconnect battery terminals or wires.
- Access key: Often provided with your system, this opens the console for internal access.
- Instruction manual: Offers system-specific disarming steps and troubleshooting guidance.
Ensure you have ear protection ready, as internal sirens may activate during the process.
Having these tools prepared before starting guarantees a methodical and secure disarming of your home alarm system.
When to Call a Pro for Your Alarm System?
Although many home alarm systems can be disarmed using standard codes or manual panel access, you should call a professional when you encounter system-specific complexities or risk causing damage.
If you’re unsure about your system’s exact model or the disarming procedure varies markedly, a technician’s expertise prevents costly errors.
Avoid manual power disconnection or battery terminal removal without proper knowledge, as this can trigger external sirens or void warranties.
Persistent false alarms, transformer issues, or unexpected beeping also warrant professional troubleshooting.
Moreover, monitored systems require coordination with the monitoring center using safe words, which professionals handle efficiently.
When the instruction manual is unavailable or you lack the correct access tools, engaging a pro guarantees safe, compliant, and damage-free deactivation of your home alarm system.
Frequently Asked Questions
Can I Reset My Alarm System Remotely via a Mobile App?
Yes, you can reset your alarm system remotely via its mobile app if your security system supports remote management.
Most modern systems provide apps that let you disarm or reset alarms quickly from your phone.
Make sure you have the correct disarm code and your app is properly configured.
Always verify the reset completes successfully to avoid false alerts or continuous monitoring center notifications.
Consult your system’s manual for app-specific instructions.
What Is a Safe Word and How Do I Set It for Monitoring?
A safe word is a unique password you provide the monitoring center to verify your identity during alarm events.
Studies show that 85% of false dispatches are prevented by using a safe word.
To set it, contact your monitoring service and supply a memorable but secure phrase.
They’ll record it in your account, ensuring they only respond to authorized calls, reducing false alarms and improving your system’s reliability and your peace of mind.
How Do I Prevent False Dispatches After Disarming the System?
To prevent false dispatches after disarming, always provide your safe word or safety password to the monitoring center to verify your identity.
Confirm the system status with the monitoring service before leaving the premises.
Double-check that the alarm is fully disarmed by entering the correct disarm code on the control panel.
If your system allows, use the mobile app to cancel alarms remotely, ensuring no unintended alerts trigger emergency response.
Are There Legal Risks if I Damage the Alarm While Disarming?
Back in the days of quills and parchment, damaging someone’s property could lead to serious legal trouble. That’s still true today.
If you damage your alarm system while disarming it, you risk financial liability for repairs or replacements. You must follow proper procedures and consult professionals when unsure.
Damaging the unit might void warranties and could even breach terms with monitoring services. Proceed carefully and document your actions to avoid legal repercussions.
How Do Honeywell and Protection 1 System Disarming Methods Differ?
Honeywell systems require entering numeric disarm codes followed by specific function numbers via the keypad, focusing on software commands.
Protection 1 systems demand physically unplugging the alarm panel’s power supply and battery, usually located in utility areas, emphasizing hardware disconnection.
You’ll notice Honeywell relies on code input, while Protection 1 involves manual power cutoff.
Always consult your system manual for exact steps and consider professional help to avoid damage or false alarms.
Disarm with Confidence: Secure Your Home the Right Way
Deactivating your home alarm system is like carefully defusing a ticking time bomb. Precision and patience are key. By using your disarm code, locating the control panel, and safely disconnecting power, you can avoid false alarms and unnecessary stress.
Always gather the right tools. If the process feels overwhelming, don’t hesitate to call a professional. Taking these methodical steps guarantees your home stays secure while giving you peace of mind.