To turn off your Honeywell alarm system, first enter your 4-digit user code promptly on the keypad after entering through the delay door.
Then press “1” to disarm before the alarm sounds. Confirm the red armed light goes off and beeping stops.
If needed, open the control panel to inspect the backup battery or disconnect power safely by removing the battery and unplugging the transformer.
You can also silence keypad beeps or reset the system for full control and troubleshooting.
Key Takeaways
- Enter your 4-digit user code on the keypad, then press “1” to disarm the Honeywell alarm system before the alarm sounds.
- Confirm disarm status by ensuring the red armed light turns off and keypad beeping stops after entering the code.
- If the alarm continues beeping, re-enter the user code and check keypad display for trouble or low battery warnings.
- To silence persistent beeping, press the disarm button followed by your 4-digit security code and review any trouble codes displayed.
- For complete power shutdown, remove the backup battery first, then unplug the transformer, verifying the keypad display is blank.
Locate and Open Your Honeywell Alarm Control Panel
To get started, track down your Honeywell alarm control panel, which is typically installed in a closet, utility room, basement, or garage.
Once located, check if the panel door is locked; if so, use the key often stored atop the box to unseal it.
Carefully open the door by lifting it off the hinges to access the interior.
Inside, you’ll find the 12-volt backup battery and necessary wiring.
Before proceeding, inspect the battery for any signs of corrosion or damage.
This ensures safe handling during power disconnection or maintenance.
Keep your workspace organized and avoid disturbing wiring unnecessarily.
Accessing the control panel correctly sets the foundation for safely powering down or servicing your Honeywell alarm system.
Disarm the system completely before battery maintenance to prevent accidental alarms and ensure system integrity.
Disarm Your Honeywell Alarm System Using the Keypad
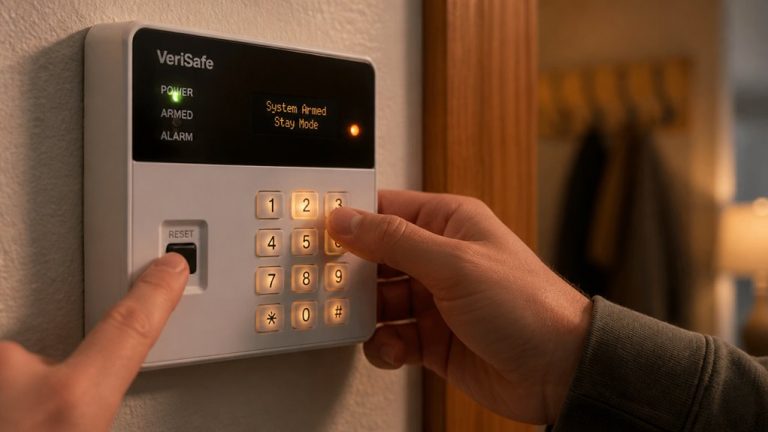
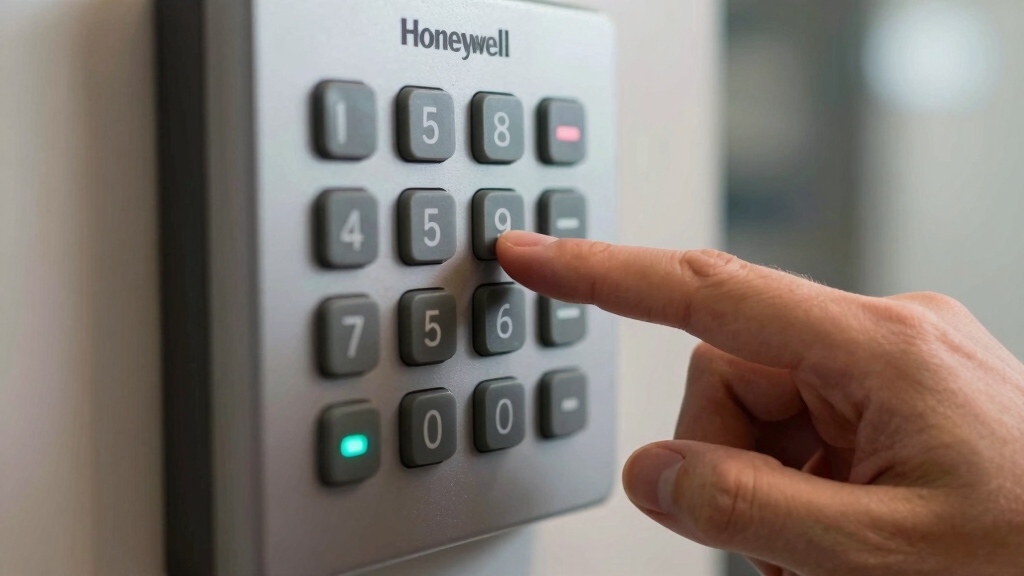
To disarm your Honeywell alarm system, start by entering your 4-digit user code.
After that, just hit the number 1 on the keypad. You’ll hear a beep, which is a good sign—it means the system is recognizing your entry as you open the delay door.
Once you’ve done that, make sure to check the red armed light. If it’s turned off, you’re all set! That means your system is fully disarmed now.
Easy, right?
Note that changing system settings like time or date requires the master code and access to programming mode.
Enter User Code
Disarm your Honeywell alarm system quickly by entering your 4-digit user code followed by the number 1 on the keypad.
This method applies to systems armed in stay, away, or instant modes. After entering your code and pressing 1, the keypad registers the input and processes the disarm command.
You’ll hear a beep when passing through the delay door, signaling that the system recognizes your code. The red armed indicator light on the keypad will turn off, confirming successful disarmament.
Make sure you input the correct user code to avoid triggering alarms or lockouts. This procedure is standard on Honeywell Vista 15P, 20P, and 21iP panels, providing a reliable and immediate way to deactivate your alarm via the keypad interface.
If you need to temporarily disable specific sensors, consider using the bypass zone feature to maintain partial security while managing open or faulty zones.
Confirm Disarm Status
You’ll typically see the red armed light on the keypad turn off immediately after entering your user code and pressing 1, signaling that the system has disarmed successfully. This visual confirmation confirms the system is no longer in armed mode, preventing false alarms.
Additionally, listen for the keypad’s audible beep to cease, indicating disarm acknowledgment. Check the keypad display for any status messages; a blank or normal screen signifies proper disarmament.
If the red armed light remains on or the keypad continues beeping, re-enter your code to ensure correct input or troubleshoot for system errors.
Confirming disarm status promptly helps maintain security integrity and prevents unnecessary alerts, making certain your Honeywell alarm system is properly turned off and ready for normal use.
If the system continues to beep, check for trouble codes that may indicate underlying issues requiring attention.
Handle Delay Door
Approach the keypad promptly after entering through the delay door to prevent triggering the alarm. When you come in, the keypad beeps as a reminder to disarm.
To handle the delay door correctly, follow these steps:
Enter your 4-digit user code on the keypad.
Press the “1” key to disarm the system.
Confirm the red armed light turns off on the keypad.
If you delay, the alarm will sound, so act quickly.
Use this method for stay, away, or instant arming modes. For optimal system performance, always ensure your device has fresh AA alkaline batteries installed.
Safely Disconnect Power From Your Honeywell Alarm
To safely disconnect power from your Honeywell alarm, let’s start with the backup battery.
You’ll typically find it inside the panel box, which is usually tucked away in a closet or utility room. Go ahead and remove that battery first.
Once that’s done, the next step is to unplug the transformer from the wall outlet.
If it’s secured with screws, you might need a screwdriver for this part.
After you’ve unplugged everything, take a moment to check the keypad display.
If it’s blank, you can be sure the system has fully powered down.
Remember that some systems may still have residual power from backup batteries, so removing all batteries ensures complete disconnection of the backup power.
Backup Battery Removal
Begin by locating the backup battery inside the alarm panel, usually found in a closet or utility room. This battery powers your Honeywell system during outages and must be disconnected first to safely shut down the alarm.
Follow these steps to remove it:
Open the control panel door by releasing it if necessary. Identify the 12-volt backup battery inside the panel. Carefully unplug the battery connector from the circuit board. Avoid pulling on wires; grip the connector firmly. Inspect the battery terminals for corrosion and clean if needed.
Removing the backup battery cuts off the secondary power source, ensuring the panel powers down safely before you proceed with transformer unplugging or other actions.
Always handle the battery with care to avoid damage or shorts. Disconnecting the backup battery first helps prevent false alarms that can occur during power disconnection.
Transformer Unplugging Steps
After disconnecting the backup battery, you’ll need to safely unplug the transformer to fully cut power to your Honeywell alarm system.
First, locate the transformer plugged into a nearby wall outlet. If the transformer is secured with screws, use a screwdriver to remove them carefully.
Once unscrewed, gently pull the plug from the outlet. Avoid yanking the cord to prevent damage.
Make sure your hands are dry to reduce electrical shock risk. Unplugging the transformer cuts the primary power source, fully disabling the alarm system after battery removal.
Handle the transformer and outlet area cautiously, as they carry live electrical current. This step is essential before proceeding with further maintenance or system shutdown verification.
Before beginning, it is important to notify central monitoring station to ensure the system is placed in test mode and to avoid false alarms during power disconnection.
Confirming System Shutdown
Once you’ve unplugged the transformer following battery disconnection, verify the system has fully powered down by checking the keypad display. A blank or unlit keypad confirms the alarm panel is no longer receiving power.
To make certain of complete shutdown, follow these steps:
- Confirm keypad screen is completely dark with no backlight.
- Listen for absence of any beeping or alarm sounds.
- Check that all indicator lights on the control panel are off.
- Verify backup battery is disconnected from the circuit board.
- Inspect wiring to make certain no residual power remains in the system.
Completing these checks guarantees the Honeywell alarm system is safely disconnected, preventing accidental triggers or electrical issues during maintenance or relocation.
For systems with interconnected alarms, it is also important to reset each alarm by pressing and releasing the test button after power disconnection to ensure complete system shutdown.
Reconnect Power and Restart Your Honeywell Alarm
Though restoring power might seem straightforward, it requires a specific sequence to guarantee your Honeywell alarm system restarts correctly.
First, plug the transformer back into the wall outlet. If it’s secured with screws, use a screwdriver to fasten it properly to assure stable power delivery.
Next, reconnect the backup battery to the circuit board inside the panel box. This order prevents system errors and assures the battery charges correctly.
Once powered, your Honeywell alarm will automatically start within a few minutes. Watch the keypad display for startup confirmation and any error messages.
If needed, clear errors by entering your 4-digit user code followed by 1. This precise sequence assures your system boots safely and maintains functionality without triggering false alarms.
To ensure safety and prevent damage, always disconnect power before inspecting wiring or components.
Silence a Beeping Honeywell Keypad
If your Honeywell keypad starts beeping, you’ll want to silence it promptly by pressing the disarm button followed by your security code. This action acknowledges the trouble condition and stops the audible alert.
After silencing, check the keypad display for any error messages to identify the source of the beep. To effectively silence and troubleshoot the beeping keypad, follow these steps:
Press the disarm button plus your 4-digit security code. Review the keypad display for specific trouble or low battery warnings.
Press disarm and enter your 4-digit code, then check the display for any trouble or low battery alerts.
Inspect and replace the backup battery if it’s older than 3-5 years. Replace batteries in wireless sensors for zones indicated on the display.
Verify transformer connection and check circuit breaker status to assure power stability. Following these steps ensures your keypad stops beeping and stays functional.
Use Extra Honeywell Keypad Functions
While managing your Honeywell alarm system, you can access several extra keypad functions to customize security settings and enhance control.
To arm in stay mode, enter your 4-digit user code followed by 3; for away mode, enter the code plus 2.
Toggle door chimes by inputting your user code followed by 9. If you need to clear the memory light, disarm the system, re-enter your code, and press 1 again.
These functions allow you to adjust system behavior without powering down or resetting to factory settings.
Use them to fine-tune your alarm’s operation efficiently.
Remember, all commands require your valid user code to assure security integrity.
Mastering these keypad functions improves your control over the Honeywell system’s performance and responsiveness.
Frequently Asked Questions
How Do I Reset My Honeywell Alarm to Factory Settings?
You can’t reset a Honeywell alarm to factory settings by simply powering down; it doesn’t erase programmed codes or zones.
To effectively reset, you need to erase the panel’s memory by disarming, entering your code, then pressing 1 again to clear the memory light.
For a full factory reset, you must access installer programming via the control panel and manually reconfigure or clear settings. This typically requires professional knowledge or assistance.
Can I Control My Honeywell Alarm System Remotely via Smartphone?
Yes, you can control your Honeywell alarm system remotely via smartphone if your system supports Total Connect or a similar app.
You’ll need to connect your panel to Wi-Fi, then download the Honeywell Total Connect app.
After setting up your account and linking your alarm system, you can arm, disarm, receive alerts, and monitor sensors from anywhere.
Make sure your panel model is compatible and your internet connection remains stable for remote access.
What Should I Do if My Honeywell Alarm Battery Dies Frequently?
When your Honeywell alarm battery dies frequently, it’s time to nip the problem in the bud.
First, inspect the backup battery for corrosion or age. It usually lasts 3-5 years. Replace it if needed.
Also, check the transformer’s connection and circuit breaker status to guarantee steady power.
Don’t forget wireless sensor batteries; old ones drain system power.
Proper maintenance keeps your alarm reliable and avoids unexpected shutdowns.
How Do I Add or Remove User Codes on My Honeywell System?
To add or remove user codes on your Honeywell system, access the control panel programming mode by entering your master code followed by 8 and then 0.
To add a code, enter the desired user slot number (usually 02-08), then input the new 4-digit code.
To remove a code, enter the user slot and replace the code with 0000.
Exit programming by pressing * or waiting for timeout.
Verify changes by testing the new or removed codes.
What Causes False Alarms and How Can I Prevent Them?
False alarms can feel like a marching band exploding in your living room, overwhelming and unnecessary. They’re usually caused by low batteries in sensors, loose wiring, or pets triggering motion detectors.
To prevent them, regularly replace wireless sensor batteries and inspect backup battery health. Guarantee all wiring is secure and adjust sensor placement away from heat sources or pets.
Tighten doors and windows properly and verify your system’s transformer and circuit breaker are stable.
Quieting the Noise, Strengthening Your Security
Now that you’ve disarmed your Honeywell alarm and safely disconnected power, you’ll notice the silence settling like a calm before a storm.
Reconnecting power will awaken the system, ready to protect once again. Just as you silence a persistent beep with a quick keypad command, you hold control over your security with precision.
Remember, mastering these steps means you’re always one move ahead, turning off alarms as effortlessly as flipping a switch.