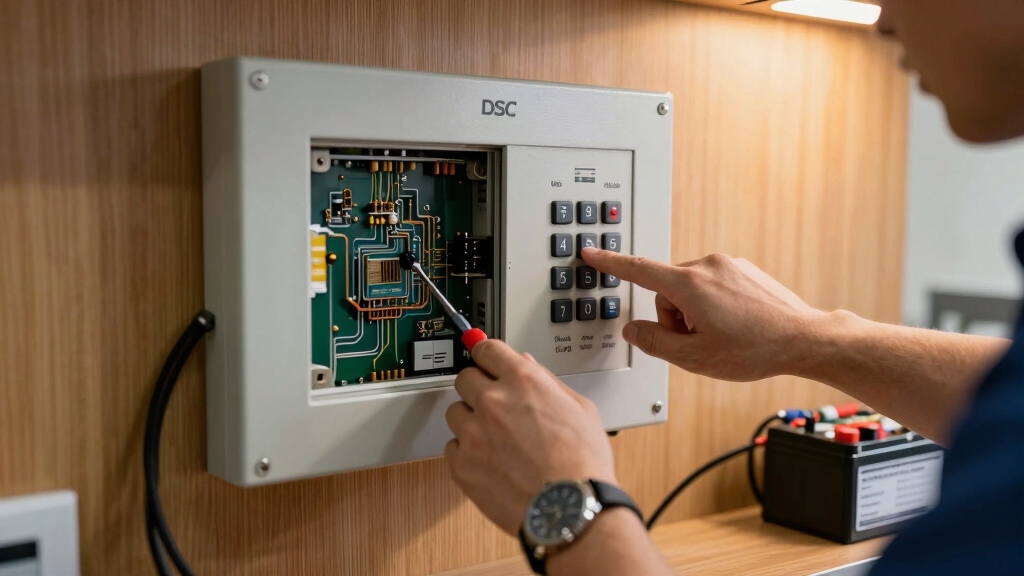
To reset your DSC alarm system, enter your master code on the keypad and press the reset button on the control panel for a standard reset.
For transient errors, perform a power cycle reset by disconnecting both battery and transformer for 30 seconds, then reconnecting power.
A factory reset requires placing a jumper wire on specific panel pins during power up, erasing all custom settings.
After resetting, you’ll need to reprogram essential settings and codes. Further guidance covers detailed procedures and troubleshooting.
Key Takeaways
- Perform a Standard Reset by entering the master code and pressing the reset button on the control panel.
- For a Power Cycle Reset, disconnect the backup battery and transformer, wait 30 seconds, then reconnect to clear transient errors.
- To Factory Reset PC1616/PC1832/PC1864 panels, place a jumper wire between Zone 1 and PGM1 pins during power-up for 10 seconds.
- For PowerSeries NEO Factory Reset, install a jumper wire between PGM1 and Zone 1 pins, power on for one minute, then remove jumper and restore power.
- Reprogram essential settings such as entry/exit delays and codes after any Factory Reset to restore system functionality.
Understanding DSC Alarm Reset Types: Standard, Power Cycle, and Factory
Although resetting a DSC alarm system can seem complex, understanding the three main reset types—Standard, Power Cycle, and Factory—will help you choose the right method for your situation.
Resetting a DSC alarm system is easier when you know the differences among Standard, Power Cycle, and Factory resets.
The Standard Reset requires entering the master code and pressing the reset button. This restores default settings but keeps your system programmable.
The Power Cycle Reset involves disconnecting both the battery and transformer, waiting 30 seconds, then reconnecting power. This clears transient errors without altering programming.
The Factory Reset is more invasive; it requires placing a jumper wire on specific panel pins during power cycling. This erases all custom settings and returns the system to factory defaults.
Knowing these distinctions guarantees you apply the correct reset type based on access, urgency, and desired effect on your DSC alarm system. For persistent issues, accessing the trouble menu by pressing *2 can help identify specific trouble codes before performing a reset.
How to Perform a Standard Reset on DSC Alarm Systems Using the Master Code?
When you have access to the master code, performing a standard reset on your DSC alarm system is straightforward. This process restores the system to its default settings without erasing your ability to reprogram it.
Start by entering the master code on the keypad. Next, press the Reset button located on the control panel. To confirm, enter the master code again when prompted.
The system will then initiate the reset process, which takes a few minutes to complete. After the reset, you’ll need to reprogram essential settings such as entry and exit delays and zone configurations. It is also important to verify and update the system time and date after the reset to ensure accurate event logging and reliable system performance.
How to Power Cycle Reset Your DSC Alarm Without a Code?
To power cycle reset your DSC alarm without a code, start by locating the main alarm panel, typically found in a utility room or basement.
First, disconnect the backup battery to completely cut power. Next, unplug the transformer from the electrical outlet.
Wait exactly 30 seconds to guarantee all residual power drains from the system. After the wait, reconnect the backup battery first, then plug the transformer back in.
This sequence prevents power surges that could damage the panel. Once powered up, the alarm system will reset without requiring any code input.
Finally, use the keypad to reset the time and date settings, as these will default after power loss. This method offers a simple hard reset without erasing programmed settings.
For best results, allow at least 60 seconds for the system to fully reboot and verify its functionality through keypad feedback and test alarms as recommended in the post-reset recommendations.
Factory Reset Steps for DSC PC1616, PC1832, and PC1864 Panels
To factory reset your DSC PC1616, PC1832, or PC1864 panel, you’ll want to start by completely powering down the system. This means removing both the battery and the power supply—make sure everything is off!
Next, grab a jumper wire. You’ll need to connect it between the Zone 1 and PGM1 pins. Once that’s done, go ahead and power up the panel. Keep it powered on for exactly 10 seconds.
After that, power down the panel again and carefully remove the jumper wire. Finally, reconnect the power and the battery. That should complete the reset process. You’re all set!
For safety, always disconnect the backup battery first before removing the main power to avoid electrical issues and false alarms.
Jumper Placement Procedure
Start by powering down the DSC PC1616, PC1832, or PC1864 panel completely. Remove the backup battery and disconnect the main power source.
Next, locate the Zone 1 and PGM1 pins on the control board. Follow these steps precisely:
- Place a jumper wire securely between the Zone 1 pin and the PGM1 pin.
- Reconnect power and backup battery, powering the panel on with the jumper in place.
- Allow the panel to remain powered with the jumper installed for exactly 10 seconds.
- Power down the panel completely again, remove the jumper wire, then reconnect power and battery as normal.
This procedure triggers the factory reset. Listen for any clicking sounds indicating the panel’s status. Be cautious when reconnecting power to avoid triggering the external bell or siren unintentionally.
Power Cycle Timing
Carefully manage the power cycle timing when performing a factory reset on DSC PC1616, PC1832, and PC1864 panels to guarantee proper initialization.
Begin by powering down the system: disconnect the backup battery, then unplug the main transformer.
Next, place a jumper wire between the Zone 1 and PGM1 pins.
Power the panel back on and maintain power for exactly 10 seconds to engage the reset sequence.
After 10 seconds, power down again by removing the battery and disconnecting the transformer.
Remove the jumper wire before restoring power by reconnecting the battery first, then the transformer.
Listen for clicking sounds that indicate the panel has locked; this signals the panel requires replacement.
Precise timing at each step assures the factory reset completes successfully without damaging the control board. Always ensure the system is placed in test mode and authorities are notified before performing resets or troubleshooting to prevent false alarms and unnecessary dispatches.
Factory Reset for DSC PowerSeries NEO Systems
Performing a factory reset on your DSC PowerSeries NEO system involves powering down the unit by unplugging the transformer and disconnecting the backup battery.
To execute the reset, follow these steps precisely:
- Remove any wires connected to the PGM1 and Zone 1 terminals.
- Install a jumper wire between the PGM1 and Zone 1 terminals.
- Power the system up and keep it energized for exactly one minute.
- Power down the system, remove the jumper, then reconnect the wires, backup battery, and transformer.
This procedure restores factory default settings, erasing all programmed codes and zones.
After completion, you’ll need to reprogram your system settings to resume normal operation. Always disconnect power before inspecting wiring or components to ensure safety and prevent damage power disconnection precautions.
Reprogram Entry and Exit Delays on DSC Alarms After Reset
After you reset your DSC alarm system, you’ll need to reprogram the entry and exit delay times to ensure everything works smoothly.
First, let’s tackle the entry delay. You want to set this to give yourself enough time to disarm the system after you come inside. It’s all about making sure you don’t accidentally trigger the alarm when you walk in.
Next, you’ll want to adjust the exit delay. This controls how long you have to exit the premises before the system arms itself. It’s nice to have a little cushion so you don’t feel rushed!
Once you’ve made those adjustments, don’t forget to save your settings. That way, your changes will take effect, and you can enjoy peace of mind knowing your system is set up just the way you want it.
Remember to treat any temporary changes, such as bypassing zones, as cautious measures to maintain your system’s overall security.
Setting Entry Delay Time
Start by accessing the programming mode on your DSC alarm keypad using the installer code. To set the entry delay time, follow these steps precisely:
- Enter *8* followed by the installer code to enter programming mode.
- Input the command for entry delay programming (usually *551* or consult your manual).
- Enter the desired delay time in seconds (e.g., 30 for 30 seconds).
- Press # to save the setting and exit programming mode.
Setting the entry delay controls how long you have to disarm the system after entering. Choose a delay that balances convenience and security.
If you enter an invalid time, the system will reject the input, so double-check your entry before confirming. This guarantees your DSC alarm responds correctly after a reset.
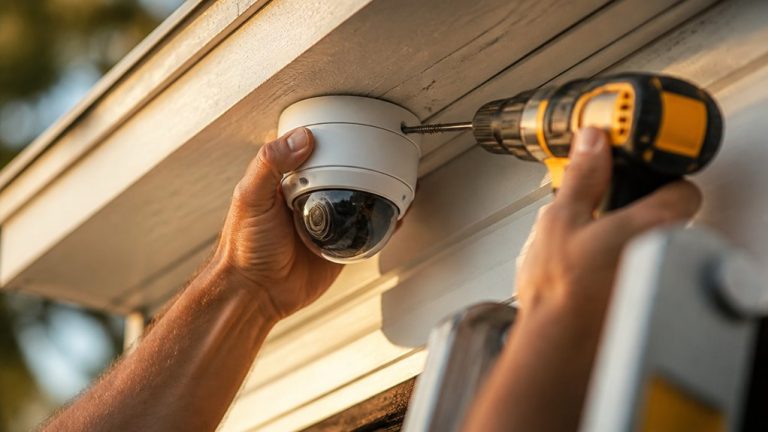
For added security, ensure that your alarm system’s wiring and connections follow proper mounting techniques to prevent tampering or signal loss.
Configuring Exit Delay Duration
When you reset your DSC alarm system, you’ll need to reconfigure the exit delay duration to guarantee you have enough time to leave the premises before the alarm arms. Use the keypad to enter programming mode by pressing *, 8, then the installer code.
Navigate to the exit delay setting and input your desired time in seconds. Confirm the value to save.
| Parameter | Default (seconds) | Recommended Range (seconds) |
|---|---|---|
| Exit Delay Time | 60 | 30 – 240 |
| Entry Delay Time | 30 | 10 – 60 |
| Alarm Duration | 240 | 60 – 300 |
Adjust exit delay according to your exit route and speed to avoid false alarms. Accurate timing guarantees peak security and convenience. Proper interconnected alarm wiring ensures that alarm signals synchronize correctly, enhancing overall system reliability.
Saving Delay Settings
Following the configuration of your exit delay duration, you need to save these settings to ensure the system operates with your specified timings.
To save the entry and exit delays on your DSC alarm after a reset, follow these steps precisely:
- Enter programming mode by pressing * then 8, followed by the installer code (default 5555 unless changed).
- Access delay settings by selecting the appropriate option, typically option 40 for exit delay and option 41 for entry delay.
- Input the desired delay time in seconds, confirming each entry with the # key.
- Exit programming mode by pressing * then 99 or by simply waiting for the keypad to time out.
This process ensures your customized delays are stored correctly in the panel’s memory.
How to Reset User and Master Codes on DSC Alarms?
Although you need the master code to access programming on DSC alarm systems, resetting user and master codes is straightforward once you enter the correct credentials.
To change the master code, press * then enter the current master code, followed by the new 4-digit code. Confirm by pressing #.
For user codes, enter * then the master code, followed by the user slot number (01-32), then the new 4-digit code, and end with #. The system immediately updates the code.
Remember, you can’t reset codes without the current master code. After changing codes, test each to guarantee proper access.
This process maintains system security and user management efficiently without needing a full system reset or installer intervention.
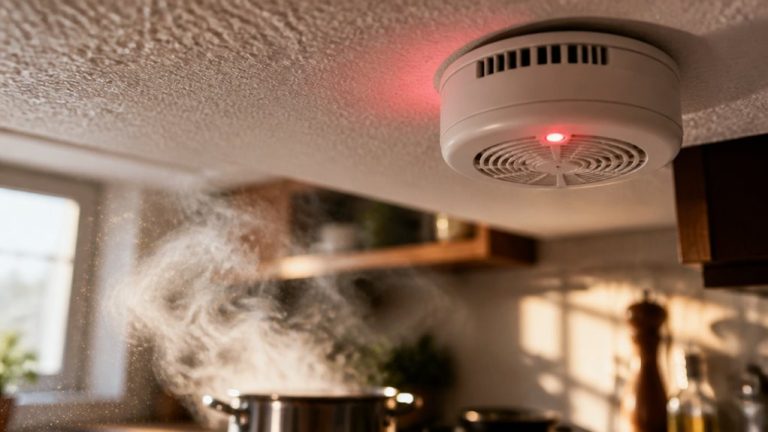
How to Reset Smoke Detectors and Battery Alerts on DSC Systems?
To reset smoke detector alerts on your DSC system, just hold down the * key and then press 4. Keep holding until you hear the alarm silence. It’s pretty straightforward!
Now, if you’re dealing with battery warning signals, there’s a quick fix for that too. Simply arm your system and then disarm it again. This refreshes the status and clears those pesky alerts.
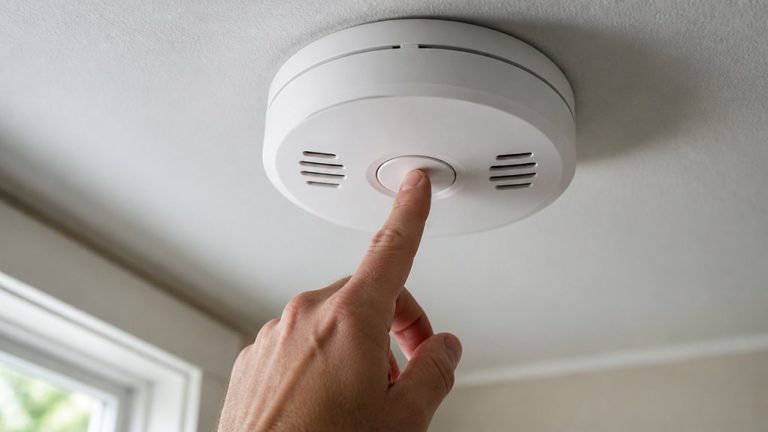
Resetting Smoke Detector Alerts
Follow these steps to reset smoke detector alerts:
- Approach the keypad and press the * key.
- Immediately press and hold the 4 key for about 3 to 5 seconds.
- Release both keys once the keypad beeps or the alert clears.
- Verify that the smoke detector alert light on the panel turns off.
This reset clears the alert memory but doesn’t resolve underlying detector issues.
For persistent alarms, inspect or replace the smoke detector or its battery.
Clearing Battery Warning Signals
Battery warning signals on DSC alarm systems often indicate low backup battery voltage or connection issues. To clear these alerts, first arm and then disarm the system; this action resets the battery status in many DSC models.
If the warning persists, perform a power cycle reset: disconnect the backup battery, then unplug the transformer. Wait 30 seconds, reconnect the battery, and plug in the transformer.
After powering up, reset the system clock using the keypad by entering your master code, then input the correct time and date. For persistent alerts, verify battery terminals are securely connected and replace the battery if voltage remains low.
This systematic approach guarantees you clear battery warnings efficiently without compromising system integrity.
Viewing and Clearing Trouble Signals on DSC Alarm Panels
Although DSC alarm panels are reliable, they can occasionally display trouble signals indicating system issues that require your attention. Here’s how to view and clear these signals efficiently:
- Enter *][2 on the keypad to display active trouble conditions.
- Observe the trouble descriptions shown on the keypad screen for diagnosis.
- Press # to exit the trouble display mode after reviewing all alerts.
- Address the indicated issues, such as low battery or zone faults, before clearing trouble signals.
Once you resolve the underlying problems, the trouble indicators will automatically clear. Regularly monitoring trouble signals guarantees your DSC alarm system operates at peak performance and maintains full security coverage.
Troubleshooting DSC Alarm Reset Failures and Errors
When your DSC alarm system fails to reset properly, it often indicates underlying issues such as incorrect code entry, wiring faults, or hardware malfunctions.
First, verify you’re entering the correct master code; reset attempts without it won’t succeed.
Always ensure you enter the correct master code, as reset attempts will fail without it.
If the code is correct, inspect wiring connections at the control panel for loose or damaged cables.
For persistent errors, perform a power cycle reset by disconnecting the battery and transformer for 30 seconds, then reconnecting in the proper order.
Should the system still not reset, consider a factory reset using the appropriate jumper method for your panel model, following exact timing instructions.
If you hear clicking sounds post-reset, the panel is likely locked and requires replacement.
Always reprogram settings after any reset.
Frequently Asked Questions
Can I Reset My DSC Alarm Remotely via Smartphone App?
You generally can’t reset your DSC alarm system remotely via smartphone app alone.
Most DSC systems require physical access to the control panel for resets, especially factory resets or code changes.
However, some advanced DSC models integrated with compatible alarm monitoring services or smart home systems may allow limited remote control, like arming or disarming.
For full resets, you’ll need to access the panel or perform a power cycle manually.
Always verify your system’s specific capabilities.
How Do I Update Firmware on a DSC Alarm System?
Updating your DSC alarm firmware is like tuning a high-performance engine; you need precision.
First, download the latest firmware from DSC’s official site. Connect your alarm panel to a PC using a compatible interface cable.
Use the DSC programming software to load the firmware onto your system. Follow prompts carefully to avoid interruption.
Once done, reboot the panel and verify the update version. Always back up your settings before starting.
What Are Common Causes of False Alarms on DSC Systems?
Common causes of false alarms on DSC systems include improperly programmed sensors, low battery voltage, and environmental factors like pets or drafts triggering motion detectors.
You should check for faulty wiring, incorrectly adjusted sensitivity settings, or damaged devices.
Also, make sure zones aren’t accidentally bypassed or tampered with.
Regularly inspect and maintain sensors, and verify your entry/exit delays are correctly set to reduce false triggers effectively.
Can DSC Alarms Integrate With Home Automation Systems?
Like fitting puzzle pieces perfectly, DSC alarms can integrate with home automation systems using compatible modules or third-party hubs.
You’ll need to connect your DSC panel to a home automation controller supporting DSC protocols, often via serial or IP interfaces.
This lets you control alarms, sensors, and notifications remotely.
To guarantee smooth integration, verify your automation platform supports DSC and consult your DSC alarm’s manual for precise wiring and configuration steps.
How to Replace a Faulty DSC Alarm Keypad?
To replace a faulty DSC alarm keypad, first power down the system by disconnecting the backup battery and unplugging the transformer.
Remove the old keypad by unscrewing it from the wall and disconnecting the keypad cable.
Connect the new keypad to the same cable, mount it securely, then restore power by reconnecting the battery and transformer.
Finally, test the new keypad to verify proper communication with the control panel.
Reset Smarter and Keep Your DSC Alarm Running Smoothly
Now that you’ve explored the key DSC alarm reset methods, you might think you’re ready to tackle any issue. But what if a hidden glitch or unexpected error still blocks your reset?
Don’t stop here—double-check every step, code, and power source carefully. Mastering these resets means you’re just one precise move away from full control.
Stay sharp, and your DSC system will respond exactly as it should.