Start by confirming your Nest Cam model and downloading the correct app (Nest or Google Home) for setup.
Verify power by connecting the camera to the adapter indoors.
Plan your cable route carefully, securing cords with clips about 6 inches apart and positioning the adapter roughly 18 inches above ground.
Choose a stable, shaded mount site with strong Wi-Fi and a clear field of view.
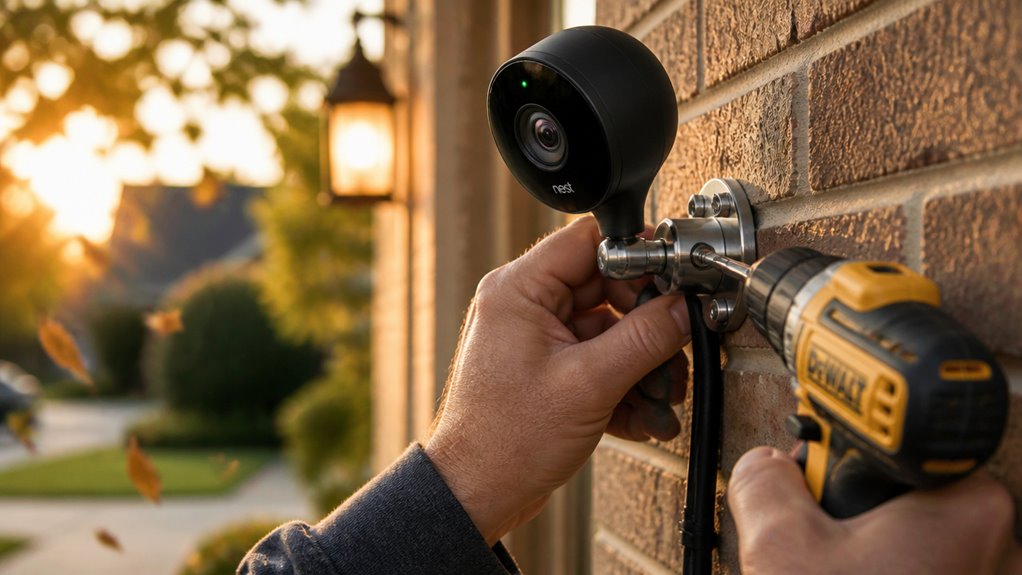
Then drill pilot holes, anchor wall plates securely, and attach the camera with precise alignment.
Further guidance will help guarantee peak performance and durability.
Key Takeaways
- Verify the exact camera model and download the Nest or Google Home app to set up and power on the camera indoors first.
- Plan and route the power cable carefully, secure it with clips 6 inches apart, and position the adapter about 18 inches above ground.
- Mount the camera on a solid, flat surface at 6–6.5 feet for facial recognition or 8–10 feet outdoors with a slight downward angle.
- Drill pilot holes using the correct bit, insert anchors for masonry, and ensure the wall plate and assembly are flush and stable.
- Attach the camera to the magnetic base, adjust angle via live view in the app, confirm Wi-Fi strength, and fasten all cables securely.
Check Your Nest Cam Model and Download the Right App
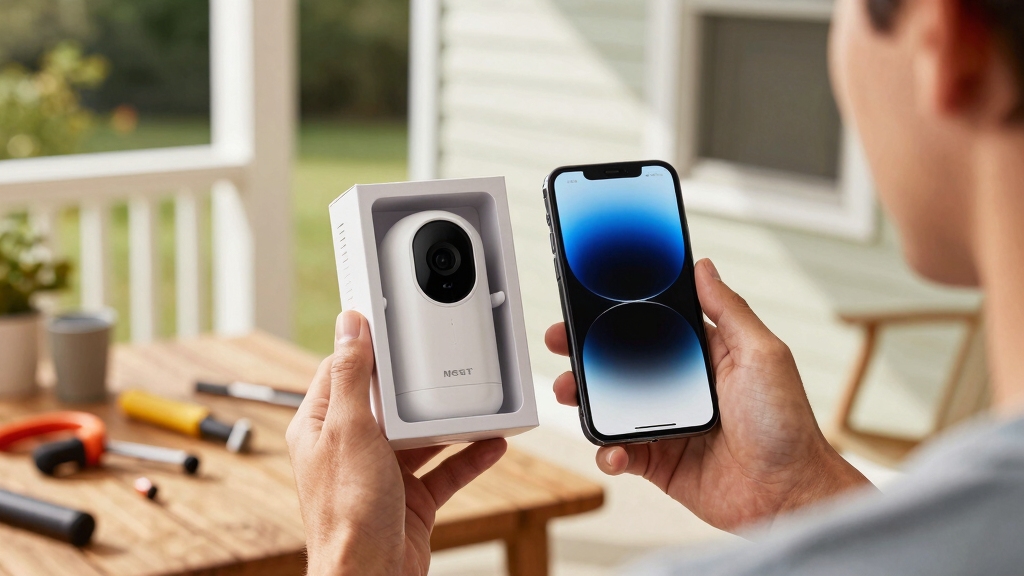
Before you begin installing your Nest Cam Outdoor Security Camera, make sure you identify your camera model accurately.
Setup procedures vary depending on whether you use the original Nest app or the Google Home app.
First, check the camera’s packaging or the device label for the exact model number.
Next, download or update the corresponding app on your smartphone or tablet.
If your model uses the original Nest app, ensure it’s the latest version.
Similarly, confirm the Google Home app is current if your device supports it.
During setup, scan the QR code on the camera or manually enter the setup code if scanning fails.
Complete the initial indoor setup to verify Wi-Fi connectivity and device pairing before mounting outdoors.
This ensures a smooth, error-free installation process.
It is also important to confirm your camera’s compatibility with smart home platforms to avoid integration conflicts.
Plan Nest Cam Power and Cable Routing
Start by connecting the camera cable to the power adapter indoors to verify proper operation before mounting outside. Plug the adapter into a nearby outlet and confirm the camera powers on via the app.
Next, plan your cable route from the indoor power source to the outdoor mounting location. Identify a path that avoids sharp bends and potential damage points. Leave slack at both the adapter and camera ends to prevent strain and allow minor positional adjustments.
Consider mounting the power adapter flush against the wall for stability and weather resistance if applicable. Avoid routing cables near heat sources or where water accumulation may occur.
Proper planning here guarantees a reliable power supply, minimizes cable wear, and simplifies final installation steps for a secure, long-lasting setup. Route and protect cables neatly through walls or conduit to avoid damage and ensure safe wiring.
Choose the Best Nest Cam Location for Clear Coverage
When picking a spot for your Nest Cam, it’s important to choose a location that offers an unobstructed view. This way, you can ensure the camera captures everything it needs to. Try to avoid areas where plants, walls, or other structures might get in the way of the lens. And hey, if you can, steer clear of direct sunlight to help reduce glare.
A good height for mounting the camera is around 6 to 6.5 feet. This height usually provides a nice balance for coverage. Before you finalize the installation, don’t forget to check the angle using the live stream. It’s a simple step that can make a big difference!
For optimal performance, mount your camera on a solid surface or stud to ensure stability and prevent movement.
Optimal Camera Placement
Selecting an ideal location for your Nest Cam Outdoor involves identifying a clear, unobstructed field of view that maximizes coverage while minimizing interference.
Position the camera approximately 6 to 6.5 feet (1.8 to 2 meters) above ground level to capture optimal facial recognition and movement detection.
Make certain the area you monitor includes main entry points or vulnerable zones for effective surveillance.
Use the live stream feature in the app to verify the camera’s angle and coverage before finalizing the mount.
Confirm Wi-Fi signal strength at the chosen spot to maintain stable connectivity.
Prioritize mounting on a solid surface that supports secure installation.
For outdoor placement, mounting the camera at an 8–10 feet height with a slight downward angle is recommended to maximize the field of view and reduce vandalism risk.
Avoiding Obstructions and Glare
Although finding the right height and coverage is essential, you must also ensure your Nest Cam Outdoor has an unobstructed view free from physical barriers like plants, walls, or other structures that could block the lens.
Obstructions reduce detection accuracy and video clarity. Additionally, avoid placing the camera facing direct sunlight to minimize glare, which can impair image quality and sensor performance.
To guarantee clear coverage, follow these steps:
- Check the camera’s field of view for any physical obstructions in the intended location.
- Avoid mounting where sunlight directly hits the lens during peak hours.
- Choose shaded areas to enhance detection and reduce glare.
- Verify the angle and clarity through the live stream before finalizing installation.
- Position the camera at a 45-degree angle to glass surfaces to reduce IR reflection and improve night vision clarity.
Install the Wall Plate or Adapter Securely
To get started, you’ll want to mark the pilot holes exactly where the wall plate or adapter is going to be mounted. It’s a good idea to use a 3 mm drill bit for these pilot holes. If you’re working with brick or stone surfaces, though, you’ll need to switch things up and grab a 6 mm masonry bit for those holes.
Once you’ve got your holes marked and drilled, make sure to secure the anchors tightly. This step is really important because it ensures everything is stable and that the plate fits flush against the wall. With everything in place, you’re all set to fasten the plate securely! Always examine wall and surrounding area for hidden pipes or wiring before drilling to avoid damage.
Marking And Drilling Holes
Begin by marking the exact locations for pilot holes on your mounting surface to guarantee accurate placement of the wall plate or adapter.
Use the wall plate as a template, aligning it flush against the wall. Mark the hole centers with a pencil or marker.
Next, follow these steps:
- Select the appropriate drill bit: 3 mm (7/64 inch) for wood or drywall, 6 mm (1/4 inch) masonry bit for brick or stone.
- Drill pilot holes precisely at your marked points to avoid misalignment.
- Make certain holes are perpendicular to the surface for secure mounting.
- Clean debris from holes before inserting screws.
This methodical approach guarantees a stable foundation for your Nest Cam installation. For outdoor installations, it is recommended to mount cameras under eaves or awnings for weather protection and increased equipment longevity.
Using Anchors For Stability
Make certain a secure and durable installation by using wall anchors when mounting your Nest Cam’s wall plate or adapter on brick, stone, or other masonry surfaces.
Start by drilling pilot holes with a 6 mm (1/4-inch) masonry bit at the marked locations. Insert appropriate wall anchors fully into these holes to provide a firm grip for the screws.
Align the wall plate or adapter flat against the surface, guaranteeing the holes match the anchors. Use screws compatible with the anchors to fasten the plate tightly, preventing any movement or gaps.
Avoid overtightening, which can crack the anchors or masonry. This method assures the mount remains stable under environmental stress, securing your camera safely and maintaining peak alignment for reliable operation. For optimal performance, ensure the camera is mounted in a location that minimizes exposure to wind-induced vibration to prevent unstable footage and mechanical stress.
Attach and Align Your Nest Cam for the Best View
To attach and align your Nest Cam correctly, thread the power cord through the wall plate gaps before securing the magnetic base.
Rotate the base into position and press firmly until it clicks. After fastening, attach the camera to the magnetic base, ensuring the status light is at the top and the speaker at the bottom for proper orientation.
Use the app’s live view to fine-tune the angle. Follow these steps:
- Thread the power cord through the wall plate gaps before mounting.
- Rotate and press the magnetic base until it clicks securely.
- Attach the camera, aligning the status light on top and speaker at the bottom.
- Adjust the camera angle in the app for ideal coverage and clear field of view.
- Ensure you verify Wi‑Fi signal strength at the camera location to prevent connectivity issues and optimize performance.
Secure Nest Cam Cables and Weatherproof Installation
When securing your Nest Cam cables, make sure you use the included cable clips to fasten the power cord firmly, especially if the camera is mounted at or above 6.5 feet.
Position the clips approximately 6 inches (15 cm) apart near the mount to minimize cable movement and reduce weather exposure.
Use the provided screws to anchor each clip securely into the mounting surface.
Guarantee the adapter is installed at about 18 inches above ground level when using the weatherproof adapter setup.
Verify all connections are tight, and cables are neatly routed without strain.
Double-check that the entire assembly, including the wall plate, camera, and cables, is flush and stable, with no loose components.
This methodical approach guarantees a durable, weather-resistant installation for reliable outdoor operation.
For added stability and to avoid damage, consider mounting on a clean, flat surface and follow surface preparation steps similar to those recommended for no-drill installations.
Frequently Asked Questions
Can Nest Cam Outdoor Integrate With Other Smart Home Devices?
Yes, your Nest Cam Outdoor integrates seamlessly with other smart home devices via the Google Home ecosystem. You can link it to your smart speakers, displays, and automation routines for synchronized control and alerts.
By using the Google Home app, you’ll coordinate cameras with smart locks, lights, and sensors. This enables automated responses like turning on lights when motion is detected.
This interoperability enhances security and convenience across your connected devices.
How Do I Troubleshoot Wi-Fi Connectivity Issues With Nest Cam?
Having Wi-Fi issues with your Nest Cam? Start by confirming strong signal strength at the camera’s location. Weak coverage is a common culprit.
Restart your router and the camera to refresh connections. Verify you’re connected to the correct network and re-enter your Wi-Fi password if needed.
If problems persist, update the app and firmware. Then reset the camera following the manufacturer’s steps. Ensure your router supports 2.4 GHz or 5 GHz bands as required.
What Is the Warranty Period for Nest Cam Outdoor Cameras?
The warranty period for Nest Cam outdoor cameras is typically two years from the date of purchase.
You should register your device and keep your receipt to validate the warranty. This coverage protects against defects in materials and workmanship under normal use.
If you encounter any hardware issues within this timeframe, you can contact Google support for repair or replacement options.
Always review the specific warranty terms provided with your product.
Can I Use Nest Cam Outdoor With a Battery Power Source?
You can use certain Nest Cam Outdoor models with battery power sources, specifically the Nest Cam Battery and Nest Cam (wired) with optional battery backup.
However, the standard wired Nest Cam Outdoor requires a constant power connection and doesn’t support battery-only operation.
If you want battery-powered flexibility, choose a compatible battery model and make certain it’s fully charged.
Always verify your model’s specifications for power options to match your installation needs precisely.
How Do I Reset My Nest Cam Outdoor to Factory Settings?
To reset your Nest Cam Outdoor to factory settings, first disconnect the power cable.
Then, press and hold the reset button located on the back or bottom of the camera for about 10 seconds until the status light flashes yellow, then turns solid yellow.
Release the button. The camera will reboot and reset to factory defaults, erasing all settings and account associations.
Reconnect power and set up the device anew through the app.
Proper Nest Cam Setup Helps Maximize Security and Peace of Mind
Installing your Nest Cam is like planting a vigilant guardian in your yard. Each step guarantees it stands firm and watches clearly.
By carefully selecting your model, planning power access, and securing cables, you create an unbreakable link between your home and peace of mind.
Follow each methodical step precisely, and your Nest Cam will not only capture every moment but also weather any storm. This keeps your security sharp and reliable around the clock.