
To mount your security camera, start by choosing solid, unobstructed locations covering all entry points.
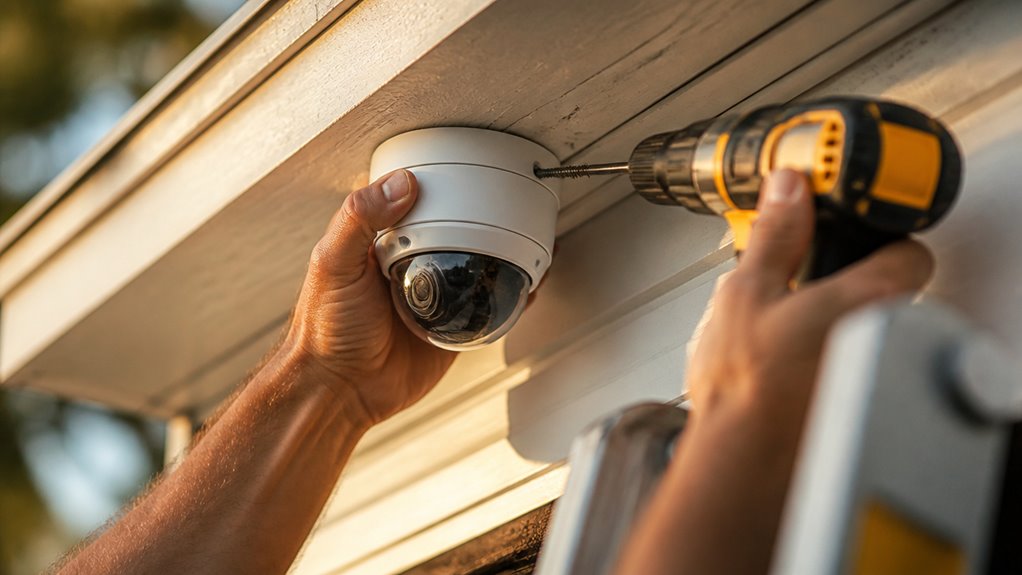
Mount outdoor units 8–10 feet high with a downward angle. Use a stud finder to locate secure points, drill precise pilot holes, and fasten mounts evenly.
Route and weatherproof wiring to ensure it remains strain-free. Attach the camera securely and adjust angles carefully using live feed verification.
Test power and video quality thoroughly. Proper setup is essential for reliable surveillance and integrated device functionality.
Explore further for complete installation steps.
Key Takeaways
- Choose solid mounting surfaces, avoiding electrical wiring and plumbing, and use a stud finder to locate secure attachment points.
- Position cameras to cover entry points, mounting outdoor units 8-10 feet high with a slight downward angle to capture clear faces and details.
- Drill pilot holes accurately, use appropriate screws, and ensure the camera housing sits flush against the mount to prevent movement and water ingress.
- Route cables through mounts, seal connections with waterproof materials, and secure cables with clips to prevent strain and weather damage.
- Temporarily secure the camera for testing, adjust angles via live feed, verify image quality, then finalize mounting with tightened screws and thread-lock.
Choose the Best Location and Height for Indoor and Outdoor Security Cameras
When selecting the best location and height for your security cameras, prioritize coverage of all entry and exit points, including front and back doors.
Focus on covering every entry and exit point, especially front and back doors, when placing your security cameras.
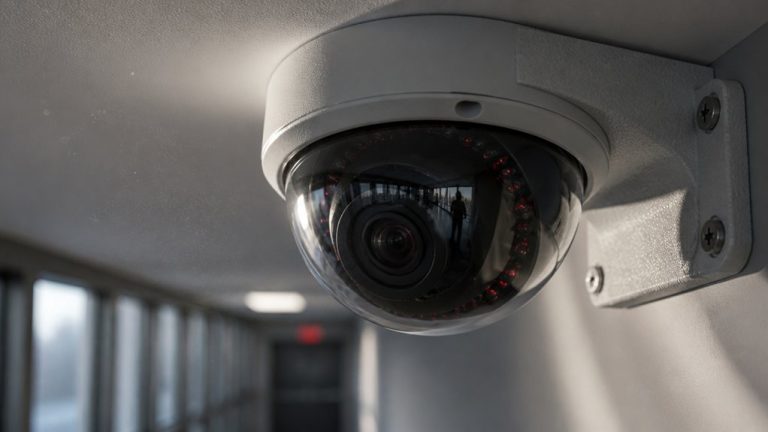
For outdoor cameras, mount them on solid walls or roofs with clear, unobstructed views of these points and off-street windows frequently targeted by intruders.
Position indoor cameras on the first floor within common areas such as hallways or living rooms to maximize surveillance.
Make sure indoor units rest on stable surfaces like tables or shelves, avoiding clutter to maintain camera stability and image clarity.
Install cameras at heights that balance broad visibility and minimize tampering risks, generally between 8 to 10 feet for outdoor units.
This strategic placement guarantees an optimal field of view, deters unauthorized access, and enhances overall system effectiveness.
Mounting outdoor cameras at a slight downward angle can help capture clear faces and activities while avoiding blind spots and missed details such as license plates, improving overall coverage and security. Mounting heights and angles
Prepare Your Mounting Surface and Drill Pilot Holes
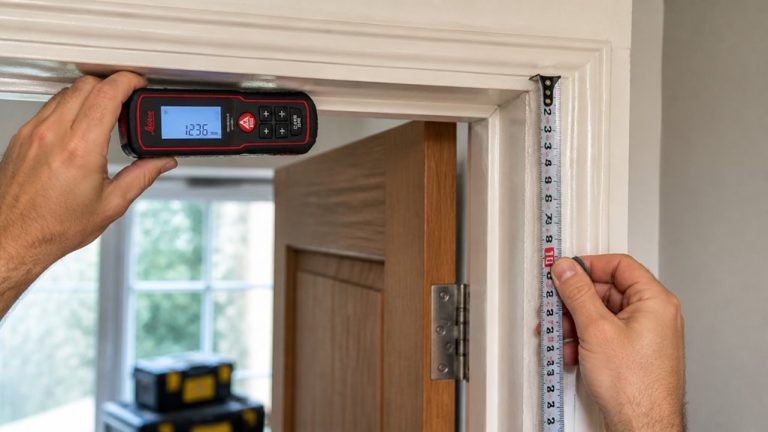
Before drilling any holes, identify a solid surface for mounting your security camera to guarantee stability and durability. Use a stud finder to locate studs or secure attachment points, avoiding electrical wiring or plumbing paths.
Position the mounting template accurately, then mark pilot hole locations. For wired cameras, drill a larger central hole with a spade bit to allow cable exit. Make certain the drill bit size matches the mounting screws for a snug fit.
Key steps include:
- Verify surface solidity and stud placement
- Avoid hazards with a stud finder
- Mark pilot hole positions using the template
- Drill pilot holes precisely with a drill
- Create a central cable hole for wired setups
This methodical preparation ensures a secure, stable mounting base for your camera. Always wear safety equipment such as gloves and safety glasses to protect yourself during installation.
Secure the Mount and Route Camera Cables Properly
With your mounting surface prepared and pilot holes drilled accurately, you can now secure the camera mount firmly in place.
Begin by lightly tapping the included mounting pins into the pilot holes to guarantee a stable grip.
Lightly tap the mounting pins into pilot holes to ensure a secure and stable installation.
Then, fasten the mount with screws, tightening them securely to prevent any movement.
Next, route the camera cables through the designated hole in the mount, guiding them carefully behind the wall or surface.
Use fish tape to feed cables through tight or concealed spaces efficiently.
Assure cables follow a neat path, minimizing strain and avoiding sharp bends that could damage them.
Proper routing reduces interference and maintains system reliability.
To protect your installation from weather damage, seal every connection point with waterproof tape or silicone sealant.
Hide Wiring and Power Your Security Camera
Tuck away all wiring by routing reset, DC power, and Ethernet cables neatly into the wall or soffit using internal cable channels. This keeps connections hidden and protects cables from weather or tampering.
When Ethernet cables extend beyond walls, drill precise holes and feed excess cable back inside. If internal routing isn’t possible, mount a back box to conceal ports and excess wiring.
Connect the camera cable securely to the camera unit, then attach the power source, ensuring all components have stable power.
Use cable conduits for additional protection. Employ fish tape to guide cables through tight spaces. Secure cables to prevent strain or disconnection.
Verify cable connections before finalizing installation. Test power delivery before proceeding further. Use CL2 or CL3 rated cables for in-wall installations to maintain safety and compliance.
Attach the Security Camera and Adjust Its Viewing Angle
First, make sure to attach the camera securely to the mounting bracket. This will help keep it stable.
Once it’s in place, take a moment to adjust the viewing angle so you can cover the area you want to monitor.
After you’ve got it pointing where you need, go ahead and tighten everything up. It’s a good idea to apply some thread lock to the screws, too.
This will help prevent them from loosening or getting stolen. Just make sure they’re nice and tight!
Also, regularly inspecting for hidden hot spots can help ensure your installation remains secure and safe over time.
Secure Camera To Mount
After you’ve firmly installed the mounting base, go ahead and attach the camera to it by pushing the unit firmly into place.
Make sure the camera locks securely onto the mount to prevent accidental detachment. Follow these steps to secure it properly:
Insert all bracket screws, tightening them evenly to avoid tilting.
Use thread lock or Loctite on screw threads for enhanced security.
Confirm the camera is level before fully tightening screws.
Check that the camera housing is flush against the mount to prevent water ingress.
Verify cable connections remain intact and hidden within the mount.
Completing these steps guarantees a stable, secure installation that resists tampering and environmental factors.
This sets a solid foundation before you adjust the viewing angle.
Mounting the camera at an optimal height enhances both field of view and tamper resistance.
Align Camera Viewing Angle
Begin by carefully adjusting the camera on its mount to achieve the desired field of view.
Tilt and swivel the camera to cover key areas like entry points or high-traffic zones.
Use the camera’s built-in angle indicators or the live feed on your monitoring device to verify coverage.
Make incremental adjustments, ensuring the lens isn’t obstructed by nearby structures or foliage.
Confirm that the horizon line is level to avoid skewed footage.
If the camera includes zoom or focus controls, fine-tune these to enhance clarity.
Once the angle captures the essential area without blind spots, hold the camera steady.
Avoid final tightening or locking screws at this stage, as you may need to readjust before securing the mount completely in the next step.
Consider elevating the camera to 8–10 feet for optimal visibility and tamper resistance.
Tighten Screws With Lock
Tighten the screws on the camera mount carefully to lock the unit in place without shifting its angle. Use a screwdriver with a firm grip and apply steady pressure to avoid stripping threads.
Before fully securing, double-check the camera’s alignment to guarantee peak coverage. For added security and stability, apply thread-lock compound to screws to prevent loosening.
Insert all mounting bracket screws evenly to maintain level positioning. Verify the camera sits flush against the mount without gaps.
Tighten screws incrementally, alternating between them for uniform pressure. Confirm the camera remains stationary after final tightening.
Following this methodical approach guarantees the camera stays securely fixed and maintains the precise viewing angle you set during installation. Secure cables with clips spaced 6 inches apart to reduce cable movement and exposure during mounting.
Test Your Security Camera and Video Quality
Typically, you’ll want to temporarily secure the camera using tape or removable adhesive to perform a thorough test before finalizing the mount.
Power on the camera and connect it to your monitoring system or app to verify signal strength and video quality.
Check for clear image resolution, proper frame rate, and minimal latency.
Adjust the camera angle to eliminate blind spots, glare, or obstructions.
Confirm night vision functionality by testing in low-light conditions.
Inspect the field of view to make certain all critical areas are covered.
If the camera uses a wired connection, verify cable integrity and secure connections.
Perform multiple tests at different times of day to confirm consistent performance before permanently tightening screws and completing installation.
Also, ensure the camera is not mounted on conductive surfaces to avoid electrical interference that can degrade video quality.
Configure Security Camera Software and Sync Devices
How do you make sure your security camera system functions seamlessly with your devices? Begin by powering on the camera and verifying its connection and video quality via the manufacturer’s app.
Download and install the app, then create an account if necessary. Next, sync the camera with your smart home devices, such as sensors or video doorbells, to enable integrated monitoring.
If your camera supports wireless setup, use QR code scanning for quick Wi-Fi configuration. Finally, confirm all device connections remain stable and responsive for peak performance.
- Power on and test camera connection through the app
- Download software and create user account
- Sync camera with smart sensors and video doorbells
- Use QR code for Wi-Fi setup if available
- Verify stable device connectivity and responsiveness
Additionally, ensure your camera firmware is regularly updated to maintain software and firmware updates for optimal security and functionality.
Frequently Asked Questions
Can I Use Wireless Cameras Without Any Cables at All?
Yes, you can use wireless cameras without any cables for video transmission, as they connect via Wi-Fi.
However, most still require a power source, either through batteries or a power adapter.
Battery-powered models offer full cable-free installation but need periodic recharging or replacement.
Make sure to position the camera within range of your Wi-Fi network to maintain a stable connection and optimize video quality without running Ethernet or power cables.
How Do I Maintain and Clean My Security Camera Lenses?
Think of your security camera lens like a car windshield; dirt and smudges blur the view.
To maintain it, regularly wipe the lens with a microfiber cloth to avoid scratches.
Use a gentle lens cleaner or distilled water for stubborn grime.
Avoid harsh chemicals or abrasive materials.
Inspect the lens monthly, especially after storms.
Keeping it clean guarantees sharp video quality, just like keeping your windshield clear guarantees safe driving visibility.
Are There Legal Restrictions on Where I Can Install Cameras?
Yes, you must comply with legal restrictions when installing cameras. Avoid placing cameras where they capture private areas like neighbors’ yards, bathrooms, or inside private property without consent.
Public spaces often have specific regulations requiring signage or permissions. Always research local laws and privacy regulations before installation to guarantee compliance.
Consulting legal guidelines prevents potential violations and protects privacy rights. This ensures your surveillance setup is both effective and lawful.
What Is the Best Camera Resolution for Clear Night Vision?
You should choose a camera with at least 1080p (Full HD) resolution for clear night vision.
Higher resolutions like 4K provide more detail but require better lighting and bandwidth.
Make sure the camera has infrared (IR) LEDs or low-light sensors for effective illumination in darkness.
Combining a 1080p or higher resolution with strong IR capability guarantees sharp, identifiable images during nighttime conditions.
Always verify your camera’s night vision range and sensitivity specifications.
How Do I Secure My Camera Feed From Hacking or Unauthorized Access?
To secure your camera feed, start by changing default passwords to strong, unique ones.
Enable two-factor authentication if available. Keep your camera firmware and associated software updated to patch vulnerabilities.
Use encrypted connections such as WPA3 Wi-Fi or VPNs for remote access. Disable unused services like UPnP.
Regularly monitor access logs and configure firewall rules to restrict unauthorized IP addresses. This methodical approach minimizes hacking risks effectively.
Install Your Security Camera the Right Way
Now that you’ve carefully chosen the perfect spot, drilled pilot holes, and routed cables like a pro, it’s time to realize your security camera might just catch your cat knocking things over instead of an intruder.
Still, with precise mounting and proper configuration, you’ve set the stage for reliable surveillance.
So, enjoy the peace of mind until the camera’s real test is whether it can spot your midnight snack raids, not just burglars.