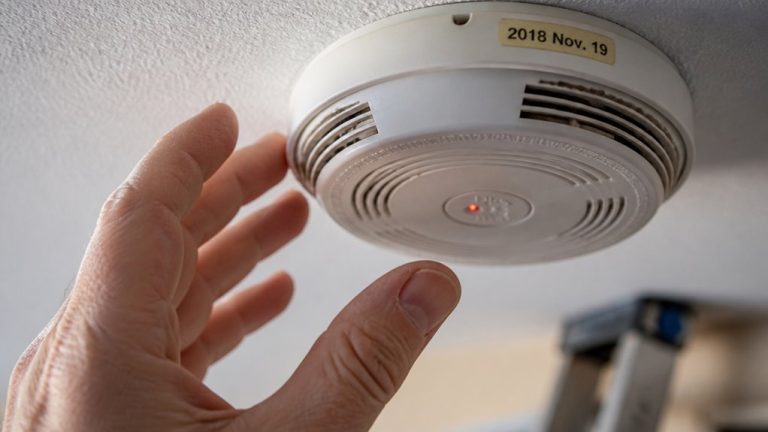

First, turn off the power by removing the battery or disconnecting hardwired power. Avoid harsh chemicals, liquids, and sharp tools.
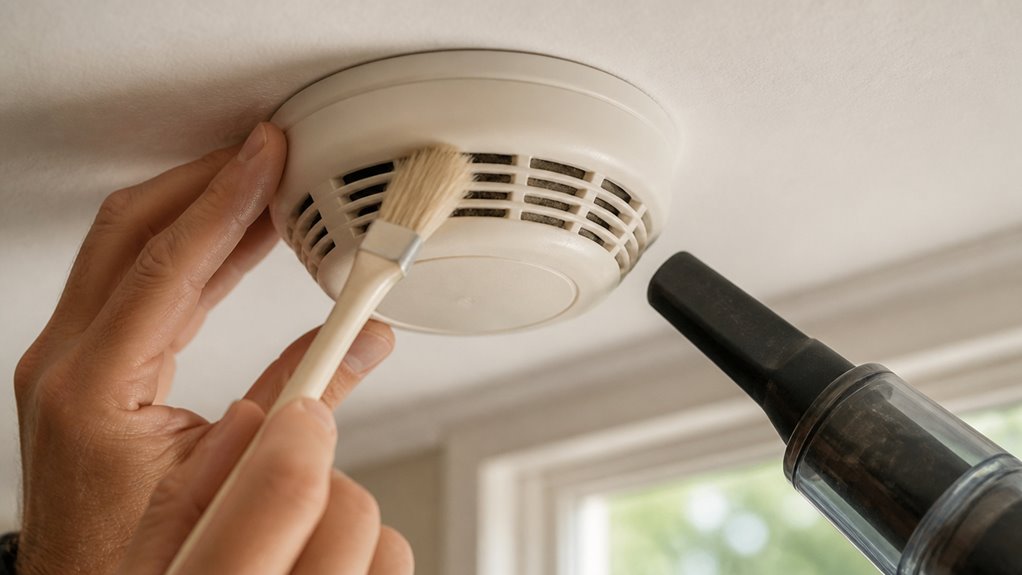
Use a vacuum with a soft brush or short bursts of compressed air to gently clear dust and debris from vents and sensor openings.
Wipe the exterior with a dry microfiber cloth, ensuring no moisture enters the unit.
After cleaning, reassemble the detector, restore power, and test the alarm for proper function.
You can explore detailed steps for thorough care and maintenance.
Key Takeaways
- Turn off power and remove batteries before cleaning to ensure safety and prevent false alarms.
- Use a vacuum with a soft brush attachment to gently remove dust and debris from vents and openings.
- Wipe the exterior with a dry microfiber cloth, avoiding moisture and liquids near sensor openings.
- Avoid harsh chemicals, sharp tools, or inserting objects into the smoke detector to prevent damage.
- Test the alarm after cleaning by pressing the test button to confirm a strong, consistent signal.
How to Prepare Your Smoke Detector Safely?
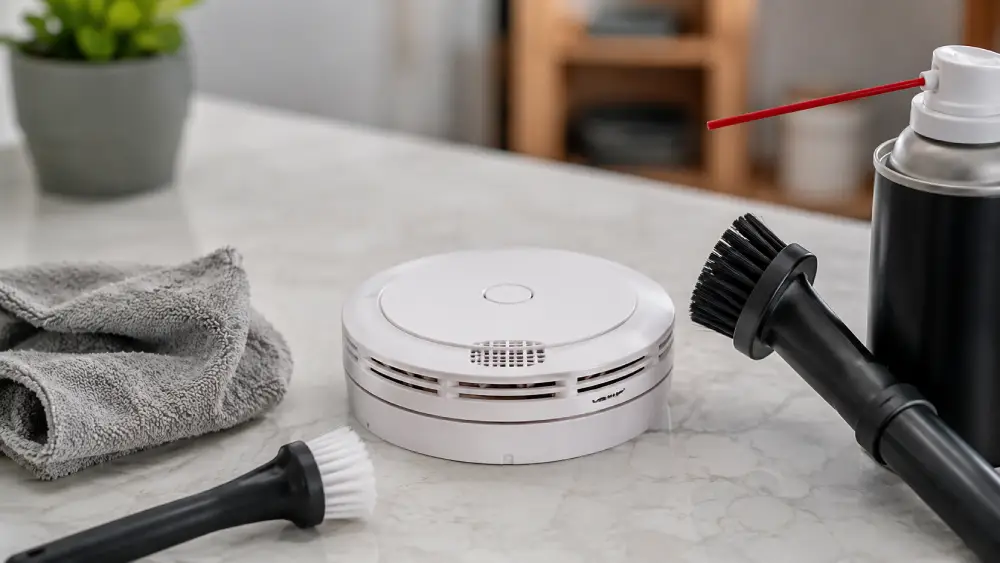
Before you start cleaning your smoke detector, make sure to turn off its power source by disconnecting the hardwired connection or removing the battery. This prevents accidental alarms or electrical hazards.
Notify everyone in your household about the cleaning to avoid false alarms. Use a stable step stool or ladder for ceiling-mounted detectors to ensure safe access.
Consult the manufacturer’s manual before detaching the unit from its bracket, as improper removal can damage the device. Avoid opening sealed alarm housings unless the manual explicitly permits it, as this can void coverage and expose sensitive components.
Taking these preparatory steps guarantees your safety and the integrity of the smoke detector during cleaning. This helps maintain its reliable function without risking electrical issues or accidental activation. Regular maintenance and cleaning schedules are essential to ensure optimal performance and prevent malfunction due to accumulated dust or debris, as recommended in inspection and cleaning routines.
Cleaning Products and Tools to Avoid
Although cleaning your smoke detector is essential, you must avoid certain products and tools that can damage its sensitive components.
Never submerge any part of the unit in water or apply liquid cleaners unless the manufacturer explicitly permits it. Harsh chemicals like gasoline, bleach, or solvents can degrade plastic housings and internal sensors.
Avoid water and harsh chemicals that can damage your smoke detector’s plastic and sensors.
Avoid using sharp instruments, metal brushes, or screwdrivers, as they can scratch or dislodge critical parts. Inserting objects into sensor openings or the smoke chamber risks sensor malfunction.
Also, don’t use abrasive materials or heavy pressure during cleaning, which could impair the detector’s functionality. Stick to dry microfiber cloths and approved vacuum attachments for safe maintenance.
Following these restrictions preserves your smoke detector’s accuracy and longevity.
For optimal safety, install CO detectors near sleeping areas to ensure early detection of invisible hazards like carbon monoxide.
How to Remove Dust and Debris From Your Smoke Detector?
When you remove dust and debris from your smoke detector, use a vacuum with a soft brush attachment to gently clean the outer vents and openings.
Avoid applying pressure directly on the sensor area to prevent damage while effectively removing buildup.
If stubborn dust remains and your manufacturer allows it, use short bursts of compressed air held several inches away from the openings.
Focus on dust, lint, and pet hair accumulation around vents.
Follow these steps:
Turn off power and remove batteries before cleaning.
Vacuum vents lightly without pressing hard on sensors.
Use compressed air cautiously if permitted.
Avoid inserting anything into sensor openings.
These precise actions maintain sensor sensitivity and reduce false alarms caused by dust interference.
Regularly inspecting and cleaning detectors helps remove dust and pollen that worsen moisture-related chirping.
How to Clean the Exterior Without Damaging Your Smoke Detector?
Wipe the smoke detector’s exterior gently with a dry microfiber cloth to remove surface dust and grime without risking moisture damage.
Avoid using liquids unless the manufacturer explicitly permits a slightly damp cloth. Make certain no moisture enters vents or sensor openings.
Keep all cleaning agents and sprays away to prevent internal damage. Never submerge the unit or apply harsh chemicals like bleach or gasoline.
Use only non-abrasive materials to protect the casing from scratches or damage. If stubborn dirt remains, rely on manufacturer-approved methods rather than inserting objects into the detector.
After cleaning, allow the smoke detector to air-dry fully before reinstalling to maintain its operational integrity.
Following these guidelines guarantees the exterior stays clean without compromising the device’s sensitive components.
Routine cleaning and inspection help maintain detector sensitivity and prevent persistent problems.
How to Reassemble and Test Your Smoke Detector?
Once you’ve thoroughly cleaned and dried your smoke detector, carefully reassemble it by securing the unit back onto its mounting bracket. If you removed the battery, insert a fresh one to ensure reliable operation. For hardwired models, restore the power supply only after the unit is firmly in place.
Next, test the smoke detector to confirm it functions correctly.
Follow these steps to finish up:
Press and hold the Test button until you hear the alarm sound. Observe the alarm for consistent, strong signals. If the alarm is weak or silent, recheck the battery and connections. Consult the manufacturer’s instructions if issues persist after testing.
This process guarantees your smoke detector is ready to alert you effectively. Always verify the power is fully off before reassembling hard-wired units to ensure safe installation.
How Often to Clean and When to Replace Your Smoke Detector?
Regularly cleaning your smoke detector is essential to maintain its sensitivity and prevent false alarms caused by dust and debris buildup.
You should clean your detector at least twice a year, or more frequently if you have pets or high dust exposure.
Replace batteries annually during cleaning to guarantee optimal functionality. If cleaning and battery replacement don’t restore reliable operation, it’s time to replace the entire unit, typically every 8-10 years.
Using an extinguisher with a non-conductive agent nearby can help ensure safety when responding to electrical fires that might occur due to faulty wiring in your home.
| Task | Frequency | Notes |
|---|---|---|
| Vacuum vents | Every 6 months | Use soft brush attachment |
| Wipe exterior | Every 6 months | Use dry microfiber cloth |
| Replace battery | Annually | Use recommended battery type |
| Test alarm | Monthly | Press test button |
| Replace unit | Every 8-10 years | If alarm is erratic or silent |
Frequently Asked Questions
Can I Paint or Customize My Smoke Detector’s Exterior?
You shouldn’t paint or customize your smoke detector’s exterior.
Altering its surface can obstruct vents or sensors, impairing its ability to detect smoke accurately.
Paint and adhesives might also interfere with the internal components or trigger false alarms.
Manufacturers design these units carefully, so any modification risks compromising safety and voiding warranties.
It’s best to keep the detector’s exterior clean and unaltered to guarantee reliable operation.
What Should I Do if My Smoke Detector Keeps Chirping After Cleaning?
If your smoke detector keeps chirping after cleaning, first check and replace the battery with a fresh one.
Make certain the battery is properly seated and contacts are clean.
Reset the unit by pressing the Test button.
If chirping persists, inspect for dust or debris inside sensor openings you may have missed.
Finally, verify the detector hasn’t reached its end-of-life; replace it if it continues malfunctioning despite maintenance.
How Do I Dispose of an Old Smoke Detector Safely?
Getting rid of an old smoke detector isn’t like tossing a rocket ship into the trash! You need to check if it contains radioactive material, usually in ionization alarms.
Contact your local waste management or recycling center for proper disposal instructions. Remove batteries first and recycle them separately.
Never throw smoke detectors in regular garbage to avoid environmental hazards. Follow local regulations carefully to guarantee safe, responsible disposal.
Are There Smoke Detectors Designed Specifically for Allergy Sufferers?
Yes, some smoke detectors are designed for allergy sufferers, often labeled as “low-dust” or “hypoallergenic” models.
These units minimize false alarms caused by dust or allergens and use advanced sensor technology to reduce sensitivity to airborne particles like pollen or pet dander.
When choosing a detector, look for certifications or features indicating allergy-friendly design.
This ensures reliable detection without frequent false alarms triggered by common allergens in your environment.
Can Pets Trigger False Alarms in Smoke Detectors?
Yes, pets can trigger false alarms in smoke detectors.
Pet dander, hair, and dust can accumulate near the sensor chamber, causing sensitivity issues or erratic signals.
If you notice frequent false alarms, clean the detector regularly, focusing on removing hair and dust around vents.
Maintaining your smoke detector by vacuuming and wiping the exterior reduces false alarms caused by pets.
This ensures reliable operation and safety in your home.
Remove Dust Without Damaging the Sensor
Now that you know how to clean your smoke detector safely and effectively, you can keep it functioning at its best.
Avoid harsh chemicals and use gentle tools to remove dust without damaging sensitive components. Regular cleaning, paired with timely testing, guarantees reliable performance.
Remember, a clean smoke detector isn’t just about appearance; it’s about safety. Consistent maintenance prevents false alarms and malfunctions, confirming that your device is always ready to protect you and your home.