
After using a fire extinguisher, turn off the gas and disconnect the propane tank before cleaning your grill.
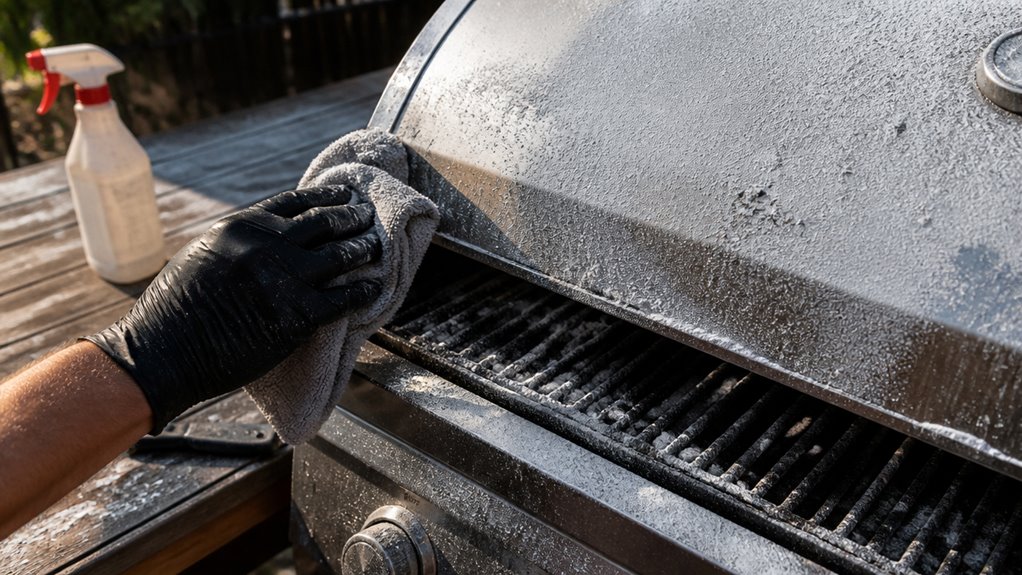
Carefully remove loose powder with a dry brush or vacuum, avoiding wetting surfaces first.
Use mild soapy water or vinegar solutions to remove chemical residues, soaking removable parts while avoiding electrical components.
Rinse and dry everything thoroughly to prevent rust, then reassemble.
Finish by heating the grill to burn off toxins and seasoning the grates.
Following detailed steps makes sure your grill stays safe and functional.
Key Takeaways
- Turn off the gas supply, disconnect the propane tank, and move the grill outdoors to a well-ventilated area before cleaning.
- Remove loose fire extinguisher powder with a dry brush or vacuum without wetting to avoid surface scratching.
- Soak removable parts in warm, soapy water and use vinegar solution for stubborn chemical residues before rinsing thoroughly.
- Rinse all parts with clean water, dry completely with towels and fans, and avoid reassembling until fully dry to prevent rust.
- Heat the grill at 450–500°F for 5–10 minutes to burn off residues, then season grates with oil before regular use.
Turn Off Gas and Follow Safety Steps Before Cleaning
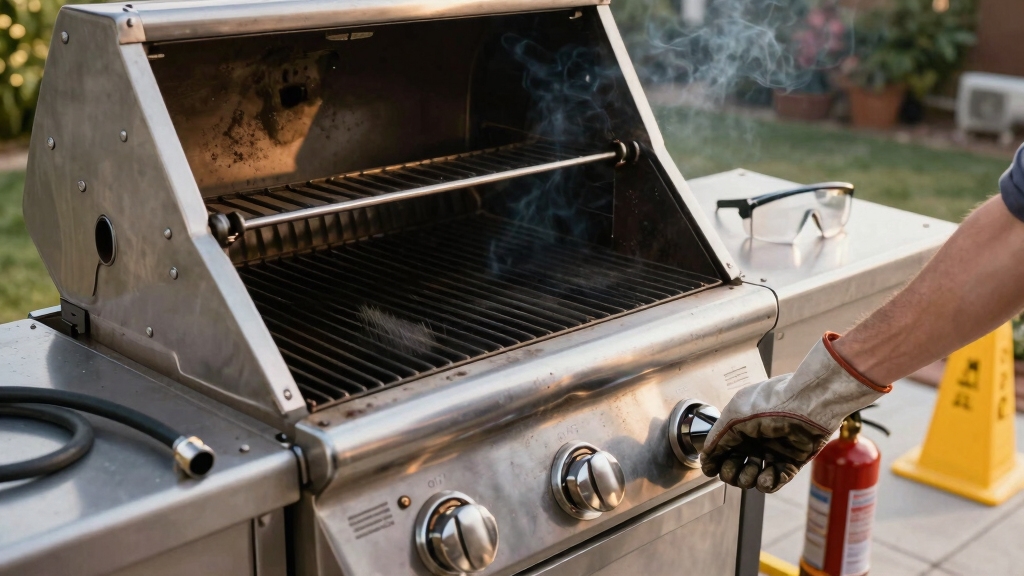
Before you begin cleaning your grill after using a fire extinguisher, make sure to turn off the gas supply and disconnect the propane tank.
This vital step prevents any accidental gas leaks or ignition during cleaning.
Next, move the grill to an outdoor or well-ventilated area to avoid inhaling any lingering chemical particles.
Allow the grill to cool completely to ambient temperature before handling it to prevent burns.
Always wear protective rubber gloves, goggles, and a mask to shield your skin and lungs from the dry chemical residue.
Also, wear long-sleeved shirts and pants to minimize skin exposure.
Taking these safety precautions guarantees you protect yourself while preparing for the cleaning process and reduces health risks associated with fire extinguisher chemicals.
Additionally, ensure proper ventilation and avoid enclosed spaces to reduce exposure to airborne particles and improve air quality during cleaning.
Remove Loose Fire Extinguisher Residue From Grill Surfaces
Once you’ve secured the grill and made certain your safety gear is in place, focus on removing the loose fire extinguisher powder from all grill surfaces. Use a dry brush or a small vacuum to gently sweep away the powder.
Avoid wetting the surfaces at this stage to prevent abrasive scratching. Remove all detachable parts like grates and burners to access hidden areas. Carefully vacuum or brush both the interior and exterior surfaces to eliminate debris before proceeding. Regular maintenance and thorough cleaning extend the service life of your equipment and ensure reliable operation.
| Step | Action |
|---|---|
| 1. Prepare tools | Dry brush, small vacuum |
| 2. Remove parts | Grates, burners, detachable pieces |
| 3. Sweep/vacuum powder | Interior and exterior surfaces |
| 4. Inspect thoroughly | Check for hidden residue |
Choose and Apply Cleaning Solutions for Fire Extinguisher Residue
Although removing loose powder is essential, effectively eliminating stubborn fire extinguisher residues requires selecting the right cleaning solutions.
Start by mixing warm water with mild dish soap, about one tablespoon per gallon, to gently clean most surfaces.
For sodium bicarbonate or potassium bicarbonate residues, apply a 90% water and 10% white vinegar solution to neutralize and loosen deposits.
If you encounter monoammonium phosphate, use a baking soda paste with hot water to break down the residue without harming metal parts.
Use a soft cloth or sponge to apply these solutions carefully, avoiding abrasive scrubbing that could damage grill surfaces.
For persistent spots, a diluted isopropyl solution and warm water mix can help lift particles.
Always wear protective gloves and work in a well-ventilated area while applying these cleaners.
Because powder residue can become corrosive when exposed to moisture, moisture exposure effects should be considered during cleanup.
Soak and Deep Clean Removable Grill Parts
First things first, let’s get those removable grill parts soaking. Grab a bowl or your sink and fill it with warm, soapy water. Let them soak for about 20 to 30 minutes. This will help loosen up any residue without any fuss.
After the soak, it’s time to roll up your sleeves! Take a sponge or a stiff wire brush and start scrubbing away any leftover deposits. Just remember to be gentle— you want to clean thoroughly but also protect those surfaces.
Once you’re done, double-check to make sure all the chemical residues are gone before you put everything back together. It’s especially important to remove any dry chemical powder residue thoroughly, as it can cause corrosion and damage to metal parts over time. Happy cleaning!
Soaking Removable Grill Parts
To effectively remove stubborn fire extinguisher residue, soak the removable grill parts in warm, soapy water for 20 to 30 minutes. This softens baked-on chemicals, making them easier to clean without damaging the metal.
Use mild dish soap to avoid corrosive effects. Submerge grates, burners, and other detachable parts fully, ensuring no residue remains trapped in crevices. Avoid soaking any electrical components or parts that could rust.
Maintain a consistent water temperature; too hot can warp metal, too cold reduces cleaning efficiency. After soaking, carefully lift each piece to prevent dripping contaminated water onto clean surfaces.
Prepare a clean work area to place soaked parts, and wear gloves to protect your skin from chemical residue. This step is essential before proceeding with scrubbing and detailed cleaning.
It is important to ensure proper ventilation during cleaning to minimize exposure to chemical irritants from the fire extinguisher powder.
Scrubbing And Cleaning Methods
Once you’ve soaked the removable grill parts, you’ll need to scrub them carefully to remove any remaining fire extinguisher residue.
Use a sponge or stiff wire brush to target stubborn powder and chemical buildup, focusing on grooves and crevices.
Avoid abrasive tools that may damage metal surfaces.
For gas grills, clean lava rocks or ceramic briquettes with a vinegar and water solution to neutralize residues.
Charcoal grill firepans also require thorough scrubbing using the same solution.
Rinse each part thoroughly with clean water to eliminate soap or chemical traces.
Pay close attention to every component to prevent leftover particles that could affect future cooking.
Finally, dry all parts completely before reassembling to avoid rust and guarantee safe grill operation.
Always ensure you follow a methodical approach and safety when cleaning to protect your home and health.
Rinse, Dry, and Reassemble the Grill
Alright, let’s get to rinsing those grill parts! You’ll want to give them a good rinse with clean water to wash away any leftover cleaning agents and residues. It’s like giving your grill a refreshing shower!
Now, here’s the important bit: make sure everything is completely dry before you start putting it back together. This helps prevent rust and keeps things safe for your next cookout. You can use towels to pat them dry or just let them air-dry—whatever works best for you.
Just remember, don’t reassemble the grill until all the components are fully dry! Happy grilling! For safety, always keep a Class K fire extinguisher nearby when cooking with grease or oil to be prepared for any flare-ups.
Thorough Rinsing Techniques
Always make sure you rinse all cleaned grill parts thoroughly with clean water to remove any lingering soap, vinegar, or baking soda residues.
Residual cleaning agents can affect the taste of your food and potentially damage the grill’s surfaces.
Use a steady stream of water, ideally a hose with moderate pressure, to flush every nook and cranny, including burners, grates, and interior walls.
Pay special attention to hard-to-reach areas where residue tends to accumulate.
After rinsing, carefully inspect each part to confirm no visible residue remains.
This step is critical for preventing corrosion and ensuring safe cooking conditions.
Remember, incomplete rinsing can lead to unwanted chemical interactions during grilling.
Only proceed to drying and reassembly once you’re confident all parts are free of residues.
To ensure environmental safety, avoid releasing rinse water containing chemical residues into drains or soil to comply with safe disposal practices.
Effective Drying Methods
Typically, drying the grill thoroughly after rinsing is essential to prevent rust and guarantee safe use.
After you rinse all parts with clean water to remove soap, vinegar, and baking soda residues, immediately dry the grill and grates using a clean towel.
Make sure you reach all crevices and corners where moisture can linger.
If possible, position fans to accelerate drying, reducing the risk of corrosion on metal surfaces.
Avoid reassembling the grill until every component is completely dry.
Moisture trapped inside can cause rust or compromise future cooking safety.
Patience during this step safeguards your grill’s longevity and prevents unwanted flavors in food.
Taking these careful drying measures prepares your grill for safe reassembly and reliable performance.
Additionally, increasing ventilation during drying helps ensure thorough moisture removal and prevents damage.
Proper Grill Reassembly
Once all parts are completely dry, carefully begin reassembling your grill to guarantee proper alignment and secure fit of each component.
Start by reinstalling the burners, making certain they sit firmly in place without gaps.
Next, replace the firepan or drip tray, confirming it fits flush to avoid grease buildup.
Reattach the grill grates, aligning them evenly to prevent instability during cooking.
Double-check that all screws and fasteners are tightened securely but avoid overtightening to prevent damage.
Inspect the assembled grill for any missed residue or moisture.
If you find any damp spots, pause and dry thoroughly before proceeding.
Proper reassembly makes certain your grill functions safely and efficiently, preventing future malfunctions and preserving its longevity after exposure to fire extinguisher chemicals.
To ensure long-term durability, store your grill components in a weatherproof enclosure when not in use to protect against moisture and corrosion.
Test and Season Your Grill After Cleaning
Before you resume cooking, test your grill by heating it to a high temperature, around 450 to 500°F, for 5 to 10 minutes. This process burns off any lingering residues or toxins from cleaning.
Heat your grill to 450–500°F for 5–10 minutes to burn off cleaning residues before cooking.
Once the grill cools, season the grates to restore their protective layer and prevent rusting. Follow these essential steps:
- Apply a thin layer of cooking oil to the grates using a cloth or brush.
- Heat the grill again for 10–15 minutes to allow the oil to bond with the metal.
- Repeat seasoning if the grates appear dry or rusty.
- Inspect the grill for odors or residue after heating.
- Ensure complete cooling before storing or covering the grill.
These actions guarantee your grill is safe, clean, and ready for your next cookout.
Frequently Asked Questions
Can Fire Extinguisher Residue Damage My Grill’s Internal Gas Lines?
Yes, fire extinguisher residue can damage your grill’s internal gas lines if it gets inside. The dry chemical powders may cause corrosion or clogging, affecting gas flow and safety.
You should carefully inspect and clean the interior, especially around burners and gas lines, to prevent residue buildup. Taking these precautions helps maintain proper function and avoids costly repairs or hazardous leaks from contaminated gas components.
How Long Should I Wait After Cleaning Before Using the Grill Again?
Imagine you just cleaned your grill after a powder fire extinguisher incident.
You should wait until all parts are completely dry, usually several hours to overnight, to prevent rust and make certain no residue remains.
After reassembly, preheat the grill on high for 5–10 minutes to burn off any leftover chemicals.
This cautious approach protects your grill and keeps your food safe before cooking again.
Is It Safe to Use Natural Cleaning Products Instead of Recommended Solutions?
Yes, you can use natural cleaning products like vinegar and baking soda because they effectively neutralize fire extinguisher residues without harsh chemicals.
However, you should still follow proper safety steps, such as wearing gloves and ensuring thorough rinsing to avoid leftover residue that could affect food flavor or safety.
Avoid abrasive natural scrubs that might damage the grill surface.
Always test a small area first to confirm effectiveness and safety before full application.
Can Fire Extinguisher Chemicals Affect the Flavor of My Food Long-Term?
Yes, fire extinguisher chemicals can affect your food’s flavor long-term if residue remains on the grill.
These powders can impart bitter or metallic tastes, which might transfer to your meals.
To prevent this, you should thoroughly clean and rinse all grill components, then heat the grill to high temperatures to burn off any lingering chemicals.
Proper cleaning guarantees your food stays safe and flavorful for future cooking.
Should I Notify My Propane Supplier After a Fire Extinguisher Discharge?
Think of your propane supplier as your grill’s safety net. Yes, you should notify them after a fire extinguisher discharge.
This helps make certain your propane system wasn’t compromised during the incident. They can inspect connections and tanks for leaks or damage, preventing potential hazards.
Being proactive protects your safety and your equipment’s integrity, so don’t skip this vital step in your grill’s post-incident care.
Finish Cleaning With Safety and Confidence
Now that you’ve carefully cleaned your grill after using a fire extinguisher, you’re ready to fire it up again, just like a knight preparing his armor for battle.
Always double-check that every part is dry and properly reassembled to avoid any hazards.
Regular maintenance keeps your grill safe and efficient, ensuring delicious meals without unexpected surprises.
Stay cautious, follow safety steps, and enjoy grilling with confidence every time you cook.