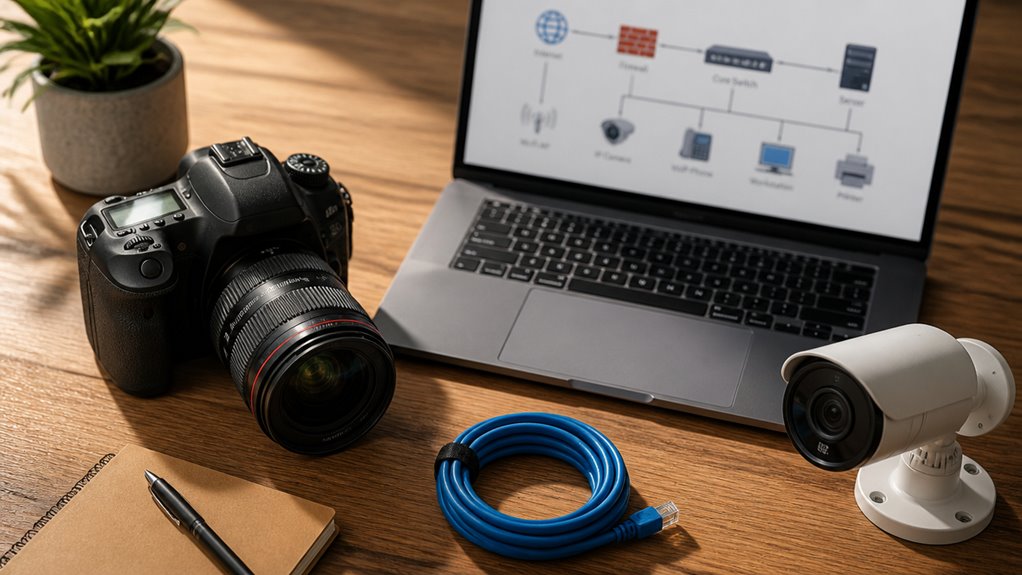

You can find your camera’s IP by logging into your router’s dashboard and checking the connected devices list for the camera’s name or MAC address.
Alternatively, use the manufacturer’s app on a device connected to the same local network to discover the camera and view its IP.
You can also run commands like arp -a or use network scanners to match MAC addresses to IPs.
Keep your IP organized and secure to avoid conflicts. More detailed steps and troubleshooting tips follow.
Key Takeaways
- Log into your router dashboard and check the DHCP Client List or Connected Devices for your camera’s assigned IP address.
- Use the camera manufacturer’s app on a device connected to the same Wi-Fi to discover the camera and view its IP details.
- Identify the camera’s MAC address from its label and match it with IP addresses in your router’s device list or via arp -a command.
- Refer to the camera manual for its default IP, then check if it has changed under DHCP or assign a static IP to simplify tracking.
- Scan your local network with tools like Fing or Nmap to find the camera’s IP by matching the MAC address or device name.
How to Find Your Camera’s IP Using Your Router’s Dashboard?
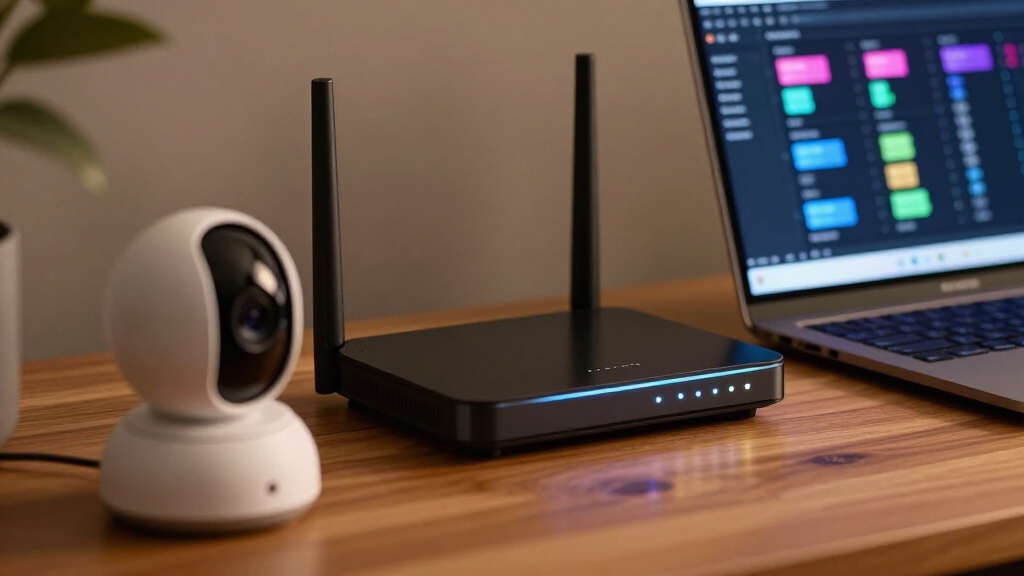
When you want to find your camera’s IP address, start by logging into your router’s dashboard using its local gateway address, typically 192.168.1.1 or 192.168.0.1.
Enter your router’s admin credentials to access the network management interface. Navigate to sections named Connected Devices, Device List, DHCP Client List, LAN Status, or Network Map.
Scan the list for device names like Camera, IPCam, the camera brand, or model number. If the device name is generic, match the MAC address shown with the one on your camera’s label to identify it accurately.
Note the corresponding IP address assigned by the router. If the camera isn’t immediately visible, refresh the device list or restart the router to update the DHCP bindings.
This method guarantees precise identification of your camera’s current local IP. For improved stability, consider assigning a static IP address to your camera within your router’s subnet.
How to Use the Manufacturer’s App to Find Your Camera’s IP?
To kick things off, you’ll want to install the app from your camera’s manufacturer on your phone or computer.
It’s super important that both your camera and your device are connected to the same Wi-Fi network—otherwise, they won’t be able to find each other.
Once you’ve got everything set up, just open the app and look for the discovery or add device feature.
This should help you scan for your camera and locate its IP address in no time!
Make sure to ensure stable device connectivity during this process to avoid interruptions.
Install Camera Maker App
Download and install the camera manufacturer’s app on your phone or computer to quickly locate your camera’s IP address. Once installed, launch the app and make sure your device is connected to the same Wi-Fi network as the camera.
Use the app’s device discovery or add device feature to scan the local network for connected cameras. When the camera appears in the list, access its Device Info or Settings section to find the assigned IP address.
Some apps also provide additional network details like port numbers or connection status. If your camera doesn’t appear, verify it’s powered on and properly connected.
This method streamlines IP address identification without requiring router access or manual network scans. You can also verify Wi‑Fi signal strength using the app to ensure stable connectivity during this process.
Connect Devices Same Network
To find your camera’s IP address using the manufacturer’s app, first make sure your camera and the device running the app are connected to the same Wi-Fi network. This network alignment is essential for the app to communicate directly with the camera.
Launch the app on your smartphone or computer, then navigate to the device management or settings section. Avoid using external networks or mobile data since the app won’t detect local devices outside your network.
Once connected, the app typically lists all recognized cameras, displaying their IP addresses along with other network details like port numbers or status. Confirm the device by checking the model or MAC address if multiple cameras appear.
This method relies on local network discovery, so make certain both devices maintain a stable Wi-Fi connection. Assigning static IP addresses to your cameras can help simplify management and prevent conflicts on your network.
Use App Discovery Feature
When you open the manufacturer’s app, you’ll find a discovery or device search feature designed to scan your local network for connected cameras.
Make sure your camera and device running the app are on the same Wi-Fi network. Launch the discovery tool to initiate a scan; the app will list all compatible cameras detected.
Select your camera from the list to access detailed device information. Navigate to Device Settings or Device Info within the app to find the assigned IP address.
Some apps also provide network status and port details. If the camera doesn’t appear, verify power and network connections, then refresh the scan.
Using the app’s built-in discovery feature offers a straightforward, accurate method to locate your camera’s IP without manual network probing.
For best results, ensure you have confirmed the Wi‑Fi signal strength at the camera location to avoid connectivity issues during discovery.
How to Check Default IP Addresses for Your Camera?
Although your camera’s IP address often changes after connecting to your network, checking its default IP can provide a quick starting point for setup or troubleshooting.
Many cameras use factory default IP addresses before DHCP assigns a new one. Common defaults include Hikvision at 192.168.1.64, Dahua at 192.168.1.108, and Reolink at 192.168.1.100.
You can find this information in the camera’s manual, packaging, or manufacturer’s setup guide. Confirm that your device is powered and connected to the network before attempting access.
Using the default IP allows you to quickly log into the camera’s web interface or software for initial configuration. Remember, once DHCP is active, this default may no longer apply.
Each camera is also identified by a unique UID that plays a crucial role in secure device authentication and remote access.
How to Use Windows Command Prompt to Identify Your Camera’s IP?
Launch the Command Prompt on your Windows computer that’s connected to the same local network as your camera. Use this tool to identify your camera’s IP by examining active network devices. Start by running the command `arp -a`, which lists IP-to-MAC address mappings currently recognized by your system. Then, cross-reference the MAC addresses with your camera’s label to pinpoint its IP.
Follow these steps precisely:
Open Command Prompt (type `cmd` in Start menu).
Enter `arp -a` and press Enter.
Review the displayed list of IP addresses and corresponding MAC addresses.
Identify your camera by matching its MAC address prefix or full MAC.
Note the IP address listed alongside your camera’s MAC for access.
This method works well if router listings aren’t clear or accessible. Monitoring your network status regularly helps ensure continuous camera connectivity and prevents offline issues.
How to Scan Your Network to Find Your Camera’s IP?
To track down your camera’s IP address, you can scan your local network using specialized tools that detect all active devices. Use network scanners like Nmap or vendor-specific discovery apps. They probe your subnet, listing active IPs, manufacturer details, and device types.
Verify the camera by recognizing its brand or model info displayed.
| Tool | Platform | Key Feature |
|---|---|---|
| Nmap | Windows/Linux | exhaustive IP scanning |
| Fing | Mobile App | Easy device identification |
| Vendor Utility | PC/Mobile | Brand-specific detection |
Make sure your camera is powered and connected to the same network as your scanning device. Refresh scans if your camera doesn’t show immediately to guarantee accurate detection. For enhanced security, place cameras on a separate network or VLAN to isolate traffic and minimize attack surfaces.
How to Match Your Camera’s MAC Address to Its IP?
First things first, you’ll want to find your camera’s MAC address. You can usually spot it on the label or packaging of the camera.
Once you’ve got that, the next step is to hop into your router’s device list. There, you should see a list of all connected devices. Look for the MAC address you just found, and take note of the IP address that’s assigned to it.
Now, just to be sure everything matches up, you can use the ARP command on a computer that’s connected to the same network. This will help you verify that the IP address truly belongs to your camera. It’s a simple way to confirm you’ve got the right device!
For best results, ensure your camera is connected via network encryption (WPA3) to maintain secure and reliable communication.
Locate Camera MAC Address
Tracking down your camera’s MAC address is key when you want to match it to its assigned IP on your network. This unique identifier helps you pinpoint the exact device among many.
You can find the MAC address in several reliable ways:
Check the physical label on the camera or its packaging for the MAC address.
Use the manufacturer’s app to scan the network and display device details.
Access the camera’s web interface or setup menu to find network information.
Review documentation or user manuals where the MAC is often listed.
Use command-line tools like `arp -a` on a computer to list active IP-to-MAC mappings and identify your camera.
Additionally, scanning your home network for unknown devices can help detect unauthorized cameras using network scans or Wi-Fi scanner apps.
Use Router Device List
Once you have your camera’s MAC address, the next step is to locate its assigned IP address within your router’s device list.
Access your router’s admin page by entering its gateway IP (commonly 192.168.1.1 or 192.168.0.1) into a browser.
Log in with your credentials to reach the network dashboard.
Navigate to sections like Connected Devices, DHCP Client List, or Network Map.
Look for entries labeled with your camera’s brand, model, or a generic name.
Use the MAC address to precisely identify your camera among listed devices, especially if names are unclear or generic.
The corresponding IP address listed next to the matched MAC is your camera’s current network address, enabling further configuration or access.
Verify IP via ARP
The Address Resolution Protocol (ARP) table on your computer maps IP addresses to MAC addresses, allowing you to verify your camera’s IP by matching it to its unique hardware identifier.
To do this, open Command Prompt and run `arp -a` to display the current IP-to-MAC mappings. Then, compare the listed MAC addresses to your camera’s label or packaging to identify its assigned IP.
Follow these steps for accurate verification:
Make sure your camera and computer are on the same local network. Note your camera’s MAC address from its label or manual. Open Command Prompt and type `arp -a`. Find the MAC address matching your camera in the ARP list. Record the corresponding IP address for camera access.
This method is reliable when router device lists are unclear.
How to Troubleshoot When Your Camera Doesn’t Appear?
If your camera doesn’t appear in the device list, start by confirming that it’s powered on and properly connected to the same local network as your phone or computer.
Next, reboot your router to refresh the DHCP client list and clear potential network glitches.
Check physical connections for Ethernet or Wi-Fi signal strength if wireless.
Use your router’s admin dashboard to confirm the camera’s presence under connected devices or DHCP clients.
If the camera still doesn’t show, verify its MAC address from the label and scan your network with tools like Nmap or the manufacturer’s app to detect hidden devices.
Finally, make certain no IP conflicts exist by comparing assigned addresses.
These steps help isolate connection issues before deeper troubleshooting.
Why You Should Always Double-Check Your Camera’s IP?
Because IP addresses can change dynamically or be assigned incorrectly, you should always double-check your camera’s IP to make sure you’re accessing the right device.
Misidentifying the IP can lead to connecting to the wrong device, causing confusion or security risks. Verifying the IP helps maintain reliable access and troubleshooting accuracy.
Always confirm by:
- Matching the IP with the camera’s MAC address via your router or ARP lists.
- Using manufacturer apps to cross-check device info.
- Confirming the camera is powered and properly connected to the network.
- Checking whether the IP matches known defaults or recent DHCP assignments.
- Avoiding assumptions based on device names alone, which can be generic or duplicated.
This guarantees you manage the correct camera and avoid network conflicts or access errors.
Tips to Keep Your Camera’s IP Secure and Private
While securing your camera’s IP address might seem straightforward, it requires deliberate steps to prevent unauthorized access and protect your network.
First, change the default IP address to a custom static IP outside your router’s DHCP range to avoid conflicts and unauthorized device detection.
Next, update your camera’s firmware regularly to patch vulnerabilities.
Use strong, unique passwords for both your camera and router admin accounts.
Enable network encryption (WPA3 or WPA2) to secure Wi-Fi communications.
Limit IP access by configuring firewall rules to restrict connections to trusted devices only.
Disable remote access unless absolutely necessary.
If enabled, use VPNs or secure tunnels for external connections.
Finally, monitor your network for unknown devices and audit camera logs frequently to detect potential breaches early.
Frequently Asked Questions
Can I Assign a Static IP to My Camera for Easier Access?
Yes, you can assign a static IP to your camera for easier access.
Access your router’s admin page, locate the DHCP reservation or static lease section, and bind your camera’s MAC address to a specific IP address outside the DHCP range. This guarantees your camera always uses the same IP.
Alternatively, configure the static IP directly on the camera’s network settings if supported. Make sure it matches your network’s subnet and avoids conflicts.
How Do I Reset My Camera’s Network Settings to Default?
Think of resetting your camera’s network settings like rebooting a stuck compass. It recalibrates everything to point you back home.
To reset, locate the physical reset button, usually a small pinhole on the camera. Hold it down for 10-15 seconds with a paperclip until the device restarts.
This restores factory defaults, clearing saved Wi-Fi and IP settings. It lets you start fresh with network configuration.
What Should I Do if Multiple Devices Share the Same IP Address?
If multiple devices share the same IP address, you’ll face network conflicts causing connectivity issues.
Start by rebooting your router to refresh DHCP assignments.
Then, assign static IPs to devices or enable DHCP reservation in your router’s settings to guarantee unique addresses.
Check each device’s network configuration and change conflicting IPs manually if needed.
Always verify device MAC addresses to avoid assigning duplicate IPs.
This prevents collisions and stabilizes your network.
Can I Access My Camera’s IP Remotely From Outside My Home Network?
Think of your camera’s IP as a locked door inside your home. You can access it remotely only if you set up port forwarding or a VPN on your router, which acts like handing out a key to trusted guests.
Without these configurations, your camera’s IP remains unreachable from outside. Make sure you secure access with strong passwords and encryption to prevent unauthorized entry through the opened network pathways.
How Do I Update My Camera’s Firmware via Its IP Address?
To update your camera’s firmware via its IP address, first log into the camera’s web interface using a browser.
Enter the IP, then sign in with your credentials. Locate the firmware update section, often under Settings or Maintenance.
Download the latest firmware from the manufacturer’s website. Upload the firmware file through the web interface and start the update.
Don’t power off during the process. After completion, the camera will reboot with updated firmware.
Find Your Camera IP Address and Keep It Organized
Finding your camera’s IP is like unfastening the gateway to your device’s digital world. By using your router’s dashboard, manufacturer’s app, or network scans, you hold the key to seamless access and control.
Always verify the IP to avoid confusion. Safeguard it like a fortress to protect your privacy. With these steps, you gain clear sight into your network, ensuring your camera stays both visible and secure.