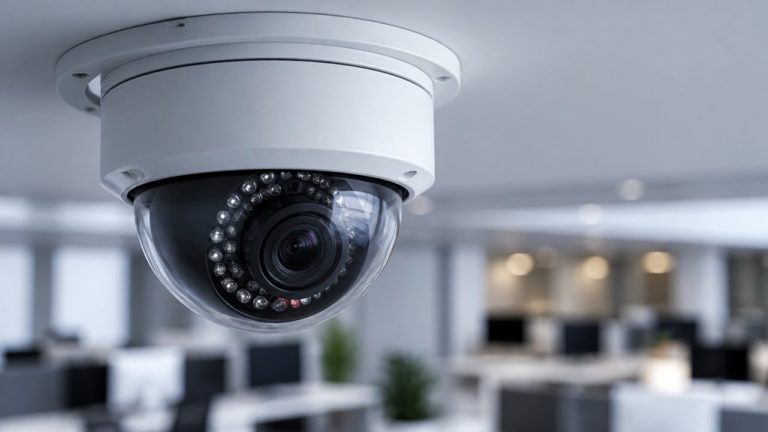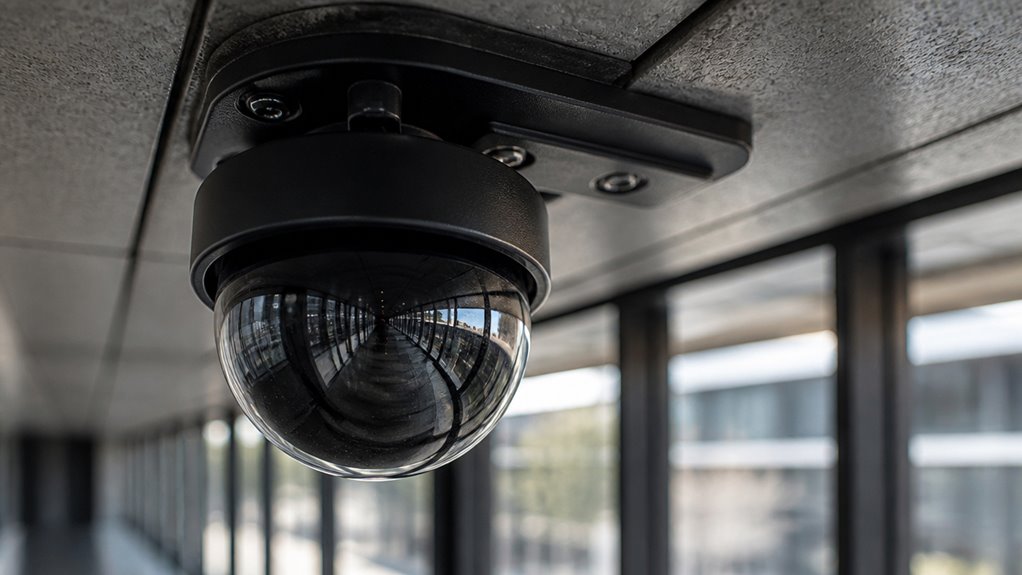

You’ll find dome camera coverage depends largely on lens focal length, sensor size, and mounting height. A 2.8 mm lens offers wide views (around 100°), ideal for broad monitoring but sacrifices fine detail at distance.
Increasing focal length narrows coverage to enhance identification accuracy. Proper placement, typically 7–12 feet indoors and 12–20 feet outdoors, along with overlapping fields of view, reduces blind spots.
Environmental factors and IR range also impact visibility. Understanding these elements helps tailor your surveillance for optimal effectiveness and clarity.
Key Takeaways
- Standard dome cameras typically offer a horizontal field of view between 90° and 120°, influenced by lens focal length and sensor size.
- Wide-angle 2.8 mm lenses provide broad coverage (~96°–120°) but reduce detail at longer distances.
- Narrower lenses like 4 mm or 6 mm enhance detail by tightening the field of view to about 74°–93° or 48°–61°, respectively.
- Proper mounting height (7–12 feet indoors, 12–20 feet outdoors) optimizes coverage area and minimizes obstructions or tampering risks.
- Overlapping camera coverage and placement in strategic locations reduce blind spots and improve identification accuracy.
Dome Camera Coverage Basics: Why It Matters for Surveillance
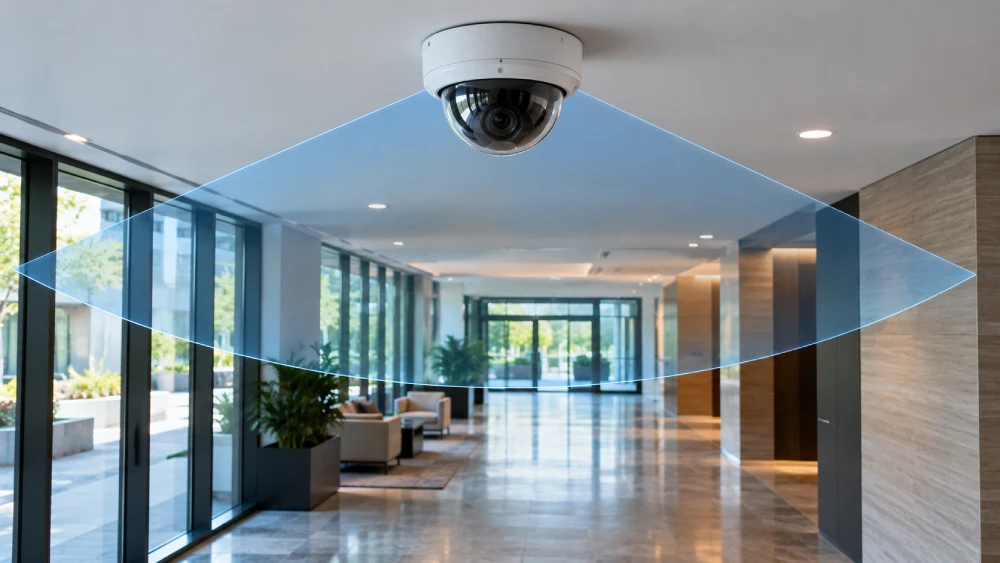
Understanding dome camera coverage is essential for designing an effective surveillance system.
You need to take into account the horizontal field of view, which typically ranges from 90° to 120° in standard dome cameras. This enables broad-area monitoring indoors and outdoors.
Some fixed-lens models offer narrower coverage of about 70° to 90°, while fisheye variants extend up to 180° or even 360°, providing panoramic views.
Coverage depends on lens focal length, sensor size, and mounting position. However, a wider field of view decreases fine detail at greater distances.
You must balance overall coverage with identification capabilities. Properly evaluating these parameters ensures your surveillance system captures sufficient area without sacrificing critical image detail necessary for effective monitoring and threat detection.
Mount cameras at optimal heights and positions to minimize blind spots and ensure overlapping coverage that enhances identification accuracy and overall system reliability.
How Lens Focal Length Shapes Dome Camera Views?
Did you know that the lens focal length plays a huge role in how dome cameras capture their surroundings? It’s pretty fascinating! For instance, with a focal length of 2.8 mm, you get a wide-angle view, which is great for covering larger areas. On the other hand, if you go for something like a 6 mm lens, the view becomes narrower, focusing more on specific details.
This variation can really impact how you set up your surveillance. You want to think about the balance between having a broad coverage area and being able to identify details clearly. It’s all about striking that perfect balance! So, when you’re considering camera placement and lens choice, keep this tradeoff in mind to get the most out of your setup. Cameras with a 2.8 mm lens typically offer 100°–110° field of view, ideal for broad monitoring but with less detail at a distance.
Lens Focal Length Impact
Selecting the right lens focal length directly shapes the dome camera’s field of view and detail resolution. This dictates how much area you can monitor and at what clarity.
Shorter focal lengths, such as 2.8 mm, provide wider coverage, typically 96° to 120°. This allows you to capture broad scenes but with reduced detail at distance.
Increasing focal length to 4 mm narrows the horizontal field to roughly 74° to 93%. This enhances image detail while limiting coverage area.
At 6 mm, the view tightens further to approximately 48° to 61%. This maximizes identification potential on distant subjects but reduces scene breadth.
Your sensor size also influences these parameters. Larger sensors widen coverage for the same focal length.
Balancing focal length with coverage needs guarantees peak surveillance performance tailored to your environment. Proper placement and field-of-view management are also essential to eliminate blind spots and optimize surveillance coverage.
Field Of View Variations
How does lens focal length directly influence the field of view in dome cameras? Shorter focal lengths, like 2.8 mm, deliver wider horizontal fields of view, typically between 96° and 120°, depending on sensor size. This broad coverage suits general surveillance but limits fine detail at distance.
Increasing focal length to 4 mm narrows the field to roughly 74° to 93%, focusing more on mid-range detail.
At 6 mm, horizontal coverage tightens further to approximately 48° to 61%, enhancing distant subject visibility while reducing scene breadth.
You must consider sensor size since larger sensors slightly widen the field at the same focal length. Understanding these variations helps you select a dome camera lens that balances scene coverage and target focus without sacrificing critical surveillance zones. For optimal installation, it is recommended to mount cameras at 10 feet height or more to ensure clear identification and tamper resistance.
Coverage Versus Detail Tradeoff
The relationship between lens focal length and field of view directly impacts the balance between coverage area and image detail in dome cameras.
A shorter focal length, like 2.8 mm, offers a wider field of view of up to about 120°. This allows you to monitor broad areas but with reduced pixel density on distant objects.
Conversely, longer focal lengths, such as 6 mm, narrow the field of view to around 50°. This increases image detail and improves identification at range.
You must weigh whether broad situational awareness or fine detail is your priority.
Variable focal length domes let you adjust this tradeoff dynamically, but sensor resolution also plays a pivotal role.
Ultimately, selecting the right focal length depends on your surveillance goals and environment constraints to optimize both coverage and actionable image quality.
Additionally, combining appropriate focal length with advanced features like Wide Dynamic Range can enhance visibility in challenging lighting conditions.
Where to Mount Dome Cameras for Best Coverage?
When it comes to mounting dome cameras, finding the right height is key. You’ll want to consider a sweet spot that gives you both broad coverage and the ability to identify faces or details.
For indoor settings, aim for heights between 7 and 10 feet. If you’re setting them up outside, you’re looking at around 12 to 20 feet.
Now, let’s talk about placement. Positioning your cameras in strategic spots, like corners or near entrances, can really help minimize blind spots and ensure you have good coverage.
Just remember, careful placement is crucial. You don’t want anything blocking the camera’s view, as that can compromise both the field of view and the image quality. So, take your time to plan it out!
Visible cameras deter crime, as 60% of burglars avoid homes with security cameras.
Optimal Installation Heights
When mounting dome cameras for peak coverage, consider both height and placement to maximize field of view while minimizing blind spots.
For indoor environments, install cameras between 7 to 12 feet high. This provides a balance between wide scene coverage and sufficient detail for identification.
Outdoor installations usually require 12 to 20 feet to cover broader areas and reduce tampering risks. However, going too high can impair facial recognition and close-range detail.
The camera’s lens focal length influences ideal height. Wider lenses tolerate higher mounts, while narrower lenses perform better closer to the activity zone.
Always make certain the mounting height avoids obstructions like awnings or tree branches. These can block or degrade coverage.
Proper height selection is essential to maintain effective scene monitoring and minimize distortion or coverage gaps.
Additionally, mounting cameras at a height of at least 10 feet helps reduce tampering and improve surveillance effectiveness.
Strategic Camera Placement
Maximize dome camera effectiveness by carefully selecting mounting locations that optimize field of view and minimize blind spots.
You want to balance height, angle, and environment to ensure thorough coverage without sacrificing image quality.
Consider these key factors:
- Mount at 7–10 feet indoors for wide coverage while maintaining identification detail.
- Place outdoors at 12–20 feet to capture broad scenes and reduce tampering risk.
- Use corner placements to overlap fields of view and eliminate blind spots effectively.
- Avoid obstructions like trees or eaves that block or distort the camera’s view.
Strategic placement tailored to your site’s layout guarantees your dome cameras deliver peak surveillance performance.
Additionally, incorporating motion-activated cameras can minimize blind spots and enhance detection accuracy.
Dome Camera Coverage Range: Factors Affecting Visibility
Although dome cameras can cover broad areas, several key factors directly affect their effective coverage range and visibility.
You must consider lens focal length, sensor size, and mounting height, as these determine the horizontal field of view and focus distance.
For example, a 2.8 mm lens offers wide coverage but limits fine detail at longer distances.
Mounting height influences the angle and potential obstructions, impacting visible scene size.
Environmental factors like glare, shadows, and physical barriers can reduce clarity and range.
Night vision capability also affects visibility, as IR illumination typically reaches 20 to 30 meters outdoors.
Understanding these variables helps you optimize camera positioning and lens choice for the desired surveillance area.
This ensures coverage suits specific monitoring requirements without sacrificing critical image quality.
Proper cable routing and securing with mounting clips also help maintain unobstructed camera performance and long-term system reliability.
How to Balance Wide Coverage and Image Detail?
Balancing wide coverage and image detail requires carefully selecting lens focal lengths and sensor resolutions to match your surveillance goals. You’ll need to weigh the tradeoff between field of view and pixel density to guarantee effective identification at required distances.
Consider these steps:
- Choose lens focal length based on scene size. Wider lenses (2.8 mm) increase coverage but reduce detail. Longer lenses (4–6 mm) improve distant clarity.
- Select sensor resolution to compensate for detail loss at wider fields. Higher megapixels retain finer image data.
- Position cameras at heights optimizing both coverage overlap and focus range.
- Test live footage post-installation, adjusting lens or sensor settings to confirm usable image detail across the coverage area.
Applying a balanced pressure approach during installation ensures optimal performance without compromising image clarity or equipment safety.
This analytical approach guarantees your dome cameras deliver both broad surveillance and precise identification.
How to Choose Dome Cameras for Different Spaces?
When selecting dome cameras for different environments, you must analyze the specific spatial characteristics and surveillance objectives to determine the best lens focal length, sensor resolution, and mounting configuration.
Choosing dome cameras requires evaluating space and surveillance needs for optimal lens, sensor, and mounting decisions.
For small offices or entrances, a 2.8 mm lens provides wide coverage around 96° to 120°, capturing broad scenes effectively.
Hallways and mid-range areas benefit from 4 mm lenses that narrow the field of view to about 74° to 93°, enhancing detail on subjects.
Large open indoor spaces demand high-resolution fisheye or multi-sensor domes for 180° or 360° panoramic coverage, balancing coverage with image clarity.
Factor in mounting height—7 to 10 feet indoors and 12 to 20 feet outdoors—and obstructions to optimize sightlines.
Match your choice to actual measured distances and surveillance goals for precise, functional coverage.
How to Test and Adjust Dome Camera Coverage After Installation?
Begin by verifying the actual field of view and image clarity against your coverage objectives immediately after mounting the dome camera. This guarantees the camera’s placement and lens choice meet your surveillance requirements.
To test and adjust coverage effectively:
- Inspect the live feed for blind spots and verify the horizontal field of view aligns with expected degrees based on lens specs.
- Assess image sharpness at critical distances, confirming identification capability without excessive pixel loss.
- Adjust the camera’s pan, tilt, and zoom to optimize scene coverage and minimize obstructions.
- Reassess lighting conditions and IR performance during low light to guarantee consistent image quality.
Following these steps helps you achieve balanced coverage with usable detail, avoiding common installation pitfalls.
Frequently Asked Questions
Can Dome Cameras Be Vandal-Resistant or Tamper-Proof?
Yes, dome cameras can be vandal-resistant or tamper-proof.
You’ll find models with robust, impact-resistant housings made from materials like polycarbonate or metal, designed to withstand physical attacks.
Many feature IK10 ratings, indicating high vandal resistance.
You can also install dome cameras with tamper-detection alarms or protective covers to prevent unauthorized adjustments.
Choosing these features helps you maintain surveillance integrity in high-risk environments, ensuring consistent and reliable monitoring.
How Do Weather Conditions Affect Outdoor Dome Camera Performance?
When it rains, it pours. Outdoor dome cameras face challenges like water droplets, fog, and condensation that can blur images.
Extreme temperatures may affect electronic components, causing reduced performance or failure. Snow and dust can obscure lenses, while glare from wet surfaces may distort visibility.
You should select weatherproof, IP-rated models with heated housings or hydrophobic coatings to maintain clear footage in harsh conditions and guarantee reliable operation over time.
What Maintenance Is Required to Keep Dome Cameras Functioning Optimally?
You need to clean the dome lens regularly to prevent dirt, dust, and moisture buildup that degrade image quality.
Check seals and gaskets for weatherproof integrity, especially after storms. Inspect mounting brackets and wiring for corrosion or damage.
Update firmware to fix bugs and improve performance. Test infrared illumination for night vision functionality.
Schedule periodic functional tests to confirm focus, field of view, and image clarity remain optimal under actual conditions.
Are There Privacy Concerns With Dome Camera Placement in Public Areas?
Yes, you should consider privacy concerns when placing dome cameras in public areas.
These cameras can capture broad fields of view, potentially recording private activities unintentionally.
To address this, you need to comply with local laws and regulations, avoid monitoring sensitive zones like restrooms or private residences, and implement clear signage informing people of surveillance.
Balancing coverage with privacy guarantees ethical use and reduces legal risks associated with intrusive monitoring.
How Does Infrared Lighting Impact Night Vision Quality in Dome Cameras?
Infrared lighting greatly improves your dome camera’s night vision quality by illuminating scenes invisible to the naked eye.
However, you’ll need to balance IR intensity and placement to avoid glare or reflection on dome covers, which can degrade image clarity.
Excessive IR can cause overexposure nearby while distant areas remain dark. Proper IR LED range and angle adjustments guarantee consistent, detailed night surveillance without compromising image quality.
Improve Coverage With Better Camera Placement
When setting up dome camera coverage, you’ll want to strike the perfect balance between wide visibility and image detail. Don’t bite off more than you can chew.
Understanding lens focal length, mounting positions, and environmental factors is critical for ideal surveillance. After installation, always test and adjust coverage to guarantee no blind spots remain.
With precise planning and ongoing calibration, you’ll maximize security effectiveness and get the most out of your dome camera system.