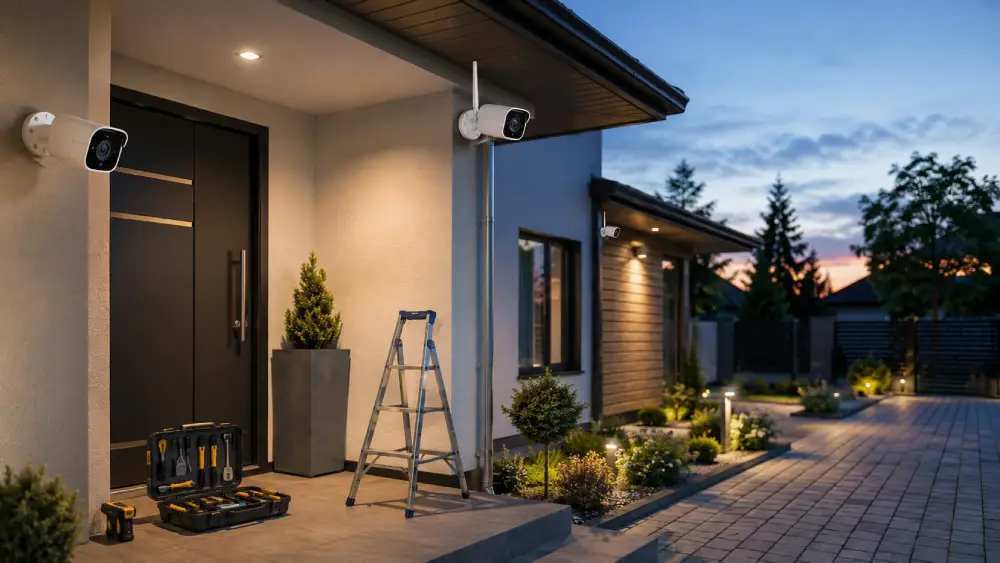

To set up wireless security cameras, first map your critical areas and position cameras at least seven feet high to minimize blind spots.
Make certain cameras have stable power and strong 2.4 GHz Wi-Fi coverage. Ideally, place them near the router during setup.
Mount securely using manufacturer templates and seal outdoor mounts to prevent moisture damage.
Pair cameras via the app, configure motion detection zones to reduce false alerts, and test video quality and alerts thoroughly.
For detailed steps and troubleshooting, keep exploring the setup process.
Key Takeaways
- Position cameras at least seven feet high with clear views, minimizing blind spots and glare for optimal coverage and image quality.
- Place cameras close to the Wi-Fi router during initial setup to ensure strong, stable wireless connection and smooth pairing.
- Download the manufacturer’s app, create an account, and accurately input Wi-Fi credentials to pair cameras securely.
- Test live video, night vision, and motion alerts during setup, adjusting camera angles and sensitivity to reduce false alarms.
- Securely mount cameras using the provided template, seal outdoor cable entries, and verify network and power reliability before finalizing installation.
Plan Your Camera Coverage for Maximum Security
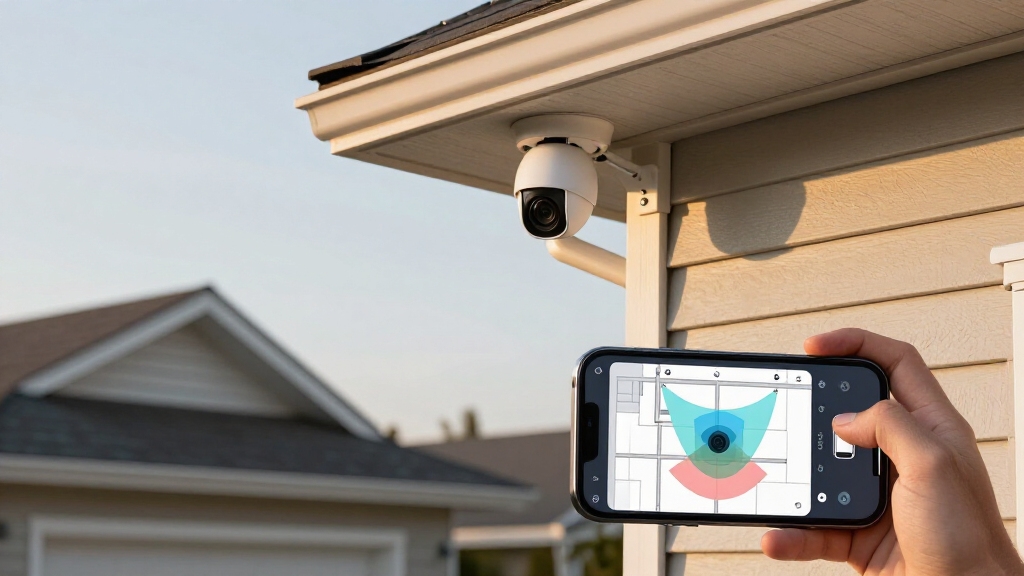
When planning your camera coverage for maximum security, start by mapping all critical areas such as entry points, driveways, windows, garages, and side yards.
You’ll want to select angles that minimize blind spots and reduce glare from sunlight or porch lights.
Position cameras at least seven feet high to deter tampering and guarantee a broad, clear field of view.
Before drilling, verify coverage by simulating the camera’s perspective to confirm all key zones are visible.
Use the manufacturer’s mounting template for precise screw hole placement and alignment.
For outdoor cameras, mounting them 8–10 feet high with a slight downward angle enhances field of view and reduces vandalism risk.
Choose the Right Power and Connectivity Options
Picking the right power source and connectivity setup guarantees your wireless security cameras function reliably without interruptions.
First, identify if your camera uses battery power, USB-C, DC power, or Power over Ethernet (PoE).
For DC-powered models, place cameras near accessible AC outlets to maintain continuous power.
Always charge or connect power before initiating setup to prevent failure.
Check that your camera and router are within dependable wireless range. Signal issues cause dropped connections.
Some cameras require an initial wired Ethernet connection for setup; verify this in the manual.
For battery-operated cameras, confirm battery life suits your monitoring needs and plan for timely replacements or recharging.
Ensuring appropriate power and stable connectivity is essential for uninterrupted surveillance and successful camera operation.
Combining solar panels with rechargeable battery backups can provide continuous operation even during low sunlight or power outages.
Prepare Your Home Network for Wireless Cameras
To guarantee seamless operation of your wireless security cameras, start by optimizing your home network settings. Use a dedicated Wi-Fi network secured with a strong password and updated router firmware to prevent unauthorized access.
Since most cameras connect via 2.4 GHz Wi-Fi, make sure your router broadcasts this frequency effectively. Position your router or access points strategically to provide strong signal strength at all camera locations.
Rename each camera device during setup for easier identification in your management app. If you’re using an NVR system, connect the recorder to power and display before pairing cameras.
- Use a dedicated, secured Wi-Fi network
- Confirm 2.4 GHz band availability and strength
- Place router/access points near camera zones
- Rename devices during setup for clarity
- Power and connect NVR before camera pairing
Additionally, consider implementing motion-triggered recording to conserve storage and extend the retention period of your footage.
Mount the Camera Properly and Securely
After ensuring your network provides reliable connectivity at camera locations, focus on mounting the camera securely for peak performance.
Start by mapping key coverage points like entryways and driveways, aiming to eliminate blind spots and glare.
Position the camera at least 7 feet high to deter tampering. Confirm the field of view captures your target area before drilling.
Use the manufacturer’s mounting template to mark holes accurately. Secure the bracket firmly with pilot holes if necessary, ensuring stability against wind or vibrations.
For outdoor setups, seal all cable entries and exposed mounting points to prevent moisture ingress.
If drilling isn’t feasible, consider adhesive mounts compatible with your device.
Test the camera angle and wireless signal before finalizing the installation to guarantee optimal coverage and connectivity.
Ensure that mounting does not obstruct or interfere with any nearby fire extinguisher signage to maintain clear emergency access and compliance with safety standards.
Connect and Pair Your Camera With the App
Begin by downloading the manufacturer’s app on your smartphone or tablet, ensuring compatibility with your device. Next, create or log in to your account to enable camera management.
Then, scan the QR code on the camera or enter its unique device ID to initiate pairing. Input your Wi-Fi credentials carefully to allow the camera to join your network seamlessly.
Finally, complete device initialization by setting up a password or other required security measures.
Key steps to connect and pair your camera:
- Download and install the manufacturer’s app
- Create or sign in to your user account
- Scan QR code or input device UID
- Enter Wi-Fi SSID and password accurately
- Finalize setup with device security configuration
This method guarantees a secure, stable connection for live monitoring. It is important to verify Wi‑Fi signal strength at the camera location to prevent connectivity issues and optimize performance.
Adjust Camera Angles Based on Live Feedback
Once your camera is successfully paired with the app and connected to your network, you can fine-tune its positioning by observing the live video feed.
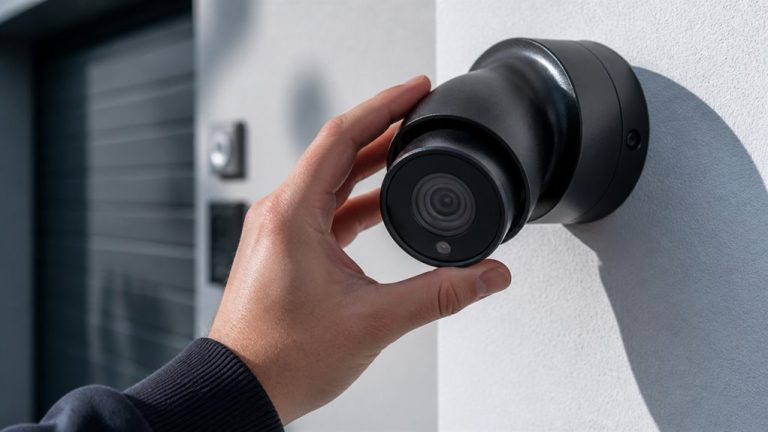
Use the app’s real-time display to identify blind spots, glare, or obstructions in the field of view. Adjust the camera angle by loosening the mount screws and slowly rotating or tilting the device.
Aim for a high vantage point, around 7 feet, to maximize coverage and deter tampering. Confirm the camera covers critical areas like entry points and driveways without capturing irrelevant zones.
Continuously monitor the feed while adjusting to guarantee peak clarity and all-inclusive surveillance. Once satisfied with the angle, securely tighten the mounting hardware to lock the position.
This iterative, feedback-driven process ensures your camera captures the desired coverage effectively.
Set Motion Detection Zones to Reduce False Alerts
When configuring your wireless security camera, setting motion detection zones is essential to minimize false alerts triggered by irrelevant movements such as passing cars, swaying trees, or animals.
Defining specific detection areas helps the system focus on critical regions like entry points or pathways. This improves alert accuracy and reduces unnecessary notifications. You should:
- Access the camera’s app or web interface to customize motion zones.
- Use the grid or polygon tool to draw precise detection boundaries.
- Exclude busy backgrounds like roads or tree branches.
- Adjust sensitivity levels within zones for peak detection.
- Test the zones by simulating motion to verify alert relevance.
Test Video Quality, Night Vision, and Alerts
After setting up motion detection zones to minimize false alerts, you should verify the camera’s video quality, night vision capability, and alert responsiveness.
Start by reviewing the live feed in various lighting conditions, checking for clarity, sharpness, and color accuracy.
Test night vision by dimming lights or waiting for dusk. Make sure infrared LEDs activate and produce a clear monochrome image without excessive glare or noise.
Trigger motion events within the detection zones to confirm alert delivery speed and reliability through the app or email notifications.
Note any delays or missed alerts, adjusting sensitivity settings if necessary.
Fine-tune the camera angle based on real-time video feedback to eliminate blind spots.
Complete this testing before finalizing the installation to guarantee peak surveillance performance.
Ensure cameras are positioned to avoid glare and obstructions for optimal image clarity and reliability during testing of video quality.
Protect Your Camera System With Passwords and Updates
Although setting up your wireless security cameras provides essential surveillance, protecting your system with strong passwords and regular updates is crucial to prevent unauthorized access and maintain peak performance.
Start by replacing default passwords with complex, unique ones for each device and your app account. Enable two-factor authentication if available.
Regularly check for firmware and app updates to patch vulnerabilities and improve functionality. Disable remote access if you don’t need it, and monitor login activity for suspicious behavior.
- Choose strong, unique passwords with a mix of characters
- Update camera firmware promptly when notified
- Keep your app and router software current
- Disable unnecessary remote or guest access
- Regularly review security settings and logs
This approach guarantees your system remains secure and efficient over time. Additionally, enabling HTTPS or RTSPS ensures encrypted communication between your cameras and devices, enhancing data security.
Fix Common Wireless Camera Issues Quickly
Maintaining strong passwords and up-to-date firmware markedly reduces security risks. However, wireless cameras can still encounter operational issues.
Strong passwords and updated firmware enhance security, yet wireless cameras may still face operational challenges.
If your camera fails to connect, first verify the power supply and Wi-Fi range. Make sure the router broadcasts on the 2.4 GHz band, as many cameras don’t support 5 GHz.
Check for interference from walls or electronic devices that may weaken signal strength. When video lags or freezes, reboot the camera and router to clear temporary glitches.
If motion alerts flood your device, adjust detection zones to exclude irrelevant areas like roads or trees. Finally, confirm the camera’s firmware and app are current.
Outdated software often causes instability. By systematically troubleshooting these factors, you’ll resolve most common wireless camera problems quickly and maintain reliable security coverage.
Also, placing the camera close to the Wi-Fi router during initial setup ensures a stable pairing connection and smoother network integration.
Frequently Asked Questions
Can Wireless Cameras Work Without an Internet Connection?
Wireless cameras can work without an internet connection, but functionality is limited.
You’ll still get local video recording if the camera supports onboard storage like an SD card or connects to a local NVR system.
However, remote viewing, alerts, and cloud storage require internet access.
Make sure your setup allows direct local access via Wi-Fi or Ethernet to view footage onsite, since internet-dependent features won’t function without a connection.
How Long Does Battery Life Typically Last on Wireless Cameras?
Battery life on wireless cameras typically lasts from 3 months up to a year, depending on usage and model. If you enable frequent motion detection or continuous recording, expect shorter life spans closer to 1–3 months.
Cameras on standby with occasional activity may stretch toward 6–12 months. Factors like video resolution, night vision use, and wireless signal strength also impact battery drain. Always monitor battery status via the app to plan timely recharges or replacements.
Are Wireless Security Cameras Compatible With Smart Home Systems?
Yes, wireless security cameras are often compatible with popular smart home systems like Amazon Alexa, Google Assistant, and Apple HomeKit.
You can integrate them to view live feeds or receive alerts via voice commands and apps. Check the manufacturer’s specifications to confirm compatibility and required apps.
Proper setup guarantees seamless operation within your smart home ecosystem. This lets you control cameras alongside other devices for enhanced security and convenience.
What Are the Best Practices for Camera Privacy in Shared Spaces?
Of course, you definitely want to record every private conversation in shared spaces. Said no one ever.
To respect privacy, position cameras only in common areas, avoiding bedrooms or bathrooms. Use masking features or set motion zones to exclude sensitive zones.
Inform all occupants about camera locations and usage. Regularly update firmware to prevent unauthorized access.
Transparency and precise configuration guarantee security without crossing privacy lines in shared environments.
How Do I Securely Dispose of or Recycle Old Security Cameras?
To securely dispose of or recycle old security cameras, first delete all stored footage and reset the device to factory settings to erase personal data.
Remove batteries and electronic components separately, following local e-waste regulations.
Take the camera to a certified electronics recycler or return it to the manufacturer’s take-back program if available.
Avoid tossing cameras in regular trash to prevent data leaks and environmental harm from hazardous materials.
Final Thoughts on How to Setup Wireless Security Cameras
Setting up wireless security cameras is essential for protecting your home effectively. Did you know 60% of burglars avoid homes with visible security cameras?
By planning coverage, securing your network, and properly mounting cameras, you maximize safety.
Don’t forget to configure motion zones and keep firmware updated to minimize false alerts and vulnerabilities.
With these precise steps, you’ll enhance your system’s reliability and guarantee continuous, high-quality monitoring for peace of mind.
[…] uniformity that you won’t usually find in smaller, independently operated gas stations. Ensuring regular maintenance and precise configuration of security cameras can help these stations optimize storage and footage […]