
To install an alarm system, start by mapping your layout and marking vulnerable spots.
Mount sensors firmly at ideal heights and angles, keeping wires concealed and secured with proper hardware to prevent tampering.
Position the control panel centrally near power and network sources, then sync and program your devices, assigning unique passcodes.
Calibrate sensor sensitivity carefully to avoid false alarms.
Finish with thorough testing of every sensor and trigger to guarantee reliable operation.
Below, you’ll find detailed steps to enhance your system’s security and performance.
Key Takeaways
- Plan sensor locations to cover vulnerable entry points and avoid false alarms by positioning motion detectors and contacts properly.
- Mount the main control panel securely on a solid wall near a reliable power outlet and central to wiring runs.
- Conceal and protect wiring by routing cables through walls or floors, securing with clamps and avoiding heat sources.
- Install sensors firmly with manufacturer screws, maintain correct magnet gaps, and adjust sensitivity to balance detection and false alarms.
- Synchronize all components with the control panel, then thoroughly test and document settings for ongoing maintenance.
Plan Your Alarm System Layout and Identify Vulnerable Areas
Before you start installing your alarm system, you need to plan the layout carefully and identify all vulnerable areas in your home.
Begin by measuring your house dimensions and drafting a floor plan, marking every door, window, garage, and zones requiring specific protection.
Pinpoint high-risk areas such as safes or unmonitored entry points that demand additional sensors.
Choose a central, secure, yet accessible spot for the main control panel to guarantee operational efficiency while preventing intruder access.
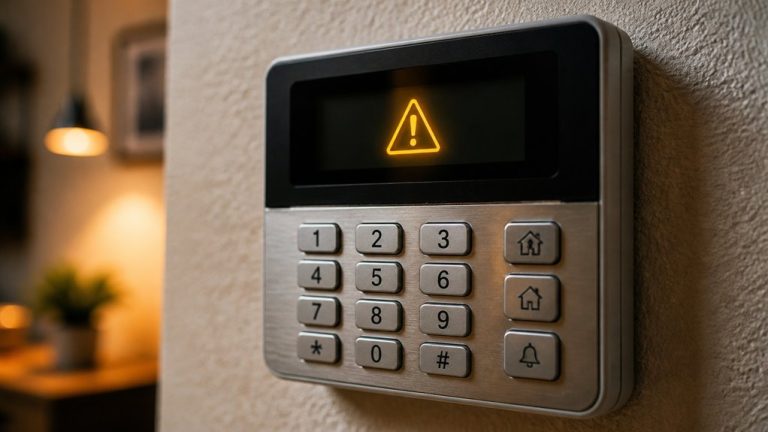
Position the keypad near the front door at arm’s length height for quick activation.
Plan the audible siren location outside or facing a window to maximize sound projection.
This systematic approach assures thorough coverage and optimizes your alarm system’s effectiveness from the outset.
Ensure the control panel is installed near a reliable grounded electrical outlet to maintain stable power supply and minimize voltage drop.
Mount and Wire Alarm Components Securely to Prevent Tampering
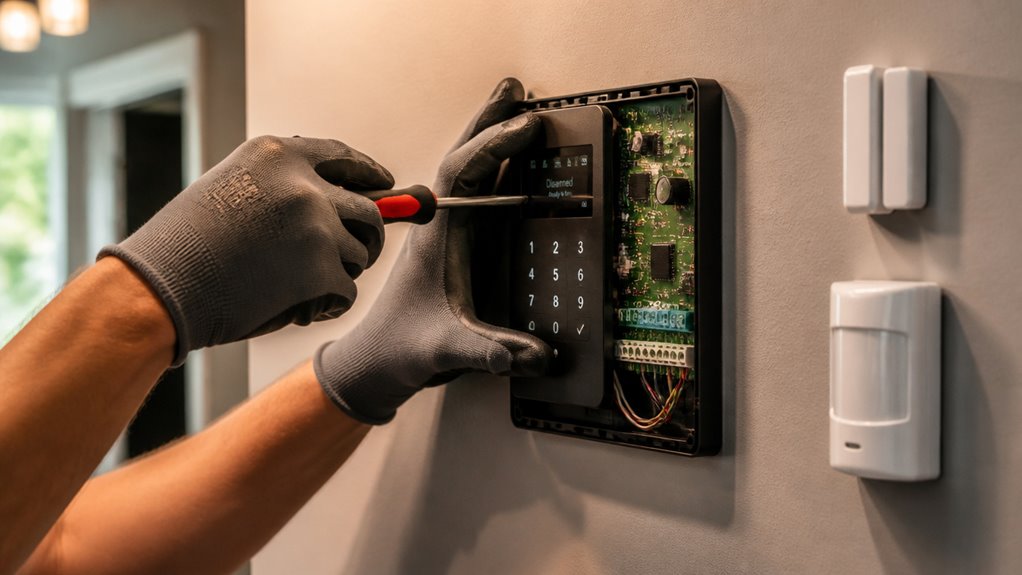
To keep everything safe, start by mounting the control panel securely with the screws provided by the manufacturer. This way, it can’t be easily removed by someone unauthorized.
Next, let’s talk about the wiring. It’s a good idea to hide those cables by running them behind walls or under floors. Make sure to secure them well to prevent any exposure or tampering.
Lastly, when you’re attaching the sensors, do it carefully at the designated spots. This will ensure they trigger reliably while still allowing for normal use without any obstructions.
For wired sensors, be sure to secure terminals and insulate wires properly to prevent shorts and maintain reliable connections.
Secure Control Panel Installation
Although mounting the control panel securely is critical, guaranteeing its wiring remains hidden and tamper-proof is equally important.
You need to fasten the panel firmly with manufacturer-provided screws into a solid wall area, avoiding drywall alone.
Next, conceal wiring by routing cables through drilled holes behind the panel, preventing direct access. Secure cables with clamps or conduits to minimize movement and reduce exposure to damage or tampering.
Attach the control panel at a height allowing easy access but away from obvious intrusion points. Use wire spiking and insulation to avoid loose strands and electrical faults. Position the panel centrally for optimal wiring runs from sensors and power without excessive slack.
Following these steps will guarantee your control panel installation is robust and resistant to tampering. For consistent communication, ensure the control panel is placed with strong network coverage to maintain reliable connectivity with sensors and the base station.
Conceal And Protect Wiring
Securing the control panel sets the foundation, but safeguarding the wiring that connects all alarm components is equally important to guarantee system integrity.
Begin by routing wires through drilled holes behind walls or beneath floors to keep them out of sight and inaccessible.
Use manufacturer-approved screws and clips to fasten cables firmly, preventing slack or movement that could cause damage or detection.
At connection points, strip wires cleanly and splice strands tightly to avoid electrical faults.
Avoid running wires near heat sources or sharp edges to reduce wear risk.
Conceal wiring in conduits where possible to add a physical barrier against tampering.
Maintain clear labeling for each wire to facilitate troubleshooting without compromising concealment.
Properly mounted and protected wiring guarantees reliable system function and resists intruder interference.
Always verify that wires are de-energized before handling to ensure electrical safety during installation.
Proper Sensor Attachment
Mount alarm sensors firmly in designated positions to guarantee reliable operation and prevent tampering. Secure mounting guarantees sensors remain stable and aligned, avoiding false alarms and maintaining detection accuracy.
Follow these key steps:
Use manufacturer-supplied screws to fasten sensors on solid surfaces, avoiding adhesive-only methods that weaken over time.
Route wiring discreetly through drilled holes and secure cables with clamps or conduit to prevent exposure and interference.
Position sensors where they don’t obstruct normal use but activate immediately upon unauthorized entry, such as door frames or window edges.
For wiring, strip wires cleanly at connections and crimp or solder joints to maintain solid electrical contact. Double-check sensor alignment and wiring integrity before finalizing installation to guarantee continuous, tamper-resistant protection.
Ensure the magnet-to-sensor gap is maintained within the recommended 10–25 mm sensing distance to prevent false alarms and ensure accurate detection.
Position and Calibrate Alarm System Sensors for Best Detection
When setting up your motion sensors, it’s a good idea to place them at least six feet high in the corners of your rooms. Angling them toward entry points will help you get the best coverage.
Next, you’ll want to take some time to adjust each sensor’s sensitivity. This step is crucial because it helps eliminate any blind spots while also reducing the chance of false alarms caused by pets or other environmental factors.
For enhanced security, remember that motion detectors rely on detecting active movement and may require continuous motion to stay triggered.
Optimal Sensor Placement
Properly positioning and calibrating your alarm system sensors is essential to guarantee reliable detection and minimize false alarms. Start by mounting motion sensors at least 6 feet high in corners or hallways to maximize coverage. Angle them toward entry points to detect intruders early.
Place door and window contacts where they won’t interfere with normal use but will trigger instantly upon opening.
Consider these placement guidelines:
Mount sensors away from heat sources and vents to avoid false triggers. Make certain sensors cover all vulnerable areas, including safes and unmonitored entry points. Use overlapping sensor fields to eliminate detection gaps.
Additionally, integrating sensors with smart home platforms can enhance monitoring and response efficiency.
Following these precise placement strategies will optimize your system’s effectiveness, providing thorough coverage while reducing the chance of nuisance alarms.
Sensor Sensitivity Adjustment
Adjusting the sensitivity of your alarm system sensors is crucial to balancing effective detection with minimizing false alarms.
Begin by locating the sensitivity control, usually a small dial or switch on the sensor unit. Set the sensitivity to a mid-range level initially.
Conduct a controlled test by moving within the detection zone to verify reliable triggering.
Increase sensitivity incrementally if detection gaps appear, particularly in vulnerable zones like doorways.
Conversely, reduce sensitivity if environmental factors, such as pets or HVAC airflow, cause false alarms.
After adjustments, perform a thorough walk test to guarantee consistent coverage without unwanted activations.
Document the final sensitivity settings for future reference.
Regularly recalibrate sensors to accommodate changes in room layout or furniture placement, maintaining peak system performance over time.
Using custom detection zones and sensitivity settings helps focus alerts on critical areas and reduces unnecessary notifications.
Sync and Program Your Alarm System Controls and Keypad
Before completing the installation, bring each security component close to the main control panel to initiate synchronization. This proximity allows the system to recognize and pair wireless sensors accurately.
Next, follow the manufacturer’s instructions to press specific buttons on the control panel, linking detectors, keypads, and cameras efficiently.
When programming your keypad, focus on these essential steps:
Input a unique passcode for manual arming and disarming, ensuring secure access.
Configure remote operation features, such as key fobs or smartphone apps, for convenient control.
Assign system notifications for alerts, enabling real-time monitoring and prompt response.
It is also important to write down new master and installer codes and store them securely to prevent lockout during future system management.
Test Every Alarm System Sensor and Trigger Thoroughly
Begin by conducting thorough walk tests for every sensor and trigger installed in your alarm system. Move systematically through each protected zone, activating motion detectors by walking within their range and opening doors and windows individually to engage contact sensors.
Verify that each sensor’s signal promptly registers on the main control panel. Test glass break sensors by simulating breakage sounds if applicable. For wired components, inspect connections for secure attachment and absence of loose strands.
Trigger audible sirens to confirm sound projection and volume adequacy. Validate system silence and reset functions to confirm proper alarm cycle control. Finally, send test alerts to your monitoring service, verifying receipt and response.
Document any sensor or trigger failures immediately for adjustment or replacement before proceeding to final installation steps. Ensuring strong connection stability is crucial for reliable alarm performance, especially for wired systems.
Finish Installation and Maintain Your Alarm System for Reliability
Consistently securing the main control panel to its mounting surface guarantees the foundation of your system’s stability and protection. After confirming every component functions properly, firmly mount the panel using manufacturer-supplied hardware to prevent movement or tampering.
Replace backup batteries regularly to ensure uninterrupted power during outages. Integrate your alarm system with a smartphone app for real-time monitoring and control.
To maintain reliability, follow these key steps:
Perform routine inspections of sensors, wiring, and backup power monthly to identify wear or faults early. Test alarm triggers systematically, including door/window contacts and motion detectors, to verify responsiveness.
Clean sensors and cameras gently to avoid signal interference and maintain clear video feeds. Adhering to these practices ensures your alarm system remains fully operational and dependable over time.
Frequently Asked Questions
Can I Install the Alarm System Myself or Should I Hire a Professional?
You can install the alarm system yourself if you have basic technical skills and follow detailed instructions carefully. However, it requires precise planning, secure mounting, and proper wiring.
You’ll also need to calibrate the sensors, sync the devices, and conduct thorough testing. If you’re unsure about any step or want professional-grade reliability, hiring a certified technician guarantees proper configuration.
This approach avoids installation errors and provides post-installation support. Choose based on your confidence and the system’s complexity.
How Do I Integrate the Alarm System With Existing Smart Home Devices?
Over 60% of smart home users prefer integrated security systems.
To integrate your alarm system with existing devices, first verify compatibility with your smart home hub, like Alexa or Google Home.
Connect the alarm’s control panel to your Wi-Fi network, then sync sensors and cameras via the hub’s app.
Configure automation rules, such as arming the alarm when you leave or triggering lights on an alert.
Always test integration thoroughly for seamless operation.
What Should I Do if My Alarm System Triggers False Alarms Frequently?
If your alarm system triggers false alarms frequently, first recalibrate your sensors to adjust sensitivity, especially motion detectors.
Check for environmental factors like pets, drafts, or moving objects causing triggers.
Inspect all contacts and wiring for loose connections or damage.
Reposition sensors to avoid direct sunlight or heavy traffic areas.
Finally, update your system’s firmware and test thoroughly to confirm false alarms are minimized before regular use.
How Long Does the Battery Typically Last in Wireless Alarm Components?
You can expect wireless alarm component batteries to last between 1 to 3 years, depending on usage and battery type.
Devices like motion sensors or door contacts consume minimal power, extending battery life.
To maintain peak performance, regularly check battery status via your system’s app or control panel.
Replace batteries proactively before they fully drain.
Using high-quality lithium batteries can also improve longevity and reliability.
Are There Any Legal Requirements for Installing Alarm Systems in My Area?
Think of installing an alarm system like building a fortress; local laws are your blueprint.
You’ll need to check municipal regulations, as many areas require permits or adherence to specific codes regarding noise levels, monitoring services, and installation standards.
Violating these can trigger fines or disable your system.
Contact your local authorities or a licensed installer to make certain your setup complies fully, protecting both your home and your legal standing.
Secure Your Property with the Right Alarm Setup
By carefully following these steps, you’ll enhance your security system’s effectiveness.
Did you know that properly installed alarm systems reduce burglary risk by up to 60%? This statistic highlights the importance of precise sensor placement and secure wiring.
Make sure to test each component thoroughly and maintain your system regularly to guarantee consistent performance.
With methodical planning and execution, your alarm system will reliably protect your property against potential threats.