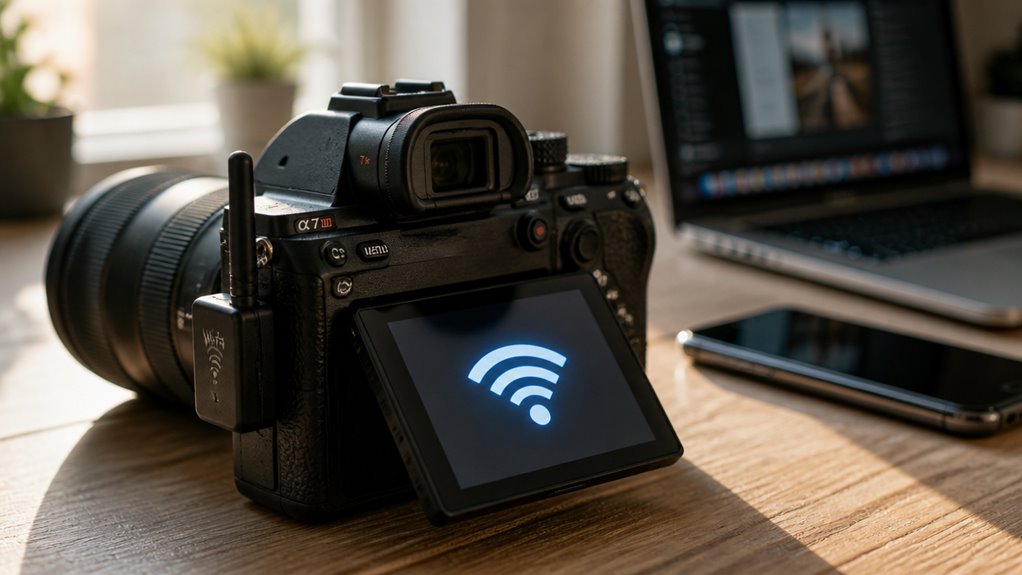

To connect your camera to Wi-Fi, first confirm it supports 2.4GHz networks and verify your Wi-Fi password and SSID are correct.
Power on the camera near your router for a strong signal and activate pairing mode.
Use the official app to select your camera model, choose a connection method like QR-code or hotspot setup, and enter your network credentials.
After pairing, confirm live streaming works. If issues persist, checking signal strength and resetting the device helps.
For detailed setup guidance and troubleshooting, continue exploring setup best practices.
Key Takeaways
- Verify the camera supports 2.4GHz Wi-Fi and confirm the exact SSID and password before setup.
- Position the camera near the router for a strong, stable Wi-Fi signal during the entire setup process.
- Use the official manufacturer’s app to add the camera, following on-screen instructions for pairing and connection.
- Ensure the camera is in pairing mode and reset it if it’s not discoverable by the app.
- Confirm live video streaming through the app to verify successful Wi-Fi connection and troubleshoot if needed.
Make Sure Your Camera and Wi‑Fi Are Ready
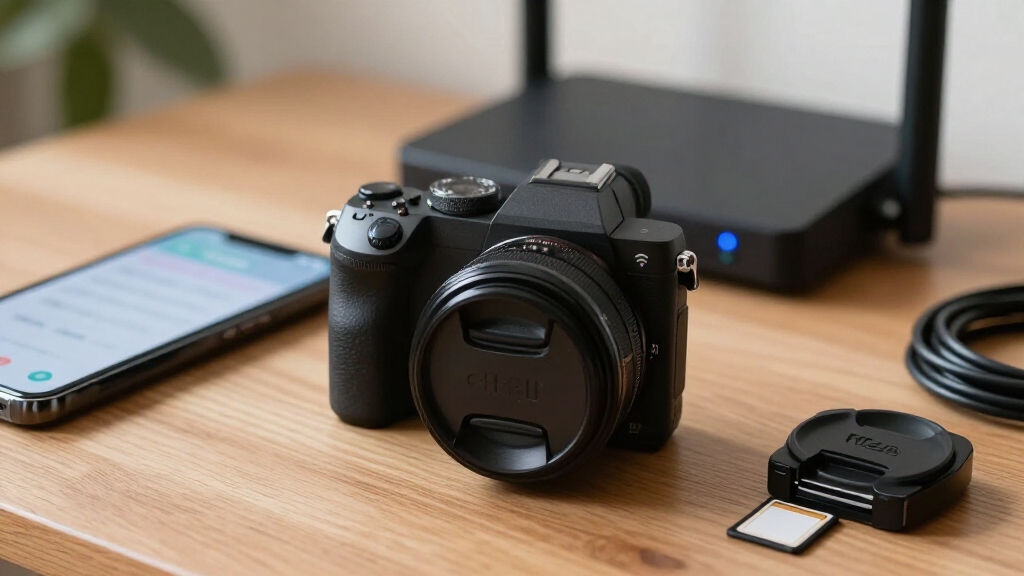
Before you start connecting your camera to Wi-Fi, have you confirmed that your camera supports wireless setup?
Check the user manual or the manufacturer’s app to verify compatibility with Wi-Fi configuration methods such as QR code scanning, hotspot connection, or web interface access.
Next, verify your network’s frequency band; most security cameras require 2.4GHz, not 5GHz.
Gather your Wi-Fi SSID and password exactly as configured on your router to avoid authentication errors.
Make sure your camera remains powered on throughout the setup.
Use only the official app or setup portal matching your camera model for a guided, error-free workflow.
These preparatory steps optimize connection success and prevent common issues during wireless configuration.
Place the camera near the router during initial setup to ensure a stable wireless connection and smooth pairing process.
Connect Your Camera Physically and Prepare for Pairing
Start by positioning your camera close to your router to guarantee a stable signal during the initial setup.
Position your camera near the router to ensure a strong and stable connection during setup.
If your camera supports Ethernet, connect it directly to the router using a network cable to ascertain reliable communication.
Power on the device and wait for the boot process to complete before proceeding.
For cameras requiring direct connection to a computer or PoE switch, establish that link now to access configuration settings.
Avoid moving the camera until the initial wireless setup finishes.
If the camera was previously used or is unresponsive, perform a factory reset to clear old settings and enable discoverability.
Keep the camera powered throughout this phase.
Once the physical connection is established and the device is ready, you can proceed to pair it with your network via the designated app or interface.
It is important to verify that the camera receives an IP address via DHCP to enable proper network communication before finalizing the setup.
Choose a Wi‑Fi Connection Method for Your Camera
When setting up your camera’s Wi-Fi connection, you’ll need to pick the method that matches your device and network environment.
Different models support distinct connection techniques, so identify which suits your camera’s capabilities and your router’s setup before proceeding.
Common connection methods include:
- QR-code setup: The camera scans a QR code generated by the manufacturer’s app to join the network automatically.
- Hotspot setup: Your phone connects to a temporary camera hotspot, allowing you to enter your home Wi-Fi credentials manually.
- Manual setup: You access the camera’s web interface or menu to input the SSID and password directly.
Choose the method that aligns with your camera’s specifications and your technical comfort level.
Ensure compatibility with your Wi-Fi band and security protocols.
Use the eufySecurity app to verify Wi‑Fi signal strength and optimize camera placement for a stable connection.
Use the Manufacturer’s App to Pair Your Camera With Wi‑Fi
After selecting the appropriate Wi-Fi connection method for your camera, you’ll typically use the manufacturer’s app to establish the wireless link.
First, download and install the official app on your mobile device. Launch it and sign in or create an account if required.
Begin by installing the official app on your device, then sign in or create a new account if needed.
Navigate to the “Add Device” or similar option, then select your camera model and preferred pairing method as prompted.
The app will either scan for the camera on the network or generate a setup code, depending on the model. Follow the on-screen instructions carefully to initiate the pairing process.
Make sure your camera is powered on and close to the router. Maintain device proximity until the app confirms successful pairing to avoid interruption during this critical setup phase.
For many Wyze models, firmware updates can be managed through the app to ensure optimal performance and security during setup, enhancing device compatibility.
Select Your Wi‑Fi Network and Enter Your Password
Pick your home Wi-Fi network from the list of available SSIDs displayed in the app or camera interface. Make sure you select the correct network to maintain security and connectivity.
When prompted, enter your Wi-Fi password exactly as it appears on your router, respecting case sensitivity and special characters.
Confirm the selected SSID matches your router’s network name. Input the password carefully, avoiding extra spaces or typos.
Verify if the camera requires specific security settings such as WPA2 during entry.
Accurate selection and password input are critical. This step lets your camera authenticate with your router and establishes the wireless link necessary for live streaming and remote access.
Don’t proceed until you’ve double-checked these details for a smooth connection setup.
Additionally, ensure your camera is placed at the recommended mounting height with a clear line of sight to maintain a stable signal quality.
Verify Connection and Troubleshoot Common Setup Issues
After you connect your camera to Wi-Fi, the first thing you want to do is check that live video streaming is working through the app. This way, you can be sure the device is online. If it’s not working, don’t worry!
Just double-check the password, make sure the Wi-Fi band is compatible, and look at the signal strength.
If you’re still having trouble, try repeating the pairing process. Sometimes, a fresh start can do wonders!
And if that doesn’t help, you might want to consider performing a factory reset to get everything back to default settings.
Also, be aware that weak WiFi signals caused by distance or interference can lead to video loss, so ensure your camera is within good signal range.
Confirm Live Video Streaming
Begin by accessing the camera’s live video feed through the manufacturer’s app or web interface to verify a successful Wi-Fi connection.
Confirm the video stream loads smoothly without lag or interruptions, indicating stable network communication.
Check the following to guarantee proper streaming:
- Clear, real-time video display confirming data transmission.
- Responsive app controls such as zoom, pan, or snapshot functions.
- Consistent frame rate and resolution matching your camera’s specifications.
If you notice delayed video or frozen frames, verify signal strength and ensure the camera is connected to the correct SSID.
Also, confirm no network congestion or firewall settings block streaming ports.
This methodical verification guarantees your camera operates correctly on Wi-Fi before moving on to advanced troubleshooting or remote access testing.
For optimal network performance, it is important to configure network settings properly to prevent connection issues.
Resolve Connection Failures
Diagnose connection failures by systematically verifying your camera’s network settings and environment. Start by confirming the Wi-Fi password accuracy and that the camera supports your router’s 2.4GHz band.
Check signal strength; weak signals cause dropped connections. If the camera doesn’t appear in the app, reset it and repeat pairing. Make sure the camera uses the correct security protocol and connects to the intended SSID, not a guest or public network. Using efficient compression can also help optimize network bandwidth for smoother streaming.
| Issue | Solution |
|---|---|
| Incorrect Password | Re-enter exact Wi-Fi password |
| Weak Signal | Move camera closer to the router |
| Camera Not Discoverable | Reset device, enable Wi-Fi, retry |
Follow these steps methodically to resolve common setup issues and maintain stable connectivity.
Frequently Asked Questions
Can I Connect Multiple Cameras to One Wi‑Fi Network?
Yes, you can connect multiple cameras to one Wi-Fi network, provided your router supports enough devices simultaneously without performance drops.
Make sure each camera is compatible with the same Wi-Fi frequency band, typically 2.4GHz for security cameras. Assign unique identifiers or names during setup to manage them easily via the app.
Monitor bandwidth usage to avoid network congestion.
Keep cameras within strong signal range to maintain stable connections and smooth streaming.
How Do I Update My Camera’s Firmware After Setup?
Think of updating your camera’s firmware like tuning a precision instrument: it guarantees everything runs smoothly.
Open the manufacturer’s app, navigate to the camera settings, and find the firmware update section.
Check for available updates, then download and install them while keeping the camera powered and connected. Don’t interrupt the process.
Once completed, verify functionality by testing the live video feed to confirm the update succeeded.
What Should I Do if My Camera Overheats During Operation?
If your camera overheats during operation, immediately power it off and unplug it.
Make certain it’s positioned in a well-ventilated area away from direct sunlight or heat sources.
Check for firmware updates to fix potential thermal management bugs.
Clean dust or debris from vents.
Avoid running intensive features continuously.
If overheating persists, contact the manufacturer for support or consider using an external cooling solution to maintain safe operating temperatures.
Can I Use a Wi‑Fi Extender to Improve Camera Signal?
Yes, you can use a Wi-Fi extender to improve your camera’s signal, but it’s not a guaranteed fix.
Extenders boost coverage by repeating the router’s signal, which helps if your camera’s too far from the router. However, they may reduce bandwidth and add latency.
Make sure the extender supports the 2.4GHz band if your camera requires it. Position the extender strategically to maintain a strong, stable connection for peak camera performance.
Is It Possible to Connect the Camera to a Guest Wi‑Fi Network?
Yes, you can connect your camera to a guest Wi-Fi network, but you need to make sure the guest network supports device communication and isn’t isolated from your main network.
Many guest networks restrict device access for security, which may prevent remote camera control or streaming.
Confirm the guest network uses the 2.4GHz band if required.
Test connectivity and app access thoroughly, and consider potential network restrictions before finalizing the setup.
Final Thoughts on How to Connect Camera With Wifi
Connecting your camera to Wi-Fi isn’t just a simple step. It’s the gateway to unleashing endless possibilities.
With your camera physically connected and paired using the manufacturer’s app, selecting your network and entering the password becomes second nature.
This process, while seemingly straightforward, is the backbone of seamless, real-time image transfer. Master it precisely, and you’ll never miss a moment, no matter how fast or complex your setup demands.