
You need an electrician to replace your thermostat if it’s a line-voltage system running 120–240 volts or a complex multi-stage or heat pump setup requiring detailed wiring knowledge.
Simple 24-volt low-voltage thermostats allow for DIY replacement if you strictly follow power-off safety and label wiring accurately.
Smart thermostats often demand a continuous power source and precise wiring, increasing complexity.
Understanding these nuances guarantees safe, code-compliant swaps. Explore further to master identifying when professional help is essential.
Key Takeaways
- You don’t need an electrician for simple 24V low-voltage thermostat replacements if wiring is intact and you perform a like-for-like swap.
- Hire a professional for line-voltage thermostats operating at 120V or 240V due to shock and fire hazards.
- Complex systems like multi-stage, heat pumps, or smart thermostats often require expert wiring knowledge and professional installation.
- Always turn off power and verify conductors are de-energized before working on any thermostat wiring for safety.
- Consult a licensed electrician if wiring is damaged, missing, unlabeled, or if local codes and permits apply.
How To Identify Low-Voltage vs Line-Voltage Thermostats?
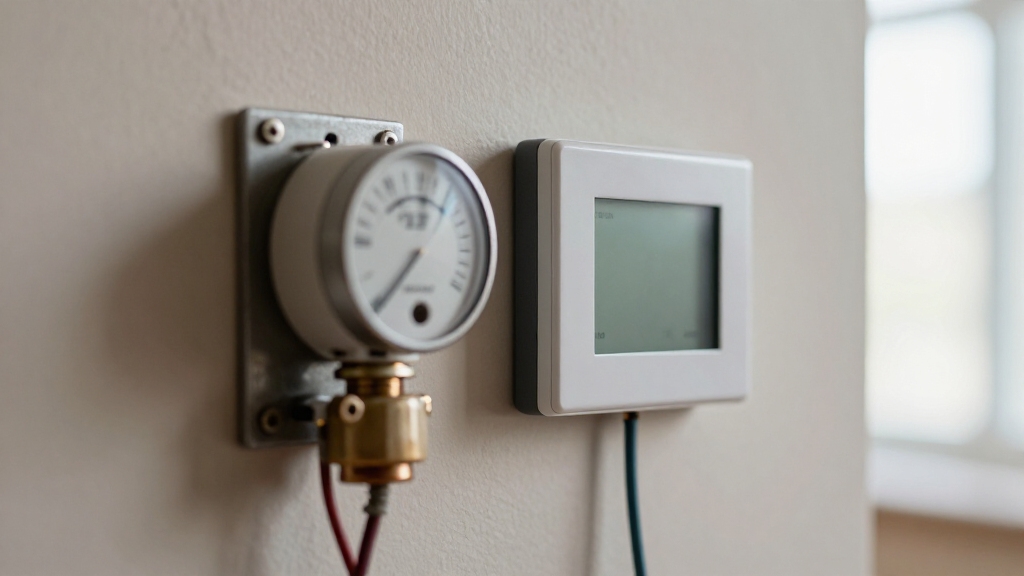
Identifying whether your thermostat operates on low voltage or line voltage is essential before any replacement work.
Knowing if your thermostat uses low or line voltage is crucial before replacing it.
You can start by inspecting the voltage rating on the thermostat itself or the wiring connected to it.
Low-voltage thermostats typically run on 24 volts and use thin, multi-conductor wires often labeled with letters like R, C, W, or Y.
Line-voltage thermostats, common in electric baseboard heating, handle 120 to 240 volts and have thicker wires, usually two or three, without standard HVAC terminal labels.
If the thermostat wiring connects directly to high-voltage power lines or circuit breakers, it’s line voltage.
Confirming this distinction guarantees you apply correct safety protocols and determine whether you can proceed or need professional assistance.
Additionally, power interruptions or voltage fluctuations can affect thermostat operation and may require professional inspection to ensure system safety.
How To Safely Turn Off Power And Prepare For Replacement?
Before you begin replacing your thermostat, you must confirm the power to your HVAC system is completely turned off to prevent electrical shock or damage.
Locate your circuit breaker panel and switch off the breaker controlling your HVAC unit. If your system includes a dedicated furnace or service switch near the unit, turn that off as well.
Use a non-contact voltage tester to verify no live current exists at the thermostat wiring before proceeding.
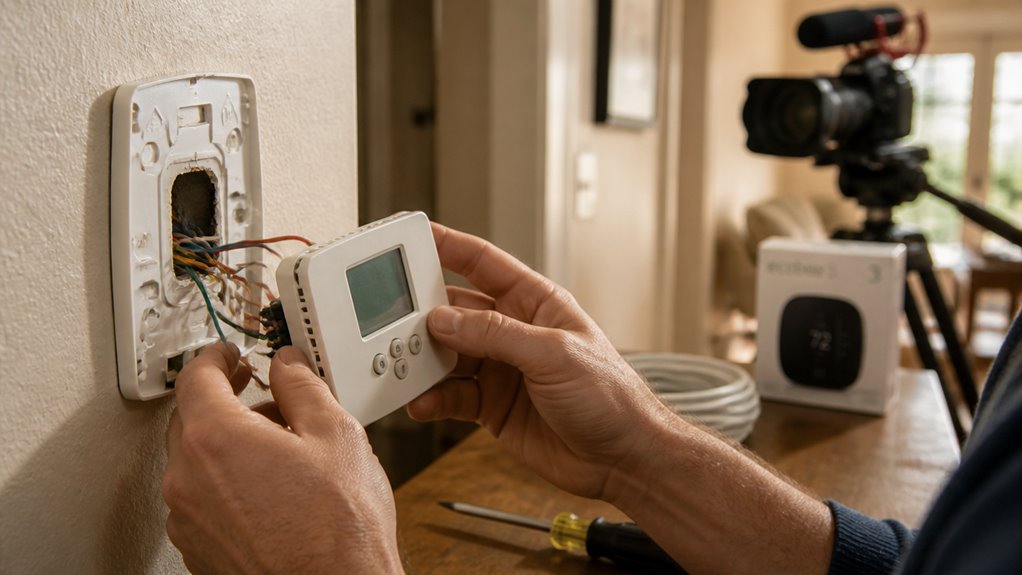
Photograph and label each wire connected to the existing thermostat, ensuring you can accurately replicate connections on the new device.
Keep exposed wire ends separated to avoid shorts. Confirm the new thermostat matches your system’s voltage and configuration.
These steps establish a safe, organized foundation to replace your thermostat without risking injury or equipment harm.
Additionally, understanding how thermostats use electrical switching to control heating and cooling circuits will help ensure proper reconnection during installation.
When You Can Replace A Thermostat Without An Electrician?
You can replace a thermostat without an electrician when your HVAC system uses a standard 24-volt low-voltage control and you’re performing a like-for-like swap. This scenario allows you to handle the replacement confidently by following key technical steps.
Confirm the existing thermostat operates on 24V low voltage.
Turn off power at the breaker and verify the HVAC system is off.
Photograph and label each wire before disconnecting the old thermostat.
Match wires precisely to the new thermostat terminals without altering wiring.
Mount the new thermostat base securely and test the system after restoring power.
Executing these steps carefully guarantees safety and system compatibility, making a professional unnecessary for straightforward low-voltage thermostat swaps. For more complex systems or integration with smart modules, professional installation is recommended to ensure compliance and reliability.
When Smart Thermostat Replacement Needs More Than A Simple Swap?
Although smart thermostats often offer straightforward installation, replacing one can require more than a simple faceplate swap when your HVAC system demands additional wiring or compatibility adjustments.
Smart thermostat installation can be simple, but complex HVAC systems may need extra wiring or compatibility checks.
For instance, many smart models need a common wire (C-wire) to supply continuous power, which older systems may lack. You’ll need to confirm if your existing wiring supports this or if you must install a C-wire adapter or auxiliary transformer.
Additionally, smart thermostats may require separating Rc and Rh terminals or integrating with multi-stage equipment, necessitating precise wiring knowledge.
If your wiring is damaged, mislabeled, or incompatible, or if your system involves line-voltage controls, calling a licensed electrician guarantees proper installation and avoids safety hazards or system damage.
Don’t compromise on compatibility and electrical safety when upgrading to smart technology.
Also, because low thermostat batteries can cause disrupted communication between the thermostat and furnace, ensuring proper wiring and power supply is crucial for reliable heating performance.
Thermostat Replacement Tips For Heat Pump And Multi-Stage Systems
When you’re thinking about replacing a thermostat for your heat pump or multi-stage system, there are a few things to keep in mind. The wiring setups can be pretty complex and definitely differ from those in standard systems. So, it’s crucial to pay attention to how everything is connected.
You’ll want to ensure that the new thermostat is compatible with all the stages of heating and cooling. This means you’ll need to carefully match the terminals and do some system-specific programming. It might sound a bit daunting, but taking the time to get it right can really make a difference.
Because of these challenges, many people find that going with a professional installation is a smart move. It can help minimize the risks of wiring errors and keep your system running smoothly. Plus, it gives you peace of mind knowing that it’s done correctly!
Additionally, understanding the differences between home automation and smart home systems can help you choose a thermostat that fits your desired level of control and connectivity.
Heat Pump Wiring Complexity
Since heat pumps and multi-stage HVAC systems involve more complex wiring than standard setups, replacing their thermostats demands careful attention to compatibility and terminal connections. You must make certain the new thermostat supports reversing valves, auxiliary heat stages, and defrost cycles unique to heat pumps.
Miswiring can cause system malfunction or damage. Key considerations include:
- Identifying and labeling all wires, including O/B, Y1/Y2, AUX, and E terminals.
- Confirming voltage compatibility, usually 24V low-voltage systems.
- Verifying the thermostat supports heat pump-specific features like auxiliary heat.
- Avoiding crossover of Rc and Rh unless the new thermostat requires it.
- Testing the system thoroughly after installation to detect wiring errors.
Due to this complexity, if you’re unsure about wire function or terminal matching, consulting a licensed professional is strongly recommended. Always ensure to turn off power and verify conductors are de-energized before starting any wiring work to maintain safety.
Multi-Stage System Compatibility
Because multi-stage HVAC systems manage several heating and cooling levels, replacing their thermostats requires precise compatibility checks and careful wiring.
You must verify that the new thermostat supports your system’s specific number of stages for heating and cooling; otherwise, performance and efficiency will suffer.
Multi-stage systems often use multiple wires for stages 1 and 2 (or more), and mixing these terminals can cause improper cycling or equipment damage.
Confirm the thermostat’s compatibility with your heat pump or multi-stage setup by consulting manufacturer documentation.
Label all wires meticulously and map them to the new thermostat’s terminals exactly.
Any deviation from the original wiring scheme risks short circuits or system malfunction.
Given the complexity, assess your wiring knowledge carefully before proceeding to avoid costly errors.
For enhanced system performance, consider thermostats compatible with addressable systems, which offer advanced monitoring and diagnostics.
Professional Installation Benefits
Accurately matching multi-stage or heat pump systems with a compatible thermostat demands detailed wiring knowledge and system understanding. Hiring a professional guarantees safe, code-compliant installation and peak system performance.
An expert can prevent costly equipment damage and avoid electrical hazards by correctly configuring complex wiring and control logic.
Consider these professional installation benefits:
- Expert assessment of system compatibility and wiring integrity
- Proper handling of multi-stage and heat pump-specific control signals
- Safe management of line-voltage and low-voltage circuits
- Compliance with local electrical codes and permit requirements
- Thorough testing and calibration to maximize energy efficiency
Engaging a licensed electrician or HVAC technician minimizes risk and guarantees your thermostat functions reliably with your advanced HVAC system. Additionally, routine inspections and proper wiring practices ensure long-term reliability and safety of your system’s electrical components, as recommended for secure installations of connected devices like alarm systems with secure wiring practices.
When Line-Voltage Thermostats Require A Licensed Professional?
When dealing with line-voltage thermostats, you should call a licensed professional if your system uses electric baseboard heat or other high-voltage wiring.
These thermostats operate at 120V or 240V, which presents significant shock and fire risks if handled improperly.
Operating at 120V or 240V, these thermostats pose serious shock and fire hazards if mishandled.
A licensed electrician assures correct wiring, verifies system compatibility, and complies with local codes and permits.
You must avoid working on damaged, missing, or unlabeled wires, as miswiring can cause short circuits or equipment failure.
Professionals also manage complex HVAC setups requiring special wiring configurations beyond a simple swap.
Even if you’re confident, the elevated voltage and system intricacies mandate expert knowledge to guarantee safety and proper functionality.
For line-voltage thermostat replacements, hiring a licensed professional is the safest and most reliable approach.
Additionally, ensuring compliance with local codes and permits is crucial for both safety and legal reasons.
Signs It’s Time To Call A Pro For Your Thermostat Replacement
Although many thermostat replacements are straightforward, you should call a professional if your system involves line-voltage wiring, complex HVAC configurations, or unclear wiring conditions.
Handling high-voltage circuits or multi-stage systems without expertise risks personal injury and equipment damage. When you encounter uncertain wiring, damaged cables, or compatibility questions, a licensed electrician guarantees safe, code-compliant installation.
Look for these signs that it’s time to call a pro:
Your thermostat controls electric baseboard heat or other line-voltage systems.
Wiring is damaged, unlabeled, or unfamiliar.
The new thermostat requires C-wire modifications or transformer changes.
Your HVAC system includes a heat pump, boiler, or multi-stage setup that differs from the old thermostat.
You lack confidence in wiring safety, compatibility, or local code requirements.
Trust a professional to avoid costly mistakes and hazards. Low voltage thermostat wiring typically operates under 50 V AC or 60 V DC, which significantly reduces shock risk compared to line-voltage systems.
How Labeling Wires And Photographing Connections Prevent Installation Errors?
Before you disconnect any wires, it’s a good idea to label each one clearly. This way, when you’re reconnecting to the new thermostat terminals, you’ll know exactly where each wire goes.
Also, don’t forget to take a few photos of the existing wiring setup. Having a visual reference can really help you avoid common mistakes, like miswiring or forgetting a connection.
Importance Of Wire Labeling
Every wire in your thermostat setup plays a critical role, making accurate labeling essential to avoid installation errors. When you label each wire clearly, you prevent miswiring that could damage your HVAC system or create safety hazards. Proper labeling guarantees you reconnect wires to the correct terminals on the new thermostat, maintaining system functionality.
Key benefits of wire labeling include:
Preventing cross-connections that cause short circuits.
Facilitating easy identification during troubleshooting.
Reducing installation time and errors.
Securing compliance with electrical safety standards.
Enabling safe power restoration after replacement.
Benefits Of Photographing Wiring
Building on accurate wire labeling, photographing your thermostat wiring provides an additional layer of clarity that helps prevent installation errors.
When you capture clear images of each wire’s connection to the old thermostat, you create an exact visual reference for reinstallation.
This reduces the risk of miswiring, which can cause short circuits or HVAC system malfunction.
Photos also assist in verifying wire colors and terminal assignments, especially when labels fade or detach during removal.
If you encounter unfamiliar wiring or need to consult technical support, these images offer essential documentation.
By combining wire labeling with detailed photographs, you guarantee a precise, error-free replacement process.
This eliminates guesswork and safeguards both your HVAC equipment and personal safety.
This method aligns with professional best practices for safe, reliable thermostat installation.
Preventing Common Installation Mistakes
Although thermostat replacement might seem straightforward, miswiring remains a leading cause of installation errors that can damage HVAC systems or create safety hazards. To prevent costly mistakes, you must label each wire clearly and photograph all connections before disconnecting anything.
This documentation guarantees accurate reassembly and maintains wiring integrity while reducing troubleshooting time.
Follow these key practices to avoid errors:
- Label wires with terminal identifiers matching the old thermostat.
- Take clear photos of wiring terminals and wire colors.
- Double-check labels against the manufacturer’s wiring diagram.
- Ensure no exposed copper contacts other wires or terminals.
- Restore power only after confirming all connections are secure.
Frequently Asked Questions
How Do I Know if My Thermostat Is Compatible With My HVAC System?
You’ll know if your thermostat is compatible by first identifying your HVAC system type: heat pump, boiler, or conventional forced air.
Next, check the thermostat’s voltage rating, which is usually 24V low-voltage or line-voltage.
Confirm your existing wiring matches the new thermostat’s terminal requirements, including the C-wire presence for smart models.
Always verify the new thermostat supports your system’s features, such as multi-stage heating or cooling.
Manufacturer specs and wiring diagrams provide precise compatibility details.
What Tools Do I Need for a Thermostat Replacement?
You might think you need a full toolbox, but for thermostat replacement, you only need a few essentials: a flathead and Phillips screwdriver, wire strippers, and a voltage tester to verify power is off.
Labeling tape or stickers help you mark wires for reattachment. A drill may be necessary for mounting.
These tools keep the process precise and safe, letting you match terminals and secure connections confidently without guesswork.
Can a Thermostat Replacement Improve My Energy Efficiency?
Yes, replacing your thermostat can improve energy efficiency markedly.
Modern thermostats, especially programmable or smart models, optimize heating and cooling schedules, reducing unnecessary energy use.
They adjust temperatures based on occupancy, time of day, and even weather conditions.
By upgrading, you gain precise control over your HVAC system, lowering utility costs and minimizing waste.
Just make certain your new thermostat is compatible with your system for maximum efficiency gains.
How Long Does a Typical Thermostat Replacement Take?
Replacing your thermostat usually takes about 30 to 60 minutes. Think of it as swapping out an old smartphone for a new model.
You’ll start by turning off power at the breaker, carefully labeling and disconnecting wires, then mounting and wiring the new thermostat.
Testing the system afterward guarantees everything runs smoothly. More complex setups or wiring issues can extend the time, so plan accordingly and prioritize safety throughout the process.
Are There Warranty Concerns When Replacing a Thermostat Myself?
Yes, replacing a thermostat yourself can affect your warranty if you don’t follow manufacturer instructions precisely.
You risk voiding the warranty by improper wiring, damage during installation, or bypassing required professional installation clauses.
Always review the thermostat’s warranty terms before starting. Document your work carefully, label wires, and ensure compatibility.
When in doubt, hiring a licensed electrician or HVAC technician safeguards your warranty and prevents costly mistakes.
Know When Thermostat Wiring Needs Professional Help
Replacing your thermostat can often be a straightforward DIY task, especially with low-voltage models. Over 70% of homeowners successfully handle it themselves.
However, if you’re dealing with line-voltage systems, multi-stage setups, or smart thermostats requiring complex wiring, hiring a licensed electrician is vital. This ensures safety and proper functionality.
Always turn off power, label wires, and document connections. When in doubt, call a pro to protect your home and equipment.