
To turn off WPS on your router, first log into the admin interface via its local IP (commonly 192.168.1.1).
Use full administrative credentials to access settings, then locate WPS options in Wireless, Security, or Advanced menus.
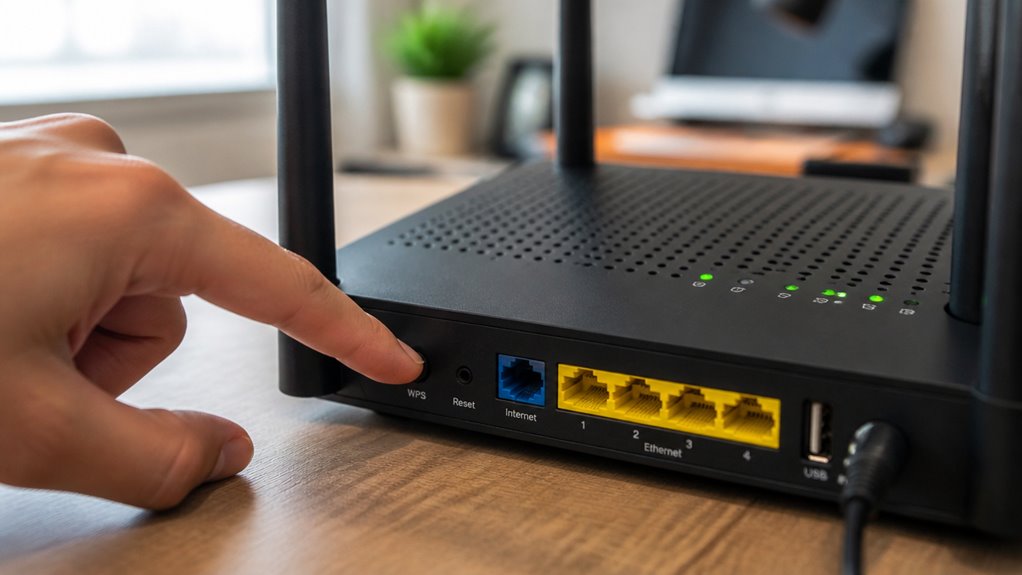
Disable both the WPS feature and the WPS PIN if available, and turn off the physical WPS button function.
Save changes and reboot the router if needed to apply them.
Ensuring WPS is fully disabled closes security gaps.
Further details include brand-specific instructions and troubleshooting tips.
Key Takeaways
- Access the router admin interface by connecting via Wi-Fi or Ethernet and entering the router’s local IP (e.g., 192.168.1.1) in a browser.
- Navigate to Wireless, Security, or Advanced settings menus to locate WPS or Wi-Fi Protected Setup options.
- Toggle WPS and WPS PIN settings to “Off” or “Disable,” and turn off the physical WPS button if available.
- Save changes and reboot the router if required to apply the new configurations.
- Verify WPS is disabled by revisiting settings or testing the WPS button to ensure no device pairing occurs.
Access Your Router’s Admin Interface to Disable WPS
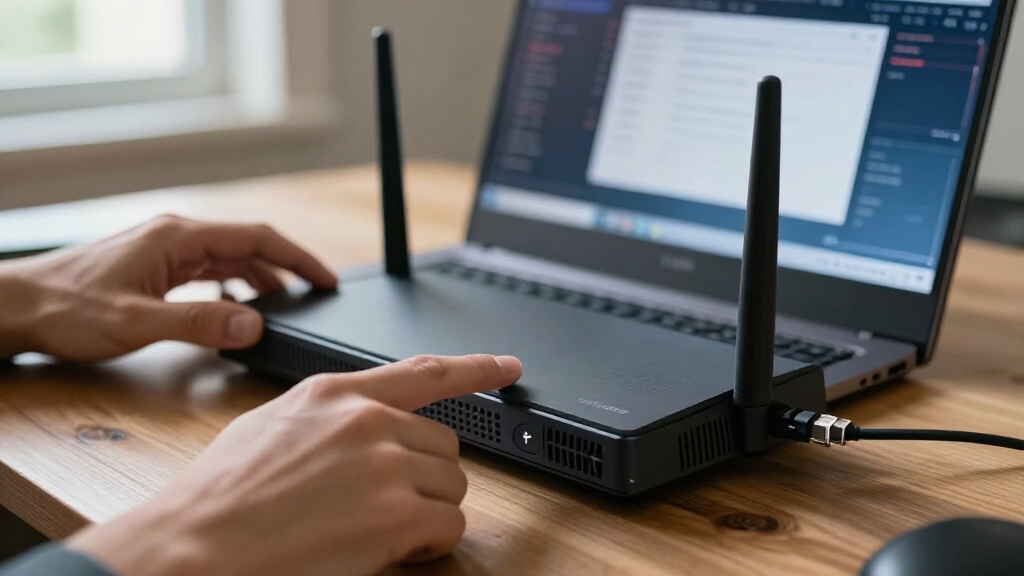
To disable WPS, start by logging into your router’s admin interface. Connect your device via Wi-Fi or Ethernet, open a web browser, and enter the router’s local IP address, commonly 192.168.1.1 or 192.168.0.1.
Use the admin username and password; if unknown, check the router label or manual. After logging in, navigate to the Wireless, Wi-Fi, Security, or Advanced settings menu.
Locate the WPS section, which may be labeled as WPS, Wi-Fi Protected Setup, or WPS PIN. Here, toggle the WPS feature off and disable the router PIN if available.
Save or apply your changes. Some routers require a reboot for settings to take effect. This direct access guarantees you manage your device’s security efficiently and controls the WPS functionality precisely.
Disabling WPS is important because many cameras require a stable 2.4 GHz Wi-Fi band connection for secure and reliable setup.
What Is WPS and Why Disable It?
Understanding WPS (Wi-Fi Protected Setup) is essential for managing your router’s security effectively. WPS simplifies connecting devices via a button or a PIN method, but the PIN approach is vulnerable to brute-force attacks. Disabling WPS closes this security gap without altering your Wi-Fi password.
| Feature | Risk/Benefit |
|---|---|
| Button Method | Easier connection, lower risk |
| PIN Method | Vulnerable to brute-force |
| Convenience | Quick device pairing |
| Security Concern | Potential unauthorized access |
You should disable WPS to comply with security guidelines from CISA and CERT. They recommend turning off WPS to prevent unauthorized access. This action strengthens your network’s defense without impacting normal Wi-Fi usage. Disabling WPS also helps protect your network from vulnerabilities that could be exploited to compromise remote viewing features.
Find WPS Settings on Popular Router Brands
While the exact location of WPS settings varies by manufacturer, you can typically find them within your router’s wireless, security, or advanced menus.
WPS settings are usually found in your router’s wireless, security, or advanced configuration menus.
For TP-Link routers, check the wireless settings or use the Tether app.
Motorola places WPS under Advanced > Wireless > WPS settings.
NETGEAR locates it in Advanced or Wireless Settings.
ASUS includes WPS controls in the router setup pages, often alongside button behavior options.
Some models group WPS under wireless security or advanced setup menus instead of a dedicated WPS section.
Menu names differ by brand and model, so refer to your manual if needed.
You may also find separate toggles for the WPS button and PIN.
Certain routers allow managing WPS via mobile apps, providing an alternative to the browser interface.
For enhanced security, consider assigning a custom static IP to devices to avoid conflicts when managing router settings.
Can’t Find WPS Settings? What To Do
If you’ve explored your router’s menus and still can’t locate WPS settings, don’t assume your device lacks the option.
Manufacturers often label WPS differently—look for terms like Wi-Fi Protected Setup or WPS PIN under Wireless, Security, or Advanced menus.
Check your router’s manual or online support resources for exact navigation.
Some models hide WPS controls within broader wireless or security submenus.
Others may offer access exclusively via a mobile app rather than a web interface.
If the option remains elusive, verify the router’s firmware version.
Outdated firmware may omit or relocate WPS settings.
Finally, confirm you’re logged in with administrative credentials.
Limited access can restrict visibility.
Systematic verification makes certain you don’t miss this critical security setting before proceeding to disable it.
For enhanced security, consider using WPA3 network encryption to protect your wireless connections instead of relying on WPS.
Turn Off WPS on Your Router
To begin, you’ll want to log into your router’s admin interface. You can do this by entering its local IP address into your web browser and using your credentials to access the settings.
Once you’re in, look for options like Wireless, Security, or Advanced settings. This is where you’ll find the WPS options.
Go ahead and disable WPS, along with any related PIN features. It’s a simple step, but it really helps in securing your network.
Don’t forget to save your changes before you exit! Regularly monitor router status to maintain network security and prevent connectivity issues.
Access Router Settings
To access your router settings and disable WPS, connect your device to the router via Wi-Fi or Ethernet. Open a web browser and enter the router’s local IP address, commonly 192.168.1.1 or 192.168.0.1, in the address bar.
Log in using the router’s admin username and password. These credentials are typically found on the router label or in the user manual if you haven’t changed them.
Once logged in, navigate to the Wireless, Wi-Fi, Security, or Advanced settings section. Menu names vary by manufacturer, so consult your router’s documentation if necessary.
Locate the WPS section, which may be labeled as WPS, Wi-Fi Protected Setup, or WPS PIN. Confirm that you have full administrative access before proceeding to modify any settings to ensure changes are saved correctly.
Disabling WPS is an important step to enhance your network’s security measures against unauthorized access.
Disable WPS Options
After accessing your router’s settings and locating the WPS section, you can proceed to disable WPS to enhance your network security. Disabling WPS eliminates vulnerabilities tied to the PIN method and reduces attack surfaces without affecting your Wi-Fi password. Depending on your router model, you may encounter multiple WPS controls.
To disable WPS effectively:
Toggle the WPS feature to “Off” or “Disable” in the settings menu. If present, deactivate the WPS PIN option separately. Save or apply the changes to confirm your selection. Reboot the router if the settings don’t persist immediately.
Verify that WPS is off by confirming the status in the admin interface or testing that the physical WPS button no longer initiates device pairing. Regular firmware updates are recommended to reduce security risks associated with offline operation and physical control reliance.
Turn Off Both the WPS Button and PIN
To really beef up your security, it’s important to turn off both the WPS button and the WPS PIN. So, let’s get started!
First, you’ll want to hop into your router’s settings. From there, look for the option to disable the WPS button—this will help close off one potential vulnerability.
Now, if your router also gives you the option, make sure to deactivate the WPS PIN method as well. Taking this extra step ensures that WPS can’t be exploited from either angle. It’s all about keeping your network safe and sound!
For maintaining overall device security, regularly testing and updating your network settings is highly recommended.
Disable WPS Button
Disable both the WPS button and the PIN to eliminate all potential vulnerabilities associated with Wi-Fi Protected Setup.
The WPS button allows quick device connections but poses a security risk if left enabled. To fully secure your network, you must turn off the WPS button via your router’s admin interface or vendor app.
Here’s how to disable the WPS button effectively:
Log into your router’s admin panel using its local IP address.
Navigate to Wireless, Wi-Fi, or Advanced settings, then find the WPS section.
Locate the option for the WPS button and switch it off separately from the PIN.
Save or apply the settings and reboot the router if necessary to confirm changes.
Disabling the WPS button blocks physical pairing attempts, strengthening your Wi-Fi security. For enhanced protection, it is also recommended to configure WPA2/WPA3 encryption on your wireless networks.
Turn Off WPS PIN
Turn off the WPS PIN to eliminate the remaining security vulnerability associated with Wi-Fi Protected Setup.
After disabling the WPS button, access your router’s admin interface via its local IP address.
Navigate to Wireless or Advanced settings, and locate the WPS section.
Here, you’ll find separate options for the WPS button and the WPS PIN.
Make sure you disable the WPS PIN explicitly, as leaving it enabled still allows brute-force attacks.
Save your changes and reboot the router if necessary to enforce the update.
Confirm the WPS PIN is off by verifying the status in the admin panel or testing that the PIN no longer initiates device pairing.
Disabling both methods fully secures your network against WPS-based intrusion without impacting standard Wi-Fi connections.
For enhanced protection, ensure your wireless cameras and network devices use strong encryption protocols to prevent unauthorized access.
Verify That WPS Is Fully Disabled
Although saving changes usually disables WPS, confirming that the feature is fully off guarantees your network’s security. After disabling WPS and the WPS PIN, verify the status to make certain no vulnerabilities remain.
Ensuring WPS is fully disabled after saving changes is essential for maintaining your network’s security.
Follow these steps to confirm:
Log back into the router’s admin interface and revisit the WPS settings page. It should indicate “disabled” or “off.”
Test the physical WPS button, if available, to make certain it no longer initiates pairing.
Reboot the router if WPS still appears active after saving changes, as some models require this to apply settings.
Use a Wi-Fi scanning tool or network analyzer to detect if any WPS signals or attempts are broadcast on your network.
This thorough verification confirms WPS is completely disabled, securing your Wi-Fi from potential WPS-related exploits.
Frequently Asked Questions
Can Disabling WPS Affect My Router’s Wi-Fi Speed?
Disabling WPS won’t affect your router’s Wi-Fi speed because WPS only streamlines device connection.
It doesn’t influence data throughput or signal strength.
Your Wi-Fi performance depends on factors like router hardware, channel interference, and encryption type, not WPS status.
Turning off WPS enhances security without sacrificing speed.
You can safely disable it to protect your network while maintaining peak wireless performance.
Is It Safe to Leave WPS Enabled if I Never Use It?
Staying secure suggests you should disable WPS if you never use it.
WPS, while wonderfully convenient, welcomes weakness. Its PIN method is vulnerable to brute-force attacks.
Leaving it enabled exposes your network unnecessarily, creating a clear crack in your Wi-Fi’s wall of defense.
To maintain maximum security and minimize risk, switch it off.
This action won’t affect your regular Wi-Fi speed but will markedly strengthen your network’s safety stance.
How Can I Tell if My Devices Support WPS or Not?
You can tell if your devices support WPS by checking their user manuals or specifications for Wi-Fi Protected Setup compatibility.
Look for a WPS button, PIN option, or WPS mention in wireless settings. Many smartphones, laptops, and printers support WPS, but some newer devices may not.
You can also scan your device’s Wi-Fi setup menu for a “Connect via WPS” option or check the manufacturer’s website for detailed feature lists.
Will Disabling WPS Cause Connectivity Issues With Smart Home Devices?
Disabling WPS generally won’t cause connectivity issues with smart home devices since most support standard Wi-Fi password authentication.
You’ll just need to connect devices manually using your Wi-Fi network’s SSID and password.
However, if a device relies solely on WPS for setup, you might face initial pairing challenges.
In that case, consult the device’s manual for alternative connection methods or temporarily enable WPS during setup, then disable it again for security.
Can I Re-Enable WPS Remotely Through My Router’s App?
Yes, you can usually re-enable WPS remotely through your router’s app if your model supports remote management and app control.
Make sure you’re logged in with admin credentials on the app. Navigate to the wireless or advanced settings section, locate WPS options, and toggle it back on.
Keep in mind that remote changes may require the router to reboot. You should verify the setting is active after applying changes.
Keep Your Wi-Fi Network Secure by Disabling WPS
Disabling WPS on your router is like locking the back door to your digital home. It is essential for keeping your network secure.
By accessing your router’s admin interface and turning off both the WPS button and PIN, you eliminate a common vulnerability hackers exploit.
If you can’t find the settings, consult your router’s manual or manufacturer support. Always verify that WPS is fully disabled to ensure your network remains locked tight against unauthorized access.